Ender-3 Cura Bed Mesh
thingiverse
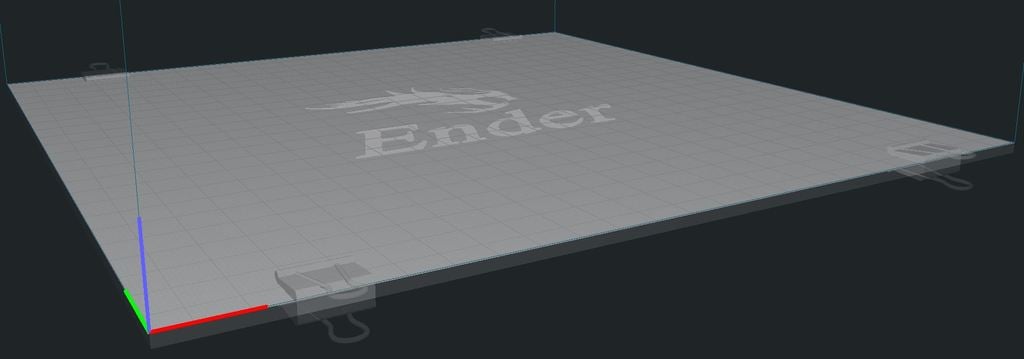
Safely use the Ender-3's full 235 mm bed in Cura ============================================ [aso works in Cura 4.1] Note: this will not prevent the machine from hitting the clips, rather it provides you with a visual of the location of the bed clips in Cura's preview. Just make sure you line up the clips with the adjuster screws for this to be accurate. Step one is the only required step to make this work. The others just make it more accurate and allow use of the entire bed. 1. Place the STL file here: "C:\Program Files\Ultimaker Cura 4.0\resources\meshes\creality_ender3_platform.stl" 2. In Cura's "Machine Settings" set the bed X and Y to 235 mm. 3. For this to be 100% accurate, I recommend calibrating your workspace offsets and perhaps even your endstops. The offsets I use are: X: 2 Y: -2 Z: 0 This can be done by printing ClipTest VERY SLOWLY which should print from edge to edge (233.7 mm to be safe). Then measure the difference between where it printed and where it should have printed. Then send this gcode (with your measured numbers): M206 X2.00 Y-2.00 Z0.00 ;sets the offsets M500 ;saves the offsets I haven't adjusted my endstops yet, but I can tell that my X is about 2 mm off. I assume the same is true for other Ender-3 machines. However I have installed a glass bed with an intentional 5 mm overhang on the X side to allow room for the purge line. 4. I can't remember if a change in Marlin is necessary, but if so it would be in configuration.h: define X_BED_SIZE 235 define Y_BED_SIZE 237 (if you have a -2 mm Y offset, you should set define Y_BED_SIZE 237)
With this file you will be able to print Ender-3 Cura Bed Mesh with your 3D printer. Click on the button and save the file on your computer to work, edit or customize your design. You can also find more 3D designs for printers on Ender-3 Cura Bed Mesh.