Ender 3 Display for LACK Table Integration
thingiverse
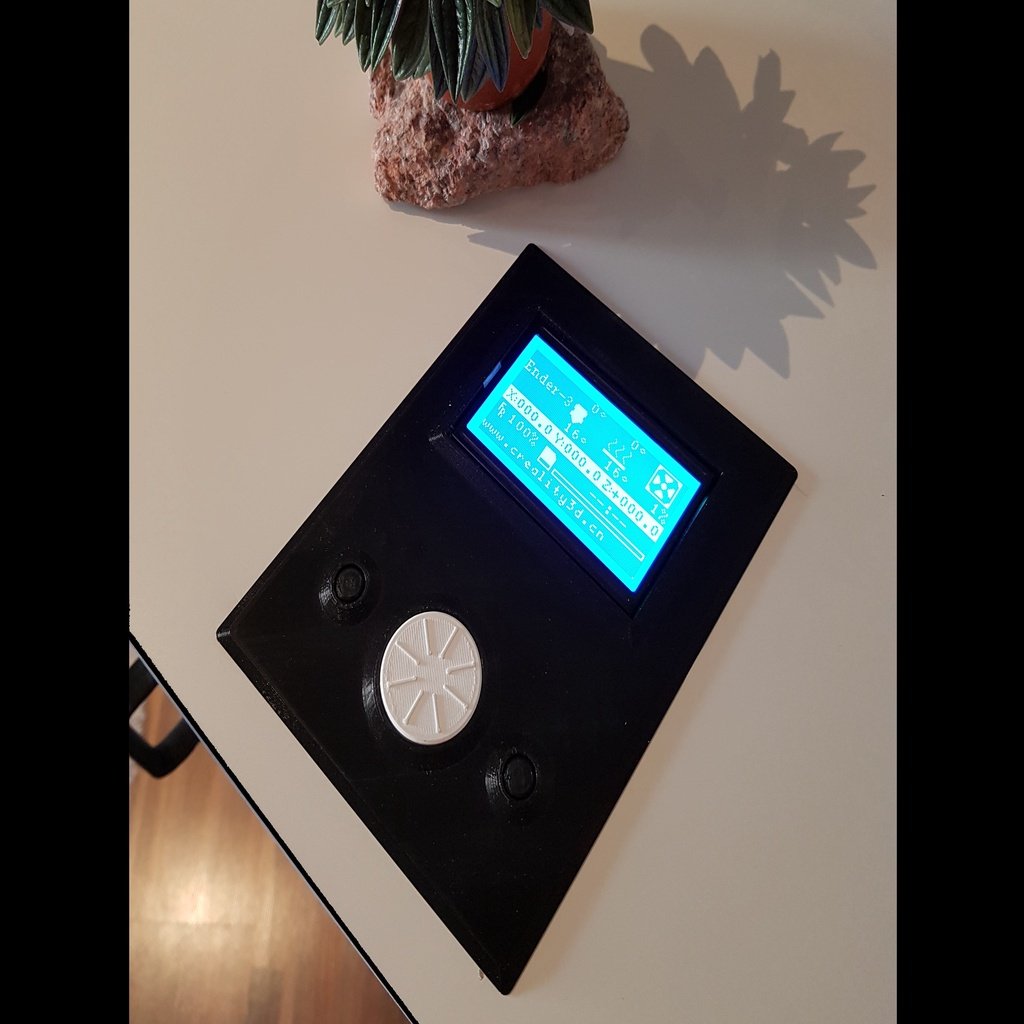
This is a fully integrated display system designed specifically for standard LACK table arrangements. It's my first published project, created to provide direct access without opening any enclosures and minimize large cases on top. Keeping things simple, flat, and symmetrical was the goal. Two optional buttons can be assigned for pausing prints, activating lights, or other useful functions (interface requirements correspond to a raspberry setup). To build it, you'll need some tools and additional materials. For those who prefer a less edgy design, there's an alternative topside available with the filename Topside_Roundup. I'd love to see some finished projects! The design has been optimized and tested for assembly after printing using superglue. PLA filament was used. For the basic version without buttons, you'll need: 1. Cutter knife 2. Superglue 3. Soldering iron and desoldering pump 4. Additional cable (preferably ribbon cable) If you want to use the buttons, you'll also require: 5. 2 x Microbuttons 6. Some slightly soft material for button levers to switch Just a few parts to print, and you're ready to start: (1) Mainframe / Mainframe_Roundup (2) Topside (3) Displaypins (4) Encoder_Frame (5) Encoder_Cap (6) Encoder_Nut Assembly instructions are self-explanatory, but I've included a short description and some pictures below. Enjoy!
With this file you will be able to print Ender 3 Display for LACK Table Integration with your 3D printer. Click on the button and save the file on your computer to work, edit or customize your design. You can also find more 3D designs for printers on Ender 3 Display for LACK Table Integration.