Ender 3 dual lead screw mod
thingiverse
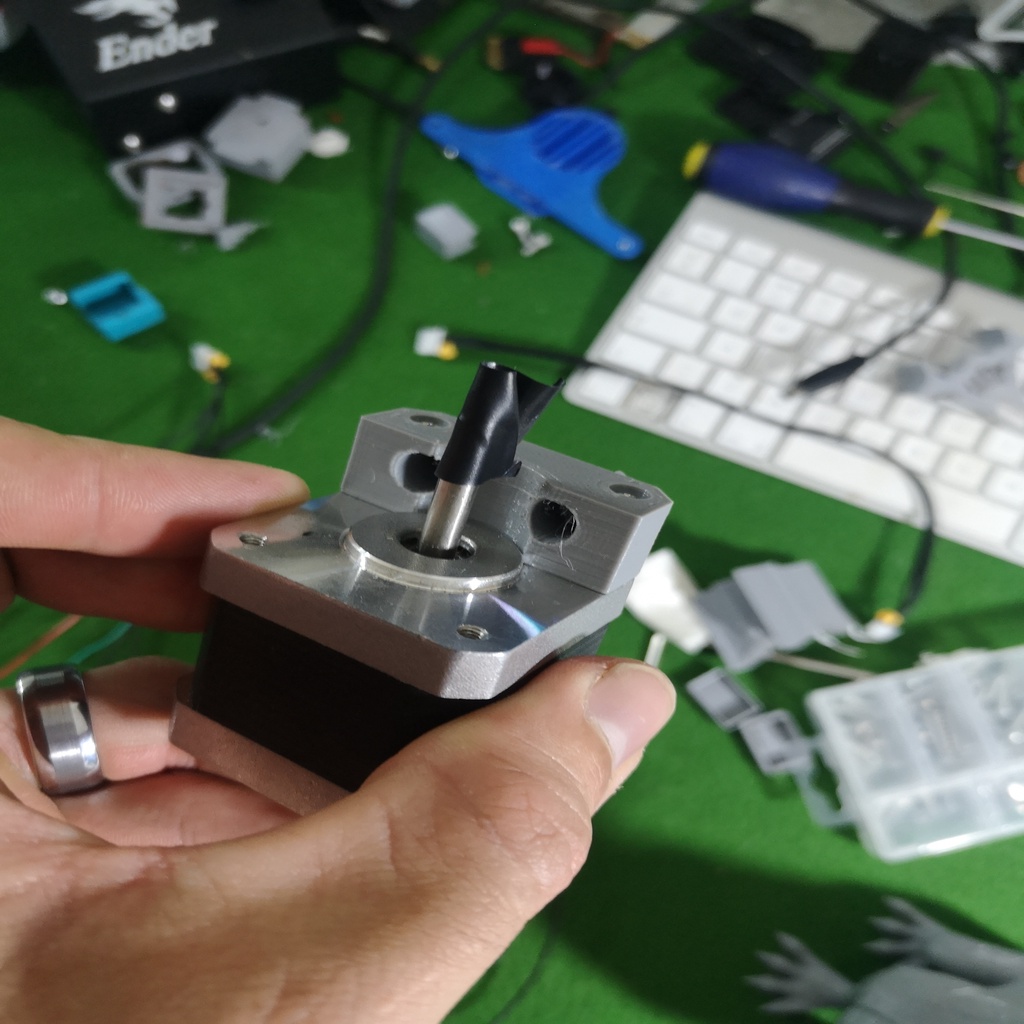
THIS MOD IS INTENDED TO USE A SKR 1.3 WITH 5 STEPPER DRIVERS. IF YOU WANT TO SO THIS WITH THE STANDARD BOARD THEN YOU WILL NEED TO MODULE LISTED BELOW. Update 02/09/19 Ive made the stepper mount shorter as i found the new z mount bracket hit it before the nozzle was just above the bed. UPDATE 19/08/2019 Found another way of using the standard board. You'll need a donor stepper wire. https://www.youtube.com/watch?v=yVoJO-2pO9c Credit goes to TH3D www.amazon.com/dp/B07DMCT1V9/ref=cm_sw_r_cp_apa_i_hZxwDbP324DHV PSU FRONT BRACKET AND GANTRY ADAPTER WAS MADE BY SCUDDY UPDATE: WITH A SINGLE A4988 YOU NEED TO INCREASE THE VREF TO 1V, PLEASE BECAREFUll DOING THIS, DONT MESSAGE ME IF YOU BLOW THE DRIVER. Hardware needed. All printed parts T8 2mm pitch 400mm long lead screw 8-5mm coupler M4x8mm For the PSU offset brackets. M4x6mm screw to secure the front PSU bracket to the PSU. You can't use the stock mounting screw because it's too short. M5x50mm screws to mount the second Z bracket. You will reuse the stock M5 lock nuts. 2-15mm M3 screw to attach mount to stepper. 2-10mm M4 and t-nuts to attach mount to extrusion. RAISE Z TO 100MM Move psu away from printer. then disassemble the z axis. Keep everything in order from what you take off. Attach z coupler screw into printed z plate with four m3*15 screws and nuts. place three M5*50 bolts though the front z plate. then replace original spacer, roller then the printed spacer eccentric nut on the inner side then the rear z plate. using the printed mount attach the stepper to the extrusion at the bottom. attach coupler. NOW HOME THE Z Lube new lead screw (i use vaseline) and place into position Tighten the coupler screws. Now the bit you have to be really careful. take the bottom off the psu (TWO ALLAN BOLTS) You should see a pinout diagram of the V and V- to the left side (dont touch the right side it will kill you!!!) place negative probe of multimeter the correct pin. Now turn on the psu connected to the printer. Open up the mainboard on the printer, you want to look for the potentiometer screw next to the Z driver. TURN IT TILL YOU REACH 1 VOLT. IF YOU BLOW YOUR DRIVER IM NOT RESPONSIBLE. You now need to follow TH3Ds video if your doing this with the a board thats got one driver. follow the video for the SKR1.3 and MKS GEN L AND ignore the last three steps. once everything is connected you now have to level the z axis, this will be done by removing the new lead screw and homing the Z. This should only need to be done if you missed the step above. All videos and STL credits go to their creators, the only thing i designed here was the stepper mount and the rear psu mount.
With this file you will be able to print Ender 3 dual lead screw mod with your 3D printer. Click on the button and save the file on your computer to work, edit or customize your design. You can also find more 3D designs for printers on Ender 3 dual lead screw mod.