Ender 3 Electronics Housing (LCD + PCB + Pi + Buck Converter)
thingiverse
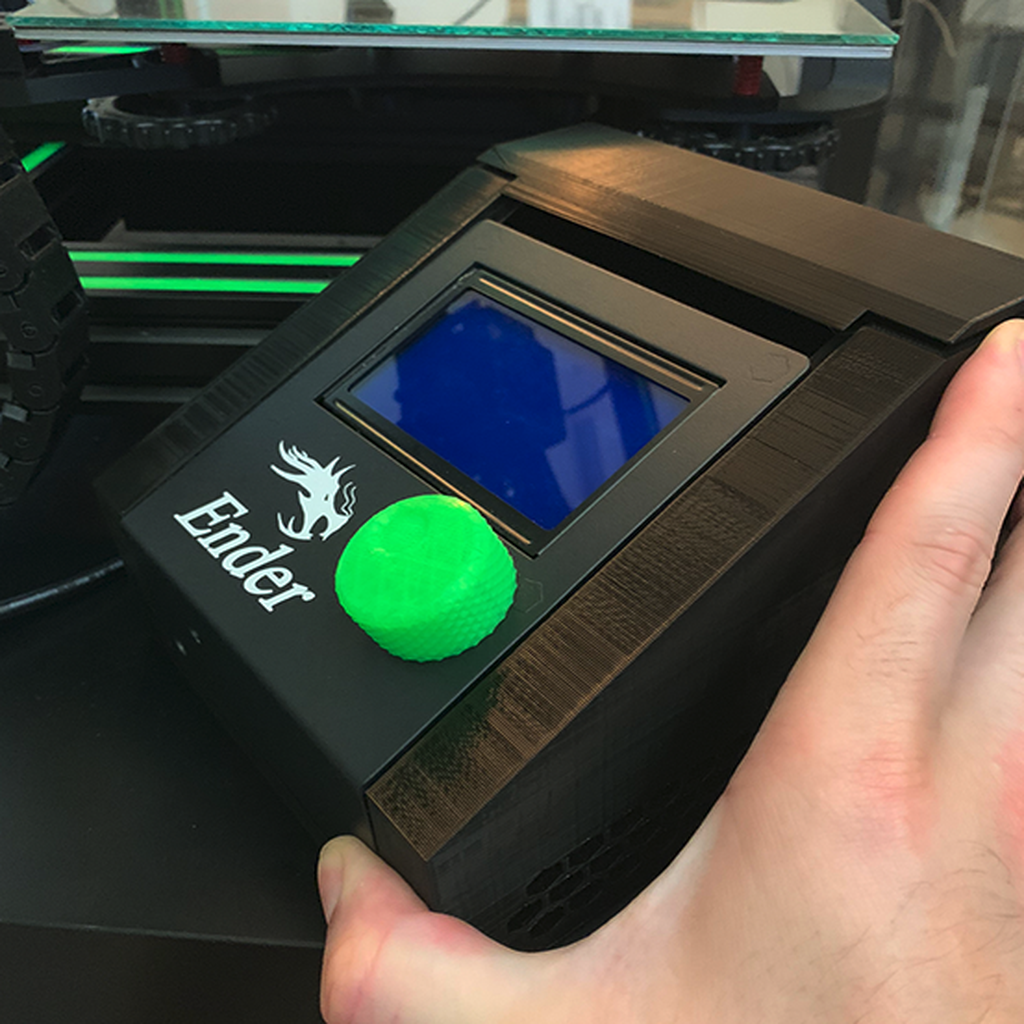
Nobody had the exact housing I was looking for that would suit my needs, so I took inspiration from other people's designs and made my own from the ground up. The hardest part was measuring the spacing between holes and angles, so I hope they work! This expands most of the housings by 2cm wide, 1cm vertically, and 2cm in the back. I found that everything was a little cramped otherwise. I added a removable Pi slot, that just glides in and rests on little notches. I think I designed the components with the Pi USB ports and the other PCB cables in mind, so they aren't stuffed against the wall (or in other designs, unusable). I think the back piece should be printed lying down. The Pi holder should be printed normally. The case should be printed standing up, supports shouldn't be needed. Let me know what you think! EDIT 9/3/19: I decided that printing the overhangs were hard so I kinda hacked it. I made a removable base plate (that you can tweak to your liking if the holes don't fit your type of board, but they fit the base Pro model PCB). This slides in, and when the rear clicks in, it should all become one unified piece. As you can see from the picture where I stuffed "all the component" inside, that's what the end result should look like. I'm printing it now, with tree supports, so I'll post pictures of it when it's complete! EDIT 9/5/19: I stopped messing with the weird removable plate and just went for it. It prints without supports all the way, both the case and the back. Unfortunately, I was JUST a little short, and I think I need to thicken up the clips because they snapped. It's almost there though! Introduced V3. EDIT 11/27/19: Have been on hiatus from designing, as I was busy re-routing electronics, extending cables, and all of that fun stuff. I've posted V4 Rear Plates and Case, with pictures of how it works, when all assembled. I've learned some things that I need to tweak: 1) Angled cables are a must or USB ends won't fit 2) Extending wires is time consuming 3) It all works, but still feels a little cramped when all the wires are in there 4) The plastic holding the PCB in place gave away when assembling, I need to fix that by thickening the socket 5) The fancy clips I built.. don't clip! I designed this to mm fits, but I think variance in my printer has made it not fit perfectly. I need to redesign this a bit I think. Everything is flush, but the clips don't touch each other enough so it doesn't hold. Otherwise, this thing is slick!
With this file you will be able to print Ender 3 Electronics Housing (LCD + PCB + Pi + Buck Converter) with your 3D printer. Click on the button and save the file on your computer to work, edit or customize your design. You can also find more 3D designs for printers on Ender 3 Electronics Housing (LCD + PCB + Pi + Buck Converter).