Ender 3 Electronics (LCD + PCB + Pi + Buck Converter) External Case
thingiverse
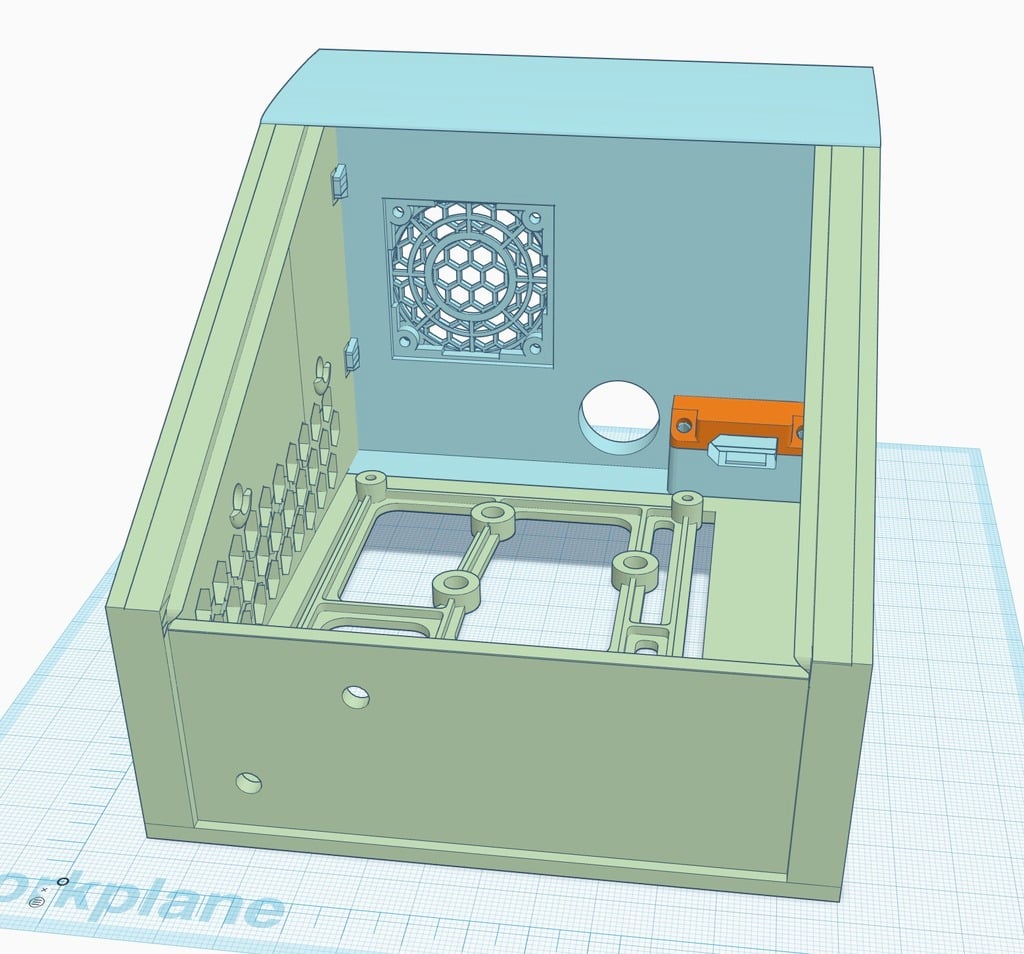
I stopped working on this project and decided to start from scratch after remixing someone else's work proved very time-consuming. You can follow my design enhancement here: https://www.thingiverse.com/thing:3816011 This is my first legit design modification, so I apologize if it doesn't print correctly for you. I've been looking for a compact solution that combines my PCB, LCD, Pi, and Buck converter outside of my enclosure. I found [jlmpenedo's](https://www.thingiverse.com/jlmpenedo) great start on a case that suited most of my needs, but I made some improvements where I saw fit: * I lowered the case base to be flush with the workplane, eliminating the need for supports. * I added clips and tabs to the back and recessed sections so they click into place with the back plate. This removes the need for glue. * I trimmed a top corner, which was later deemed not the best idea after hearing feedback, but my clips fix the problem. * I removed the name plate. * I aligned some meshes that weren't properly aligned or spaced. * I added hexagon vents. * I changed the fan grill. * I replaced multiple XT60 connectors with one that enters the box. All other connections will be internal to the case, so this single connector was liberated from another design and can be compressed down with small screws, eliminating the need for glue. * I added a circle cutout for any wires that need to exit, such as axes. * I lengthened the bars for the Pi holder because it was too loose. Now it sits in there securely. * I made the back plate more angular so it will sit flush against my enclosure. I haven't printed this yet because I still need to make some changes. After disassembling my printer, I found that my PCB (Ender 3 Pro) doesn't fit in the original design's base. I also noticed that the Pi fits on the base, but there's not enough clearance for all of my USB plugs, and the Pi and LCD board are a bit too close for my liking. I'll be adding some extra space here and there to give myself more clearance. If you're trying to print this now, I'd wait until I make those changes or make them yourself. I also don't know where I need supports and/or what direction is the best to print this yet. Let me know if you do! Any suggestions are welcome as well.
With this file you will be able to print Ender 3 Electronics (LCD + PCB + Pi + Buck Converter) External Case with your 3D printer. Click on the button and save the file on your computer to work, edit or customize your design. You can also find more 3D designs for printers on Ender 3 Electronics (LCD + PCB + Pi + Buck Converter) External Case.