Ender 3 Enclosure
thingiverse
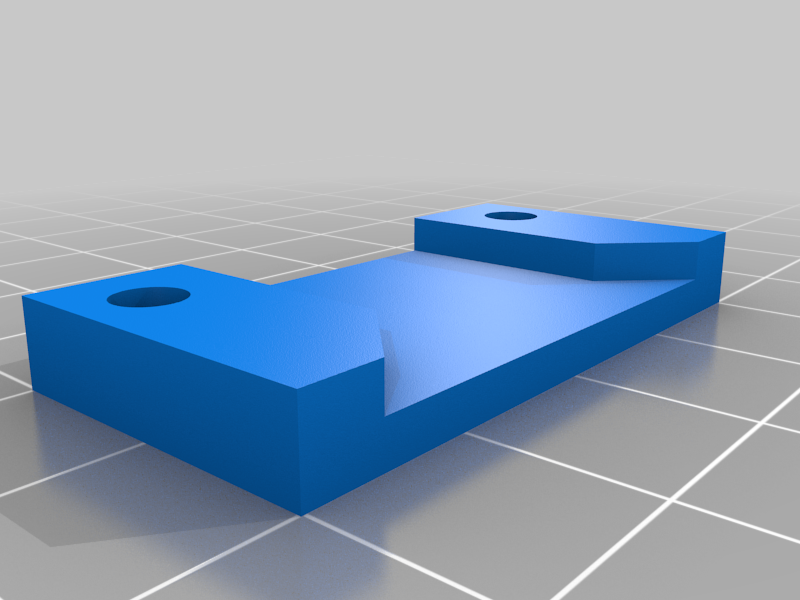
Simple enclosure for an Ender 3 or anything with similar dimensions I used PETG but I suppose any filament would work. This is all designed around 2mm plexiglass and 13mm PVC (13mm inside diameter, 18mm outside) (1) is the top corners. Print 4 ea (2) is the middle for the sides, back, and top. Print 4 ea (3) is an edge for the back, and top, Print 5 ea (4) is a bottom edge for the back and sides. Print 3 ea (5) is an edge for the front/top and front/bottom. Print 2 ea (6) is an edge for the front sides. Print 2 ea (7) is the bottom corners. Print 4 ea. Should be a total of 24 pieces. My first draft of these components used exact measurements and I found that it was somewhat difficult to assemble without breaking some of the pieces. Gorilla glue seems to hold them back together but I decided to modify my original designs to add about .5mm clearance for the plexiglass and 1mm for the PVC. I also increased the thickness of the tabs slightly to accomodate. All of the holes are 4mm diameter so M3 screws/bolts work the best. M3*12 is probably the best length as the tabs are each 2.75mm + 2.5mm gap for the plexiglass (8mm total thickness) The sides, back and top each get 4 panels. The dimensions are: Sides - 271mm x 246mm Top - 271mm x 221mm Back - 246mm x 221mm The dimensions for the front are 510mm x 460mm From the front panel I cut a rectangle 350mm x 300mm for the door. For the door hardware (Hinges/handle/latch) you can use basically anything. For the hinges I used https://www.thingiverse.com/thing:2971343 and it took M4*12 bolts For the latch mechanism I created my own rack and pinion vault style latch from scrap plexiglass from the project. This requires 2 of the "Latch Guide Frame" prints, 4 of the "Latch Guide Door" prints and 1 "Handle" print. All of the latch guide parts take M3*12 bolts. The rack and pinion gear setup was cut using a laser. This also includes a large diameter circle to both hold the handle to the door and keep the gears in alignment. The parts of the vault style lock are all in the "Lock Mechanism" file. I suppose this could be used to extrude the parts if you would prefer to 3D print rather than laser cut. The bolt for attaching the handle to the plate is an M5*12 I've also included a file that I used for the layout of all of the laser cuts on the front panel (door and holes for attaching hardware) All of the holes for the panels can be drilled or laser cut. they are 4mm holes centered on a 10mm square measured from each corner. AKA, 5mm from each edge. For the filament routing I just mounted my existing filament holder to the top of the enclosure using a good old hand drill and M4*12 bolts. (back left corner slightly forward of the center of the panel). You will have to eyeball the placement to make sure that the filament will travel in a relatively straight line from the spool down through the panel and into the printer. I created a feedthrough that is 12mm in diameter. I don't have metric drill bits so i just picked something that was slightly larger and drilled very carefully! The mounting hardware for this is M3x12 bolts, again. To finish up the filament routing I modified a bunch of preexisting designs and came up with this: https://www.thingiverse.com/thing:4645150 For assembly instead of precision cutting all of the PVC to length I was pretty much mentally done with putting the enclosure together so I just cut all of the pieces to fit, as I went. Warning, putting it together is like an annoying logic puzzle; I can't even begin to describe what order is best to put all of the panels together.
With this file you will be able to print Ender 3 Enclosure with your 3D printer. Click on the button and save the file on your computer to work, edit or customize your design. You can also find more 3D designs for printers on Ender 3 Enclosure.