Ender 3 / Ender 3 Pro - IKEA Lack Enclosure
thingiverse
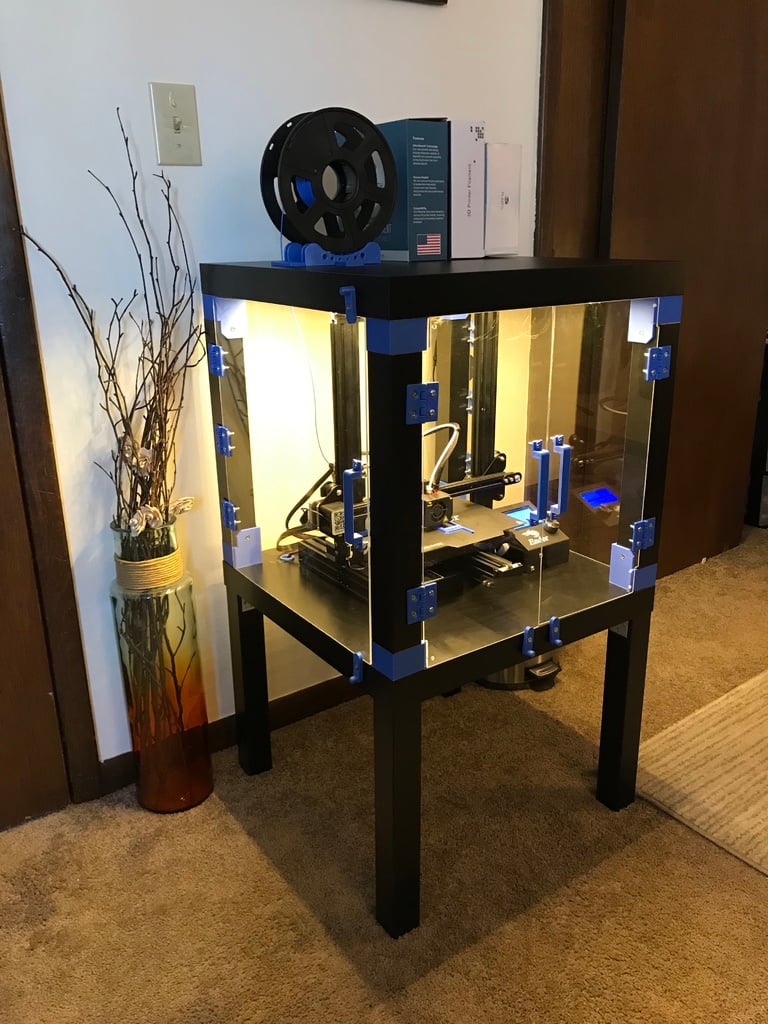
//UPDATE: 31 MAR 2019 Added a photo to the album which shows the position and orientation of the Stackable Corner Inserts (stack_corner_insert.stl). //UPDATE: 6 MAR 2019 As I haven't seen any concerns in the past few weeks, I'm moving this design to the released state. I have some future design improvements in mind and plan on releasing assembly instructions, but that will probably not happen for a few months. Please continue to give feedback and ask questions! //UPDATE: 26 JAN 2019 It will be some time until I can write out full assembly instructions for this project. In the meantime, please comment with any questions you may have. ==================================================================== This is a remix of the enclosure design by Pro_Maker. I prefer parts mounted by hardware rather than adhesive so I made modifications to make that happen. A couple of important points that I urge you to read before starting to print: - If you notice any discrepancies in part quantities, instructions, or design please let me know so I can make changes as necessary. - I did not enclose the backside of my enclosure as I’m only working with PLA and can sustain the temperatures I need (my enclosure maintains a temperature ~10 degree Fahrenheit higher than ambient temperature while printing). If you want to fully enclose the enclosure, the additional materials required are listed at the end. You may want to consider moving the controller outside of the enclosure if you do fully enclose the enclosure. - Hardware and plexiglass sizes are given in Imperial units. I prefer working in metric but unfortunately that's not what I have readily available to me. - As a caveat to the above note, the plexiglass cuts are slightly undersized due to the imperial units (a few millimeters undersized). If you would prefer an exact fit for the plexiglass, please use the following dimensions for your cuts: Side/Back Panels - 448x480mm (qty. 3) and Front Panels - 223x480mm (qty. 2).
With this file you will be able to print Ender 3 / Ender 3 Pro - IKEA Lack Enclosure with your 3D printer. Click on the button and save the file on your computer to work, edit or customize your design. You can also find more 3D designs for printers on Ender 3 / Ender 3 Pro - IKEA Lack Enclosure.