Ender 3 Fan Duct
thingiverse
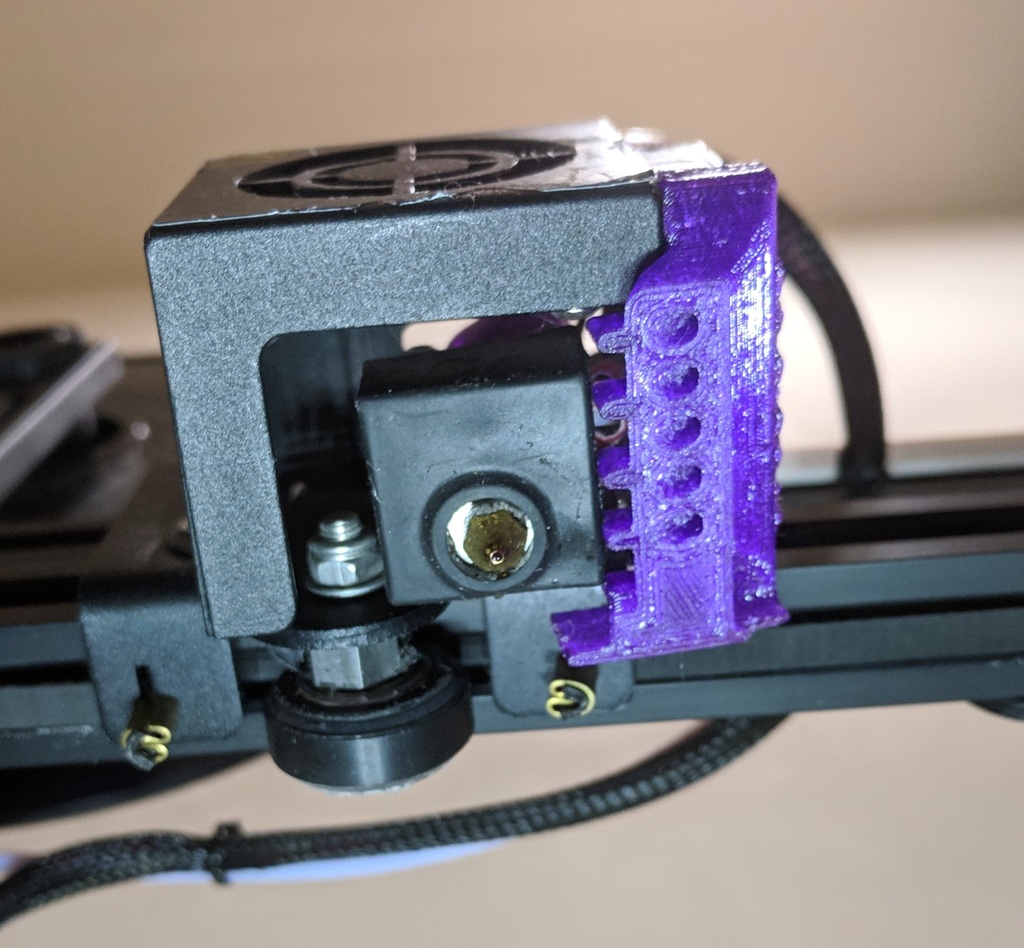
Ender 3 Fan Duct Insert for the secondary fan. Not happy with stock fan duct as far as bridging cooling, so I made an insert for the secondary fan with 5X 45 degree duct pipes to focus the air to the print instead at the hot nozzle or the hotend block. In addition, the main fan when on, blows a lot of air across the hotend toward the X axis rail. I add fins to the Insert to block and direct some of those air downward. I am trying out printing with PETG filaments and .6 mm nozzle. I am having stringing and blobbing with the cheap PETG filaments I got. I have to file/sand the printed Insert with filers before installation. Install the Insert by inserting it from the bottom upward to the secondary fan. Tighten the screw closer to the X-rail first. There is good size air/insulation gap between the Insert and the hotend nozzle & block, so either PLA or PETG can be used. If printing with PLA and .4 mm nozzle, filing/sanding may not be necessary. My preferred setting for PETG and .6 mm nozzle are: Nozzle 245 deg C, Bed 75 deg C, Flow 94 percent, Infill 60 percent, Speed 25 mm/s, 4 lines for Wall, and 5 layers for Top/Bottom. I included my gcode file for .6 mm nozzle PETG. As far as the Insert effectiveness, Cura has an experimental option "Enable Bridge Settings". When this is turned on for 100 percent fan for first skin, you can feel the flowing air pushing downward from the 5 ducts.
With this file you will be able to print Ender 3 Fan Duct with your 3D printer. Click on the button and save the file on your computer to work, edit or customize your design. You can also find more 3D designs for printers on Ender 3 Fan Duct.