Ender 3 Filament Runout Sensor Mount
thingiverse
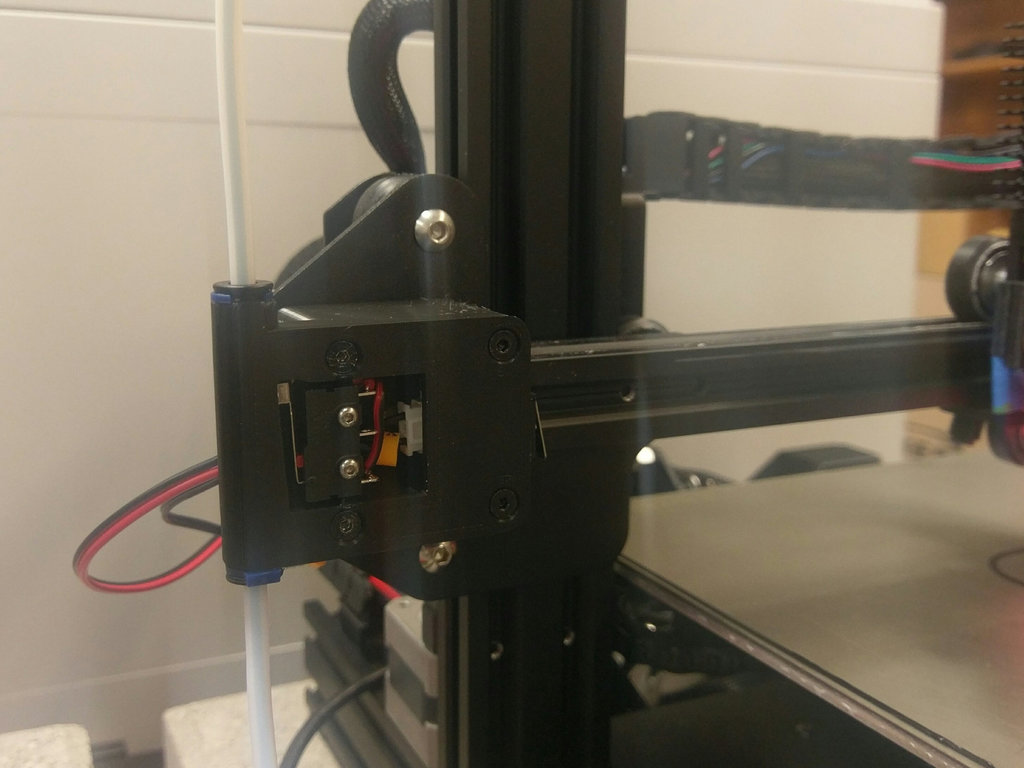
Update 12/06/2021: The model has been updated to improve reliability as the lever arm of the switch relaxes over time. It is highly recommended that you print the updated version if you are currently using the original model. Also included in this update are a version with a clip to hold a JST XH-2 male connector for wiring the switch, and a press-fit plate that will cover the cutout in the front. It comes with multiple tolerance variants. Start by printing the -0 version. If it's too tight, try the -1, if it's too loose, try the +1. This model replaces the original X-axis motor mount/belt cover with one that adds a filament runout sensor. The switch used for this build is a [HiLetgo KW12-3 Roller Lever Arm Micro Switch](https://www.amazon.com/dp/B07X142VGC). Also required are 2 standard [4mm Bowden collets](https://www.amazon.com/dp/B095ZTMQTG). The switch is mounted with 2xM2.5x10mm self-tapping screws. Supports are not necessary with proper bridge settings, but if you do need supports, print with supports from the bedplate only, thoroughly remove all support material, and smooth the surface with a file to ensure the switch doesn't snag on any remaining support material. The original X-axis endstop mounts to this part using the original screws. If PLA is used, be extra careful when screwing in the endstop, to avoid breaking off the screw bosses. PLA+ or PETG is recommended instead for this reason. Printing at a 0.2mm layer height is HIGHLY recommended, as several of the tolerances are tuned for that layer height, and printing at a different layer height may cause issues with assembly or usage.
With this file you will be able to print Ender 3 Filament Runout Sensor Mount with your 3D printer. Click on the button and save the file on your computer to work, edit or customize your design. You can also find more 3D designs for printers on Ender 3 Filament Runout Sensor Mount.