Ender 3 Hero Me 5 no Y offset for linear rail and direct drive BMG
thingiverse
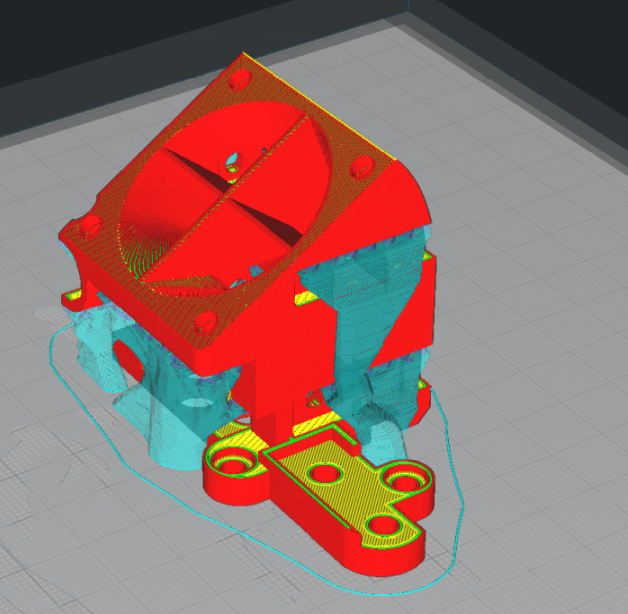
I took Dimide's remix and modified it slightly for my needs. My Ender 3 uses a X axis linear rail and the SpeedDrive direct drive conversion with BMG extruder. I removed the top of the cable tower because it interferes with the use of my Speedrive BMG mount. I also put 4 holes in the mounting plate for my linear rail mounting screws to fit. I also filled in the rectangle in the mounting plate to get back the strength that was lost with those 4 holes. I thickened the back plate to be the same thickness as the heatsink mounting standoffs, which lets the heatsink clamp the mounting plate. There were a few holes inside the mesh that I filled in, and I adjusted a corner slightly that interfered with the lower M5 bolt that the belt carrier attaches to. I printed in the orientation shown in the screenshot with tree supports. It might be wise to just print the first few layers before the entire thing to check if the mount points line up with your setup.
With this file you will be able to print Ender 3 Hero Me 5 no Y offset for linear rail and direct drive BMG with your 3D printer. Click on the button and save the file on your computer to work, edit or customize your design. You can also find more 3D designs for printers on Ender 3 Hero Me 5 no Y offset for linear rail and direct drive BMG.