Ender-3 LCD Display Stand
thingiverse
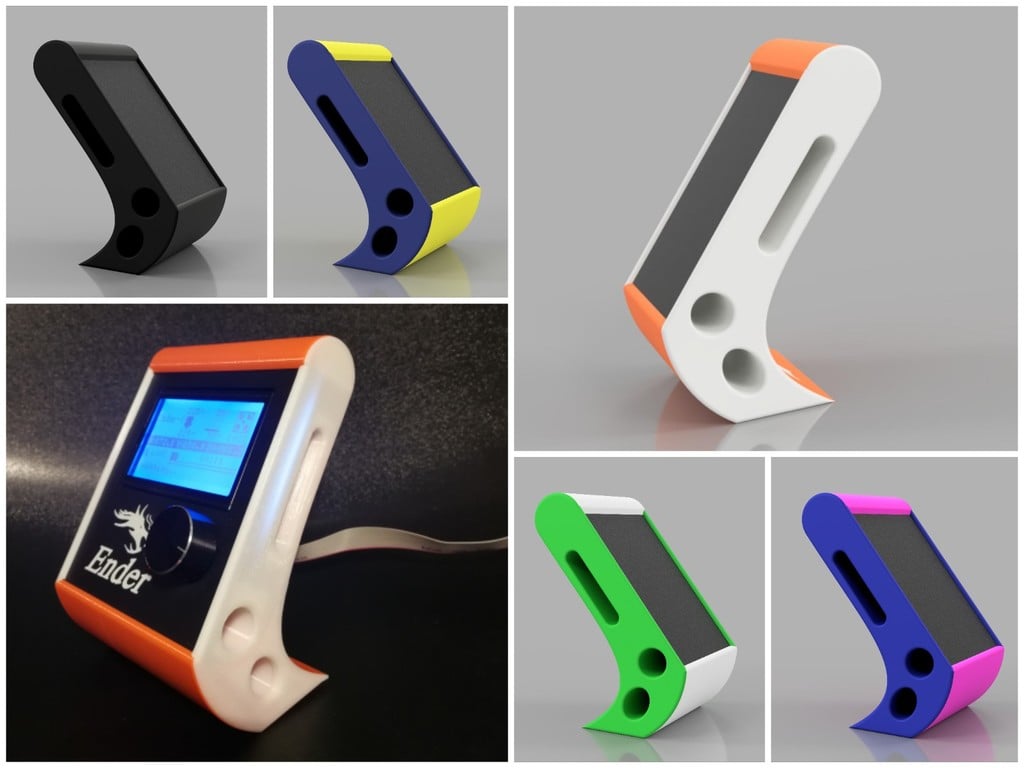
Ender-3 Display Stand As I prefer not to have printer electronics baking in the IKEA LACK cupboard, I relocate mainboard, power supply, and display outside the LACK using a long ribbon cable. My first attempt at designing a display stand resulted in something like a brick (visible in my other designs). This cover here is slim, looks better, and can be assembled without glue or screws. ORDER OF ASSEMBLY: 1. Slide in display (with attached cable) into the main frame. 2. Put loose cable end through the holes. 3. Install cable plug from the inside (if it's too loose, a drop of glue will help). 4. Slide in the left side (the one with the tubes), starting with the upper tube; the cable is intended to fit between the tubes and the backside of the main frame (min. 2 mm space). 5. Install the right side starting from the upper part. The quality of fit depends on printer precision; if the fit is too tight, use a knife to remove potentially overextruded corners. This works well together with the beeper silencer: https://www.thingiverse.com/thing:2943218
With this file you will be able to print Ender-3 LCD Display Stand with your 3D printer. Click on the button and save the file on your computer to work, edit or customize your design. You can also find more 3D designs for printers on Ender-3 LCD Display Stand.