Ender 3 LCD Right Angle & Relocation
thingiverse
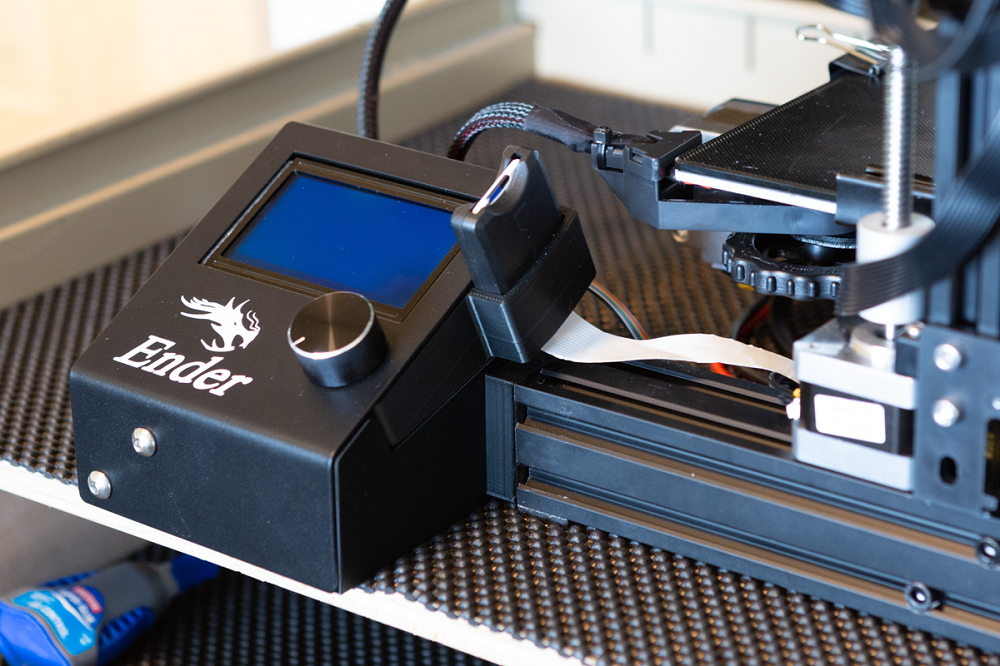
I had to reposition my Ender 3 inside a cabinet, so I moved its LCD/control panel from the original front-right location to the back-left corner, rotating it 90 degrees.\r\n\r\nThis Thing consists of three main parts:\r\n• A rear LCD cover panel\r\n• An LCD base\r\n• A short frame extension/clip\r\n\r\nThe clip fits into holes in the base and snaps into the Ender 3's extruded frame component/foot. This setup positions the LCD screen as shown in the images, and it should clear the rear cable for heating and grounding the bed, but double-check before running your machine since it's close quarters there.\r\n\r\nThe LCD rear cover also features a slot for an SD card reader. You'll need the 18" extension cable, which is a fairly long reach. I ended up threading mine through the stepper driver enclosure, but you could also carefully slide it underneath the printer.\r\n\r\nIf you skip the extension clip, you can attach rubber feet and use it as a standalone control box.\r\n\r\nTwo points to note: The original Ender 3 model from Creality has old components in it. I redesigned the rear LCD cover to fit the updated display board, which now has three EXT ports and a new buzzer location. I also adjusted the extruded frame profile slightly because the Creality model had a difference in the extrusion shape compared to what I measured.
With this file you will be able to print Ender 3 LCD Right Angle & Relocation with your 3D printer. Click on the button and save the file on your computer to work, edit or customize your design. You can also find more 3D designs for printers on Ender 3 LCD Right Angle & Relocation.