Ender 3 Light Bar
thingiverse
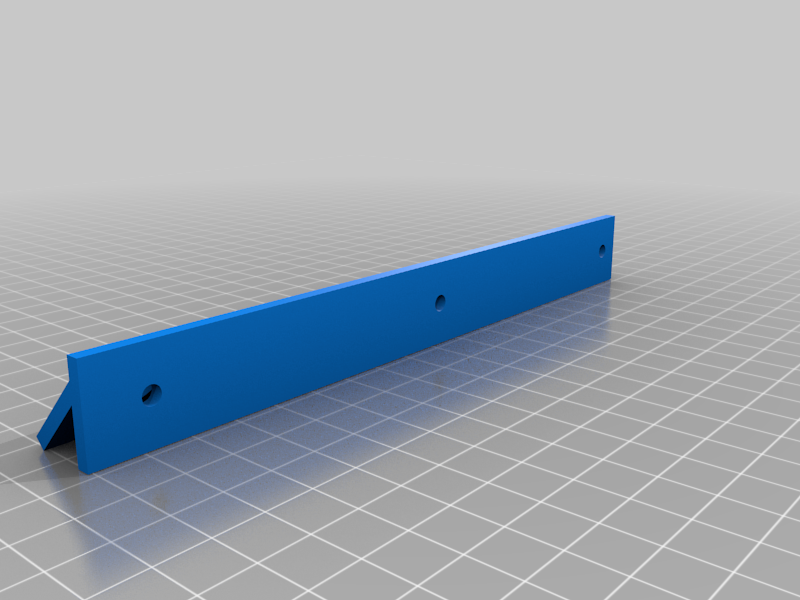
Needed light under the hotend to see what was printing. Most other light bars are mounted on the upper frame and did not allow for light under the hotend to see the first layers of small prints. Light bar has 2 set of LED strip light glued to the underside and then attached to Y-axis with T-nuts. Switch with, wires soldered onto leads and have heat shrink covering(to prevent shorting) is mounted in the lower half of the switch box with a T-nut. Switch and light bar mount with t-nuts. Wiring is run from light bar to Z-motor harness into wire harness to allow for larger prints, then down under frame and back to power supply, with other wires. At power supply 1 pairs of wires run up from positive(see NOTE1 & NOTE2) and negative 12v terminals of power switch, up the right post inside slot, (so they do not interfere with gantry movement) to the switch, another set run back down , and are connected to wires from the light bar. ((NOTE1. Positive connection at the power supply has a 480 ohm resistor soldered onto the end of the wire, (and covered with heat shrink tubing, to prevent shorting), before it is attached to the power supply, To drop voltage from 12v to 3.2v. If you are unsure of the value of the necessary resistor to use go to "http://www.ohmslawcalculator.com/ohms-law-calculator". NOTE2. I AM NOT AN ELECTRICAL OR ELECTRONICS PERSON AND ONLY USED INFORMATION PROVIDED ON THE INTERNET.)) If you have any questions send post them and I will try my best to reply. thanks
With this file you will be able to print Ender 3 Light Bar with your 3D printer. Click on the button and save the file on your computer to work, edit or customize your design. You can also find more 3D designs for printers on Ender 3 Light Bar.