Ender 3 Light Shroud
thingiverse
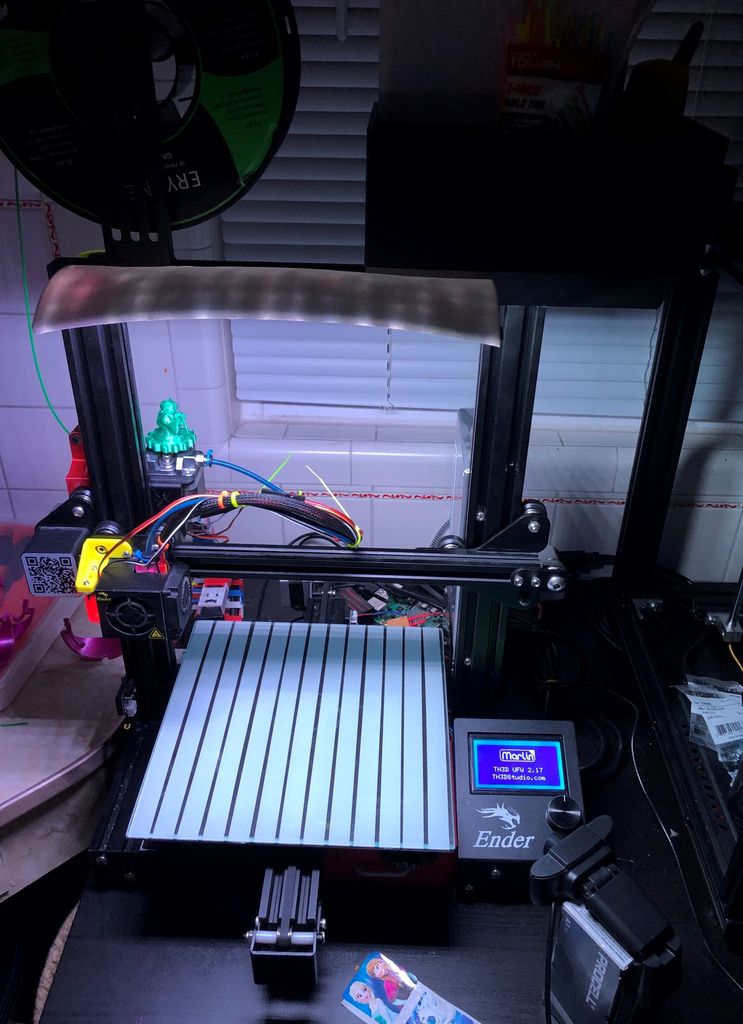
Light shroud for Ender 3 or Ender 3 Pro. Assembles by sliding into the bottom channel of the top extrusion. Uses WS2812 LED strips or any other 10mm wide LED Strips. It holds 3 rows of strips. I can fit 15 LEDs in each channel when using a strip with 60 LEDs/meter. Maybe a bit overkill but you can always use less LEDs and leave channels empty if desired. I've found that I can hide the wires pretty well by routing them down the back of the Z extrusion on the left side, under the Z stepper (need to remove Z stepper for this), and out the back of the printer. I use an Arduino nano and a 5v power supply with a motion detector to have them turn on when I walk in the room. Of course you can set them up however you'd like electrically. The version with holes has small cutouts on the sides for using small zip ties to secure the wiring. The other does not. I'm undecided on how necessary the holes are. I'm sure you could make it work with hot glue and then you don't have the zip ties showing from the top. Print it vertically (on its side) with a brim for max bed adhesion. I think it will be less likely to come off the bed if you orient the shroud so that the long dimension is in the Y direction (instead of X) so that when it moves, it has a longer base to keep it in place. This is how it should open in Cura. Supports are optional. There are slight overhangs that may be a bit less clean without supports. But then you have to print huge supports (except in the areas where the wires route, there they would be small supports). I've never printed one with supports and haven't had an issue. Link to the organizer: https://www.thingiverse.com/thing:4766631
With this file you will be able to print Ender 3 Light Shroud with your 3D printer. Click on the button and save the file on your computer to work, edit or customize your design. You can also find more 3D designs for printers on Ender 3 Light Shroud.