Ender 3 Max Neo Led Lightshade
thingiverse
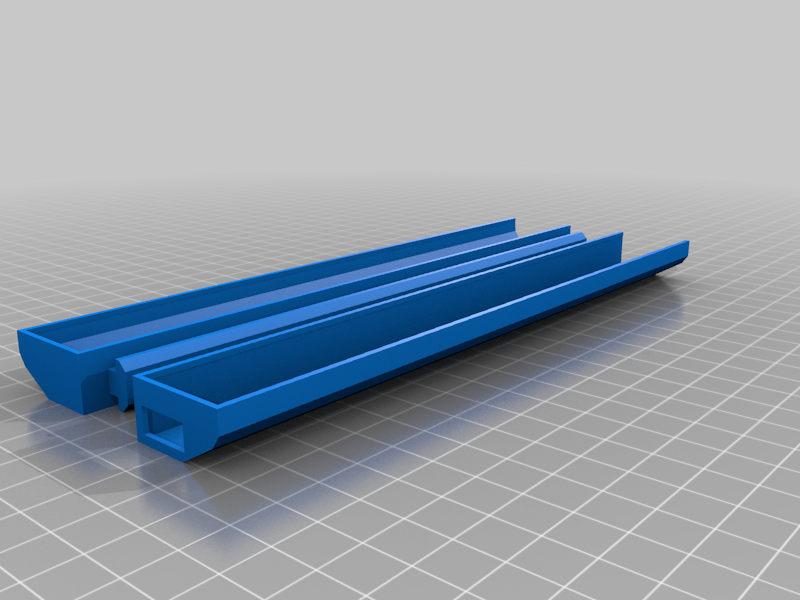
This led light shade prints in two main pieces which should be joined with glue (I recommend gorilla super glue gel) Once glued you then glue the included beauty plate to cover the join. I recommend making sure it slides into your machine before glueing together. (a little bit of sanding may be required as it is a tight fit) I used LED strip lights purchased from Amazon. I used 2 pin connectors that just snap onto the LED strip (which was self adhesive) I slide that into the side hole of the shade and attach to the inside of the shade. I was able to get two rows of lights inside the shade. I did just bed the led strip and looped it back around to complete two rows. This gives good lighting to the print space now. This is what I used to connect my two pin LED strip to a power source. https://www.amazon.com/dp/B084239X4J?psc=1&ref=ppx_yo2ov_dt_b_product_details I used an old fish tank light plug that I was no longer using to plug it into the wall. I am sure you can wire this into your machine. I just wanted an easy way for people to make a light for cheap. (see the last two pictures for what I used)
With this file you will be able to print Ender 3 Max Neo Led Lightshade with your 3D printer. Click on the button and save the file on your computer to work, edit or customize your design. You can also find more 3D designs for printers on Ender 3 Max Neo Led Lightshade.