Ender 3 Max Z rod spacer
prusaprinters
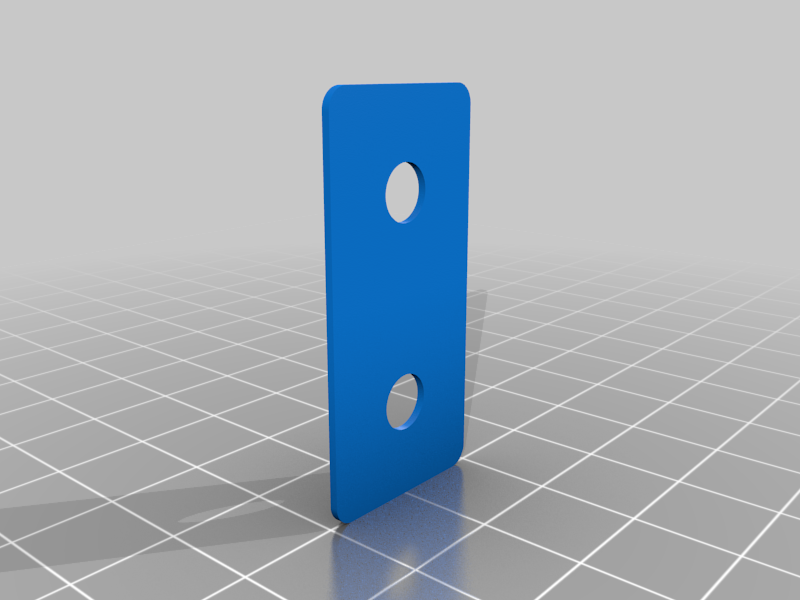
<p>In my printer, I have an incorrect distance between the two Z axis extrusions, so the x gantry was stuck at the bottom and very loose at top of Z height causing level problems and bindings. I don´t know if this is machining problem only in my printer but maybe this can help to someone else.</p> <p>I put this spacer in the left side of the printer (in my case 1.2mm thick, you can modify to your needs) so now the x gantry can run smootly along the z axis.</p> <p>The file has 0.8mm thick, but you can scale it (only height) to your needs).</p> <h3>Print Settings</h3> <p><strong>Printer Brand:</strong></p> <p>Creality</p> <p class="detail-setting printer"><strong>Printer: </strong> <div><p>Ender 3</p></div> <p><strong>Rafts:</strong></p> <p>No</p> <p class="detail-setting supports"><strong>Supports: </strong> <div><p>No</p></div> <p><strong>Infill:</strong></p> <p>100%</p> <p><strong>Filament:</strong></p> <a href="http://www.amazon.com/s?url=search-alias&field-keywords=---+PLA" target="_blank"> --- PLA </a> <p>Black</p> </p></p> Category: 3D Printer Parts
With this file you will be able to print Ender 3 Max Z rod spacer with your 3D printer. Click on the button and save the file on your computer to work, edit or customize your design. You can also find more 3D designs for printers on Ender 3 Max Z rod spacer.