Ender 3 Nozzle Brush
thingiverse
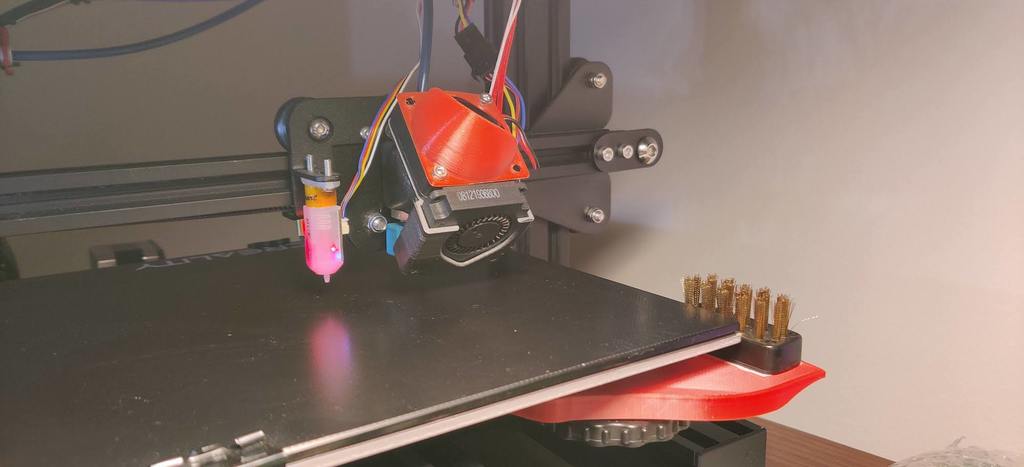
This is not my idea, but wiping the nozzle before every print clearly helps to have a better first layer. Especially when you have thin lines like the one in the video. Buy a brass brush, cut it like in the picture and use double-sided tape to attach it to the bracket. To attach the bracket to the bed, you don't need to disassemble the bed. Just slide the bracket between the bed and the knob and it should clip into place, with a little pressure. If your printer has a different calibration than mine, and the fit is too tight, you can trim or cut a bit the press fit. There are other versions around, which lock in the knob, but when you heat the bed, heat is passed to the bracket and the bracket tends to melt or bend with time. You have to tune your x-stop switch and homing info to make sure that the nozzle can reach the brush. Or do like I did, and change the firmware to set the x size of the bed 250mm instead of 235. then you have to configure your slicer so that in the Start G-Code you have this: ;*** Wipe nozzle *** G0 Z3 G0 F6000 G0 X250 Y0 G0 Y40 G0 Y0 G0 Y40 G0 Y0 G0 X235 G0 X250 G0 X235 G0 X250 G0 Y40 G0 Y0 G0 Z5 G0 Y40 G0 Y0 ;*** End Wipe nozzle *** Insert the code above, between the temperature setting and the nozzle-priming line print. Should be easy. Drop me a line in the comment if you need support.
With this file you will be able to print Ender 3 Nozzle Brush with your 3D printer. Click on the button and save the file on your computer to work, edit or customize your design. You can also find more 3D designs for printers on Ender 3 Nozzle Brush.