Ender 3 (Pro) Dual-Z X-Gantry Calibration Tool
thingiverse
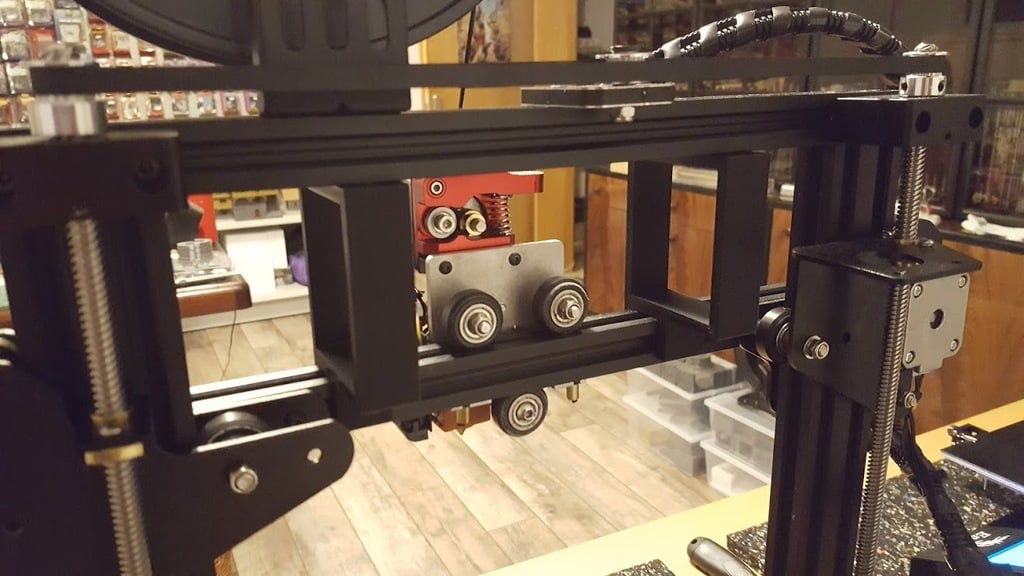
If you are about to convert your Ender 3 (Pro) to a Dual-Z setup, there is one final step needed to complete the installation. The X-Gantry must be level with the printer's frame in order to not produce skewed results. There are different methods to achieve a level X-gantry. Some involve measuring from the bottom, some from the top. I was most successful when using the top bar of the printer as reference. If you calibrate the X-gantry up that high, you will automatically see if the rods are banding. If the setup works nice and easy there, it will work perfectly at build plate level. Instead of continuously measuring the left and the right side, I wanted a quick and easy way to do it and this is the result. The calibration tool is a sturdy frame with a clamp that connects snug with X-Gantry: - Print two copies - Place one on the left and one right side - Bring the X-Gantry up until one side (ideally both) touch the top bar. - If one side is off, unhook the belt and turn the rod until it matches. - Once both sides connect flat, tighten the screws and start printing :D
With this file you will be able to print Ender 3 (Pro) Dual-Z X-Gantry Calibration Tool with your 3D printer. Click on the button and save the file on your computer to work, edit or customize your design. You can also find more 3D designs for printers on Ender 3 (Pro) Dual-Z X-Gantry Calibration Tool.