Ender 3 (Pro) Filament Runout Sensor V2
prusaprinters
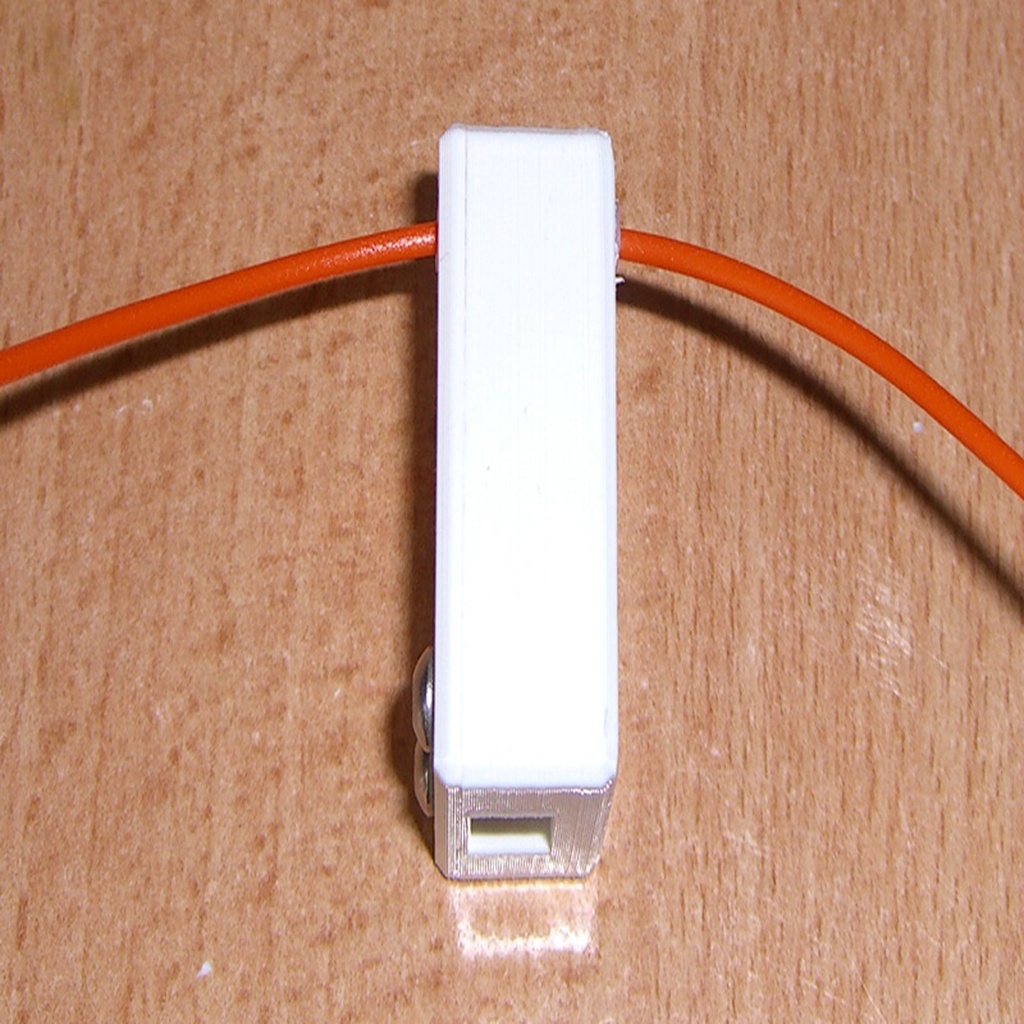
<p><strong>(Description in german below // Deutschsprachige Beschreibung folgt unten)</strong></p><p>Since I recently mounted a BLTouch on my Ender 3 Pro, I no longer need the mechanical Z-axis end switch. I have now converted it into a filament runout sensor and designed a small housing for it.<br>This one is a modification of my 1st version.<br>I rotated the filament path 90 degrees: The filament no longer runs along the microswitch, but across it. This makes it much easier to thread in the filament, because the path has become much shorter.<br>To thread in the filament, simply press down the lever of the microswitch with the "switch", push the filament through, release the switch, and that' s it.</p><p>For the electrical connection to the mainboard of the printer and the necessary adjustments in Marlin I recommend the corresponding video by Teaching Tech: <a href="https://youtu.be/gwHpXaj">https://youtu.be/gwHpXaj</a><br>2 very short pieces of PTFE tubing are required to guide the filament (about 2 mm each): One in the case, one in the lid.<br>Otherwise 4 short M3 screws are needed: 2 to fix the small circuit board in the case, 2 to fix the cover.</p><p>UPDATE 01.10.2019: I finally decided where and how to attach it. I made a holder that goes into the TUSH2 (<a href="https://www.thingiverse.com/thing:2853619">https://www.thingiverse.com/thing:2853619</a>) and a new lid.</p><p><strong>Please post your make. Thank you. :-)</strong></p><p>Da ich kürzlich einen BLTouch an meinem Ender 3 Pro montiert habe, benötige ich den mechanischen Endschalter für die Z-Achse nicht mehr. Diesen habe ich jetzt in einen Filament-Runout-Sensor umgebaut und mir ein kleines Gehäuse dafür konstruiert.<br>Dieser hier ist eine Modifikation meiner ersten Version (<a href="https://www.thingiverse.com/thing:3829371">https://www.thingiverse.com/thing:3829371</a>).<br>Ich habe den Filamentpfad um 90 Grad gedreht: Das Filament läuft jetzt nicht mehr längs zum Mikroschalter, sondern quer dazu. Somit ist es deutlich leichter einzufädeln, weil der Weg erheblich kürzer geworden ist.<br>Um das Filament einzufädeln, einfach mit dem "Schalter" den Hebel des Mikroschalters runterdrücken, das Filament durchschieben, Schalter loslassen, fertig.</p><p>Zum elektrischen Anschluss ans Mainboard des Druckers und die erforderlichen Anpassungen in Marlin empfehle ich das entsprechende Video von Teaching Tech: <a href="https://youtu.be/gwHpXaj_6xE">https://youtu.be/gwHpXaj\_6xE</a><br>Für die Führung des Filaments werden noch 2 sehr kurze Stücke PTFE-Schlauch benötigt (jeweils etwa 2 mm): Eins für das Loch im Gehäuse, eins für das im Deckel.<br>Ansonsten werden noch 4 kurze M3-Schrauben benötigt: 2, um die kleine Platine im Gehäuse zu befestigen, 2 um den Deckel zu befestigen.</p><p>UPDATE 01.10.2019: Ich habe mich endlich entschieden, wo und wie ich das Teil befestige. Ich habe mir einen Halter konstruiert, der an den TUSH2 (<a href="https://www.thingiverse.com/thing:2853619">https://www.thingiverse.com/thing:2853619</a>) passt und einen neuen dazu passenden Deckel.</p><p><strong>Bitte stellt Euren "Make" ein. Danke. :-)</strong></p><h3>Print Settings</h3><p><strong>Rafts: </strong>No</p><p><strong>Supports: </strong>No</p><p><strong>Resolution: </strong>0.2 mm layer hight</p><p><strong>Infill: </strong>15 %</p>
With this file you will be able to print Ender 3 (Pro) Filament Runout Sensor V2 with your 3D printer. Click on the button and save the file on your computer to work, edit or customize your design. You can also find more 3D designs for printers on Ender 3 (Pro) Filament Runout Sensor V2.