Ender 3 pro prusa style upgrade for all axes
thingiverse
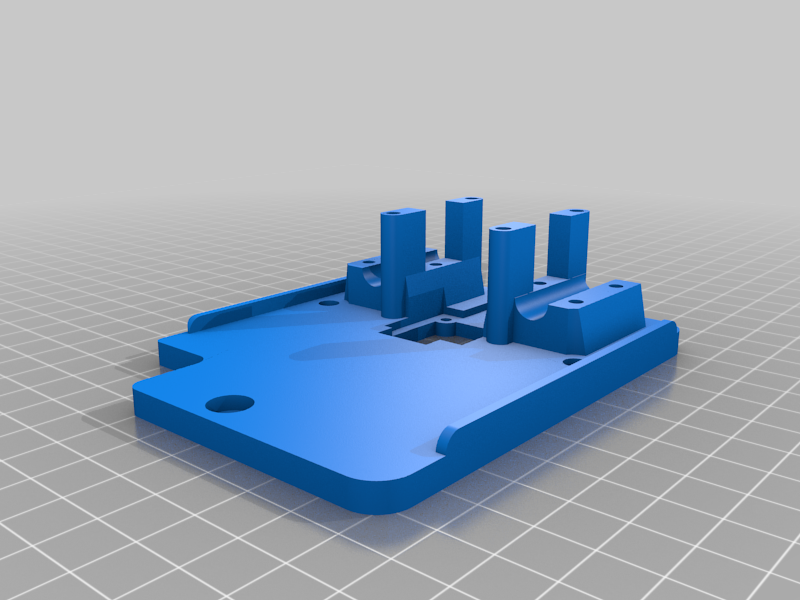
2023/07/22. Update: I uploaded the X axis upgrade with screw fixing opportunity Keep in mind that these parts were designed for the biqu H2 V2S hotend, so the bed size may not fit for the original, you may have to adjust it in the firmware. !!! Use/make it at your own risk, I'm just an enginnering student who finished high/secondary school, so I'm not a professional designer. Don't get me wrong,it works well on my printer, but be aware of these informations. !!! You can't use the "Bearing spacer" on the "X axis carriage" because it would not fit. Btw this part isn't neccesary to be used. Be sure to buy the same type of M3 screw (or one with a more flat head), otherwise the bed leveling srews will get stuck into the screw heads. If you have any suggestion or any problem, please write me a comment. I recommend printing the parts as they are placed in the stl files, I printed them this way (with supports where it needs it) You'll need these: -8mm rod: -2 x 400mm for Y axis -2 x 440mm for Z axis -2 x 375mm for X axis -M3 screw: -8mm (or 6mm): 22 piece -30mm: 6 piece -15mm: 1 piece -M3 nut: 27 piece -M5 screw: -40mm: 7 piece -8mm: 24 piece -15mm: 4 piece -M5 nut (I would you lock nut, but the basic nut is good aswell): 7 piece -M5 T-nut: 24 piece -22 piece of cable tie (3,5mm x 1mm) -GT-2 belt: -approximately 90mm for the X axis (I would buy a bit longer then you can cut off the excess) -you can use the original Y axis belt for the Y axis (but if you do, you will struggle a bit, you may have to remove the Y axis motor to install the belt, then reinstall it -LM8UU linear bearing: 11 piece I think you can use ABS aswell, but I didn't test it. I don't recommend using Pla. You will need to use a pause at layer height or filament change (I recommend this, beucase in some cases my printer turned off the stepper motors when I used pause at layer height) command on the "X axis carriage" to insert the 2 M3 nut into the places (these ones hold the hotend mount). You will need to use a pause at layer height or filament change (I recommend this, beucase in some cases my printer turned off the stepper motors when I used pause at layer height) command on the "X axis carriage" to insert the 2 M3 nut into the places (these ones hold the hotend mount) I recommend printing the parts as they are placed in the stl files, I printed them this way (with supports where it needs it). The “X-Z axis assemble” file is with the old design, since then i replaced the right and left X axis brackets as you can see in the files. You may need to use the rollers in the inside part as you can see on one of the pictures if you use it with the Belt Z upgrade like me or you use it with one Z axis rod. If you don't mind, please download it from my printables profile and leave a like if oyu liked it. https://www.printables.com/model/533429-ender-3-pro-prusa-style-upgrade-for-all-axes
With this file you will be able to print Ender 3 pro prusa style upgrade for all axes with your 3D printer. Click on the button and save the file on your computer to work, edit or customize your design. You can also find more 3D designs for printers on Ender 3 pro prusa style upgrade for all axes.