Ender-3 replacement Z-nut
thingiverse
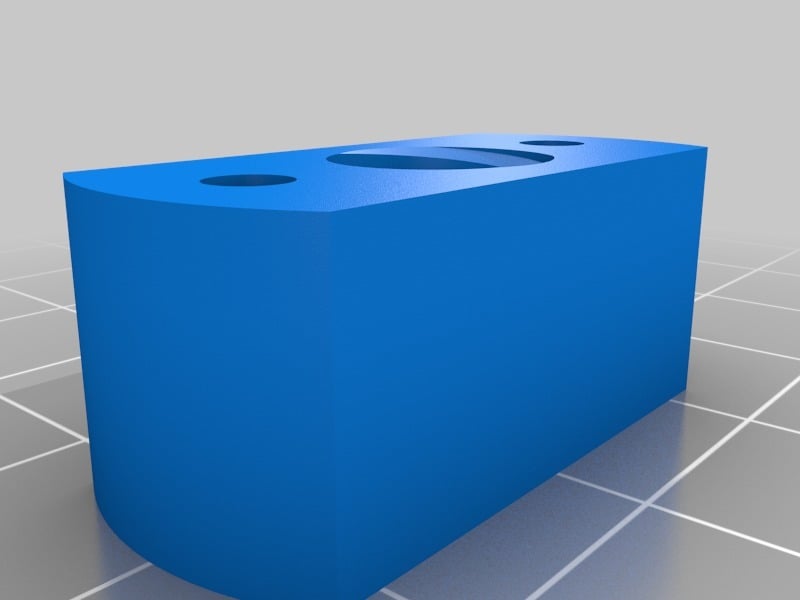
Okay this is the final update on this fix: I added pictures and an adapter stl and a keeper stl that holds the nut in the adapter. I also added a screen shot of my settings the two things that aren't shown are the flow (93) and I add a line to the start gcode that calibrates E steps that line is: M92 E103.41 (this line should be adjusted so that printing gcode G1 E100 F100 extrudes 100mm the default is E93 so that is your starting point if yours is doing less you add to the E93 if it is over doing use less than E93. E103.41 works for me but you are going to have to find what works for you, by printing the gcode G1 E100 F100 at temperature and measuring from a sharpie mark on the filament to see how much it is unrolling exactly) You can always just print and sand it to fit if your settings are off. The nut sits in the adapter and the keeper holds it in. The adapter has holes in the right spot to match up with the printer and the original screws. The most difficult part is the nut is too big and round to fit against the stepper motor for Y access. The fix for this is grinding a flat side on the nut to match the flat side on the adapter. It grinds fairly easily because it's brass. I used a piece of the Allen wrench as a pin just stick anything in the hole to keep it from spinning. Update: I added one 3% larger overall but kept the mounting holes the same. This worked on my uncalibrated ender 3... now that I confirmed it fits I ordered http://a.co/d/iYYT25B it is a 5 pack in brass $9.99 prime... and I'll have to drill new mounting holes but otherwise I think that should work. My new ender-3 arrived today and the nut for the z lead screw rod is missing threads as in it was not tapped. I was told it should be T8 trapezoidal threads with 2mm pitch. If that is true this should work (amusing my first try at fusion 360 was done correctly). I am going to print this as soon as I get to a working printer, and I'll update as needed. I made 2 versions one is a copy of the original brass one as a stl the other is a solid block in the shape of the flange from the first one. I feel the solid one is better suited for 3d printing. The main 8mm hole is threaded with T8 trapezoidal threads with 2mm pitch, and I left the 2 small mounting screw holes unthreaded. it is based on the gethub https://github.com/Creality3DPrinting/Ender-3 but that one was.... wait for it.... is modeled WITHOUT THREADS LOL! you cant make that up.
With this file you will be able to print Ender-3 replacement Z-nut with your 3D printer. Click on the button and save the file on your computer to work, edit or customize your design. You can also find more 3D designs for printers on Ender-3 replacement Z-nut.