Ender 3 Tool Holder with *Embedded* Disc Magnets
thingiverse
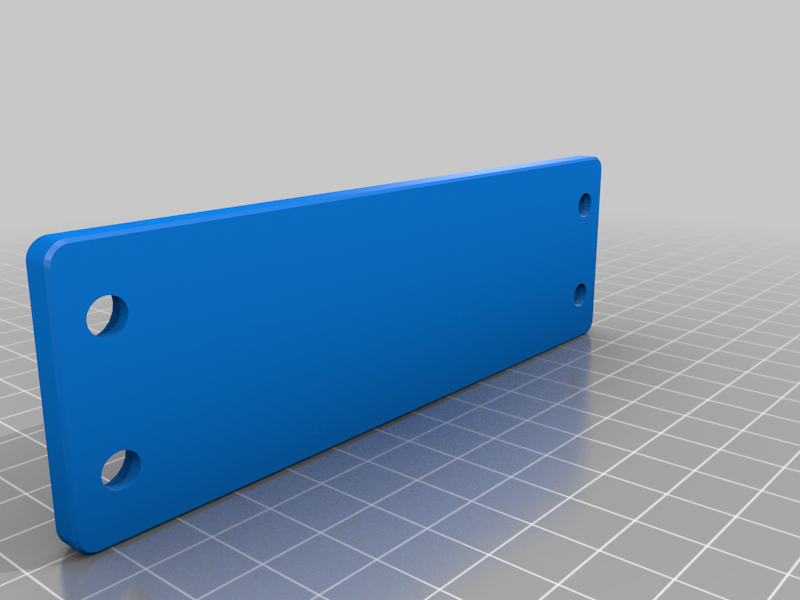
Remixed from <a href="https://www.thingiverse.com/thing:4699303">this very useful magnetic tool holder for an Ender 3</a> (and other 20x20 extrusion printers), itself remixed from this <a href="https://www.thingiverse.com/thing:4621699"> original design</a>. This is an second version of my first remix/modeling effort. Here is a <a href="https://www.thingiverse.com/thing:4714457">larger version that utilizes 4 magnetic bars</a>. <b>Principal changes in this remix:</b> <ul><li>In lieu of the surface-mounted 18mm magnetic discs, utilizes more readily-available 1.25" x 1/8" disc magnets that are <u><b>embedded</u></b> into the print.</br></li> <li>Makes the screw holes bigger and more recessed to better accommodate M4 pan head screws.</br></li></ul> <b><u>MPORTANT NOTES – ESPECIALLY #1</u></b></br> <ol><li>The magnets are embedded/“sandwiched” between top and bottom (front and back) printed layers. This requires pausing the print (after layer 23 for me, at 0.2mm layer height), carefully placing the magnets into the cavities, and then resuming the print. This is akin to a color filament change at a certain layer height. (There’s a lot of documentation on how you can do this manually, through your slicer, or through Octoprint.)</br></li> <li>The cavities are specifically sized for <a href="https://www.amazon.com/gp/product/B073WJMSCR/">these magnets from Amazon</a>. They friction fit, with just a bit of pressure. After several trial-and-error prints, I found that if the cavities are too tight, forcing the magnets in will cause bed/head movement that will interfere with the resumed print; if they’re too loose, the magnets tend to jump out of the cavity to stick to one another. Some people use adhesives (super glue or epoxy for these sorts of embedded magnets). I didn’t want to get started with potentially getting epoxy on my printer and wanted to limit the pause length. It is a delicate dance getting each magnet to stay in its cavity when inserting the adjacent ones. <b>NB: Pay attention to the top/bottom of each magnet and install them all with the same pole down.</b></br></li> <li>The screw holes are designed for M4 pan head bolts and M4 T-nuts. (Socket heads should work but may stick out above the surface slightly.)</br></li> <li>I printed the object with the <u>front face</u> (with the countersunk holes) on the print bed. Yes, I realize this is counterintuitive, as (for some people) it requires supports in the screw holes. Still, I chose this approach for two reasons: First, but I wanted the front face to be the smoothest surface (and I like the slight texturing effect from the glass on my E3v2). Second, I wanted the weaker side to be the back side, which is mechanically mounted against the rail.</li> <li><b>PLEASE BE CAREFUL!</b> Magnets are pretty amazing, but also hard to work with. They want to stick to each other and a lot of other things in your workspace. I had a scare when they pulled a sharp knife toward me unexpectedly. Also, two magnets can pull together with enough force to crack/break each other. (This happened to me twice.) Finally, magnets can mess with pacemakers and create other health issues. So, please proceed at your own risk, and be very careful.</br></li> <li><b>MAKE SURE YOUR NOZZLE ISN’T MAGNETICALLY ATTRACTIVE.</b> My brass nozzle is not attractive, but I suppose steel nozzles would be. To prevent damage your nozzle and hot-end, please do a careful test before printing and trying to embed magnets as described here.</br></li></ol>
With this file you will be able to print Ender 3 Tool Holder with *Embedded* Disc Magnets with your 3D printer. Click on the button and save the file on your computer to work, edit or customize your design. You can also find more 3D designs for printers on Ender 3 Tool Holder with *Embedded* Disc Magnets.