Ender 3 V2 Dial Indicator Mount for Bed Level/Tramming
thingiverse
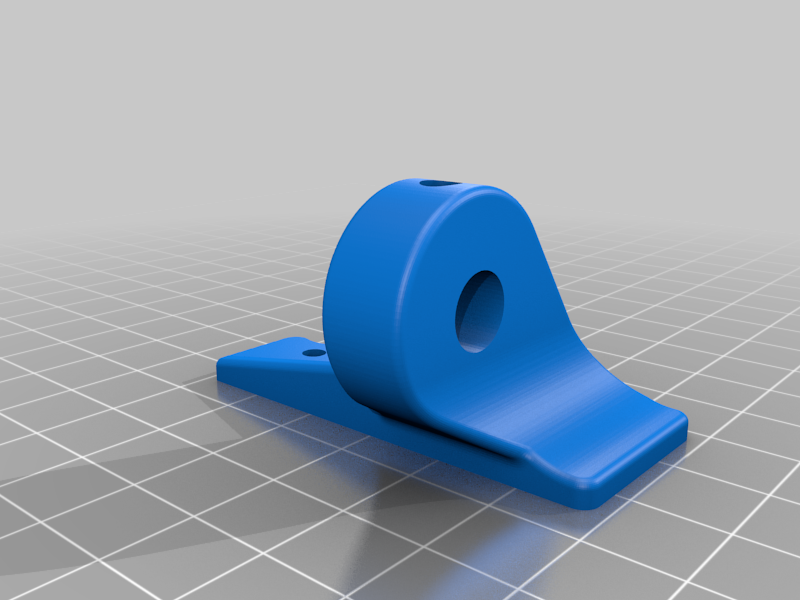
This rigid mount will fixate a standard Dial Indicator (ø8 shaft) to your 3D-printer. There is no need to remove any parts, since it is mounted on to the two extra M3 holes in the existing bracket. After printiing, I cut a M5 thread in the PLA for a set screw. Two pcs. M3 screws as well as a M5 set screw is needed. When using the dial, I moved the print head around "manually" with the X,Y,Z commands on the screen, to check the flatness of the bed. The result was that the glass bed was within 0,05mm in relation to the print head. This is only due to 4 extra original glass bed clips that I bought online. Otherwise it wouldnt have been this flat in my case. I found that these clips were better/stronger than the paper clips normally used.
With this file you will be able to print Ender 3 V2 Dial Indicator Mount for Bed Level/Tramming with your 3D printer. Click on the button and save the file on your computer to work, edit or customize your design. You can also find more 3D designs for printers on Ender 3 V2 Dial Indicator Mount for Bed Level/Tramming.