Ender 3 V2 installation MGN12H Linear fastening Y
thingiverse
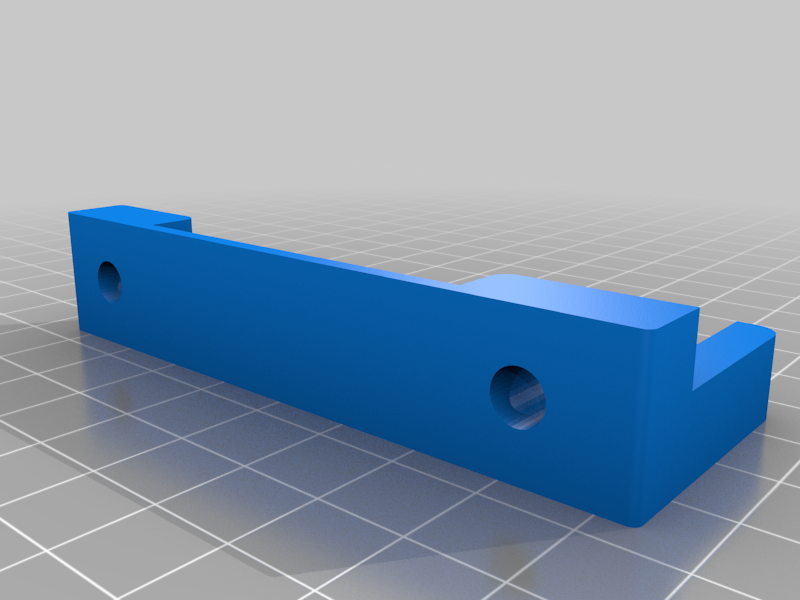
Installing linear guides on the Y axis. Tested on Ender 3 V2. Without transfer of the Y limit switch. It is possible to offset the X holes for fixing the table. It is necessary to drill the table with a drill with a diameter of 8mm (9mm). 4 mounting holes where the wheels used to be. Place a 4.5x12(14mm) washer on top of the grubber and a M4x16-(25)mm screw. Put washers under the table to put on the rivet bushing. The threaded rivet can be fixed with superglue. Attached are Solid files to modify. Important!!! 90 degrees bearing relative to the table!!! When printed properly, Everything becomes bolton.
With this file you will be able to print Ender 3 V2 installation MGN12H Linear fastening Y with your 3D printer. Click on the button and save the file on your computer to work, edit or customize your design. You can also find more 3D designs for printers on Ender 3 V2 installation MGN12H Linear fastening Y.