Ender 3 v2 Pi Camera Mount Module v3 - Ball Hinged
thingiverse
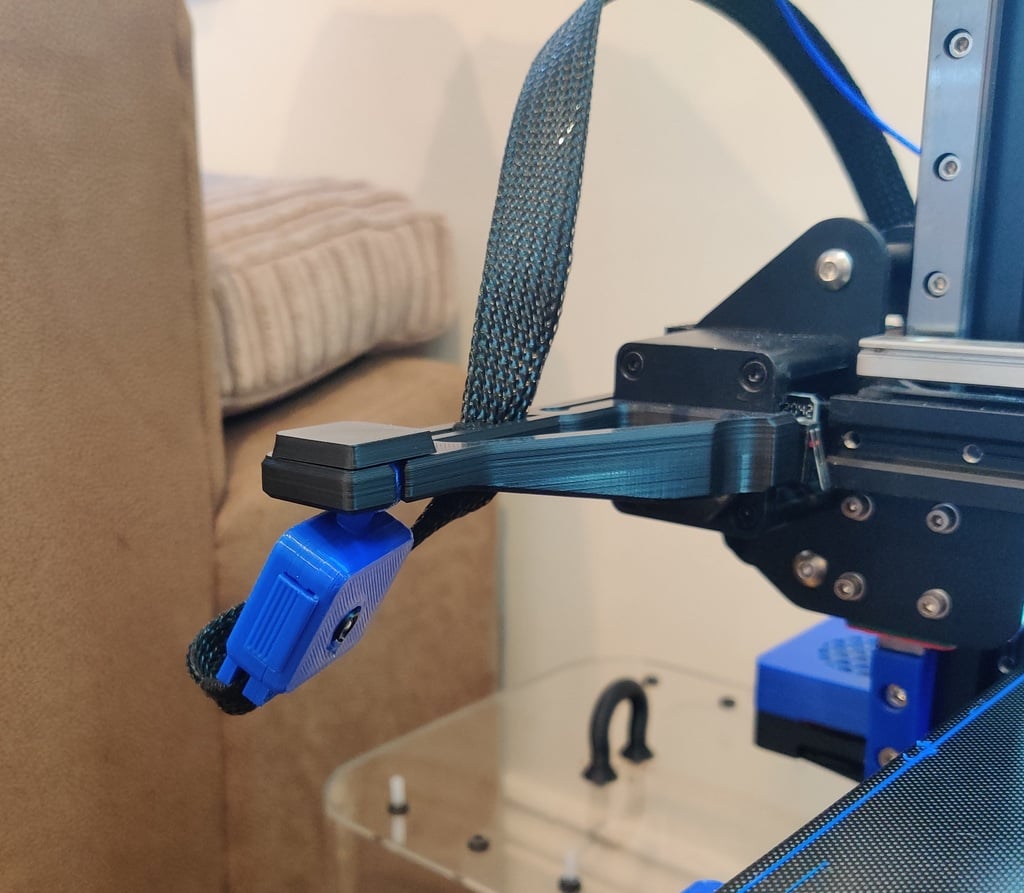
## Ender 3 v2 - Raspberry Pi Camera - Module v3 (auto focus - wide angle) Case and Mount This is actually a remix of 2 items: 1. **The mount** - Raspberry Pi Camera V2 Mount for Ender 3 v2 *by crsn00* 2. **The case** - OctoPi and Pi camera holder *by HermannSW* I changed the mount to have a thinner right clip, as it interfered with the x-axis end-stop and also incorporated a hole for an M4 screw to keep a tight fit. I also added an additional beam for the camera cable to go through for better cable management and added a concave area on the right, as this would interfere with the BLTouch. I change the case to have thicker clips on the front part, as I printed in PLA and they were a little too thin originally and would easily snap. I also added the ball part of the ball hinge to the case and also added a cable 'clamp' type thing at the bottom of the camera, which is useful to me - My camera cable is housed inside of nylon braided cable *(something I had left-over. Can't remember the diameter or where I bought it)* and I tape the ends using adhesive wiring harness loom tape: (https://www.amazon.co.uk/gp/product/B00EVS64I4/ref=ppx_yo_dt_b_search_asin_image?ie=UTF8&psc=1) And so the camera case can clamp shut on that and keep the cable held in tightly (I used a tab of super-glue to help, but you don't need to). I then created a 'cap' - The odd small .stl in this thingy - Once I had the camera orientated how I liked it, I added some hot glue to the ball hinge at the top, so that it's less likely to move if I accidently knock it, and made it tidy by then added the cap to hide the glue. You don't have to do this, the ball hinge is a tight fit and won't move with vibration from the printer or anything... It's just that I'm particular. Word of warning. If you wish to also do the above to keep from accidently moving the camera by knocking it, then DON'T USE SUPERGLUE! I made this mistake the first time, and after a few prints I decided I didn't like the orientation I'd ended up with, but I couldn't move it, it just snaped the camera case. If you use hot glue instead it's fairly easy to remove the cap and the glue and try again. ### Pi Camera Module v3 Camera Shake / Wobble So, I got the Pi camera module v3 too soon before reading up on it. 1. It doesn't work out of the box for OctoPi, you either need to install and tinker yourself, or use the 'New Camera Stack' version of OctoPi. I found the latter just 'works' - If you use OctoLapse though, then disable custom image settings. 2. I bought the camera as an upgrade from the v2 that I had. I wanted it for the added benefit of autofocus and better image quality. I did get better image quality for sure, but I found the autofocus wasn't useful to me. It would constantly re-focus when the x-axis moved and when continuously focus when the x-axis is near 0 and stationary! Additionally, because the lens of the camera is now on a spring, any tiny amount of printer vibration would cause the lens to wobble and watching the output looks terrible... I managed to actually remix the case, so that the hole for the lens is just tight enough to stop the camera wobble, however, this would also interfere with the autofocus - Sometime the motor would turn, other times not. Therefore, in the end, I decided not to use the autofocus. I set a specific 'LensPosition' (it's good that you can now do this digitally / remotely at least), and to stop the wobble, I then put a very small drop of hot glue between the housing of the lens and the case - I wouldn't fully recommend people go do this, but I found this 100% completely stopped the wobble issue for me... I would recommend instead, is to use the Pi HD camera, not the autofocus camera. Alternatively, I've included an 'anti-wobble' cap. The idea is the hole is 'just' big enough so that the camera lens can move in and out to focus but tight enough to prevent wobbling. You'll need to make sure your tolerances are spot on and you may need to print a few at +/- 1% scaling increments, then glue this on the front. I had it working for me. Enjoy!
With this file you will be able to print Ender 3 v2 Pi Camera Mount Module v3 - Ball Hinged with your 3D printer. Click on the button and save the file on your computer to work, edit or customize your design. You can also find more 3D designs for printers on Ender 3 v2 Pi Camera Mount Module v3 - Ball Hinged.