Ender 3 V2 power switch mod
thingiverse
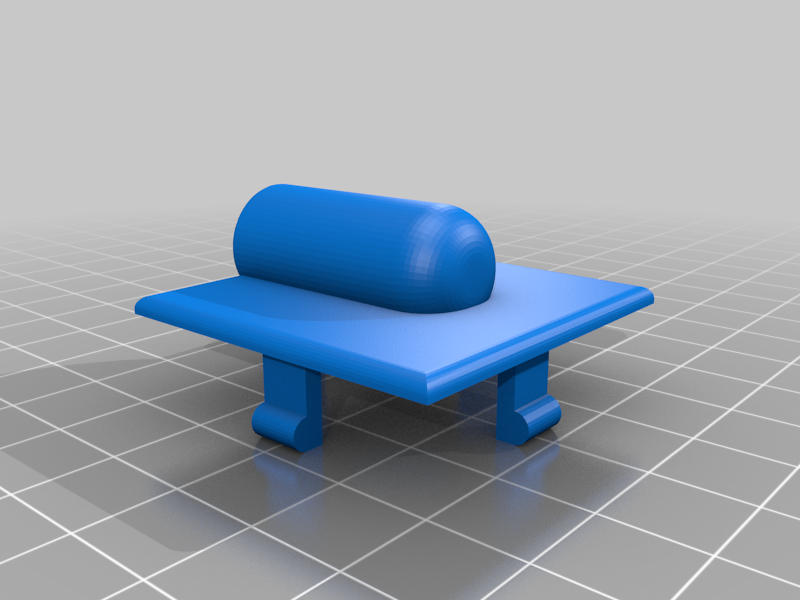
I decided to design replacement parts for the stop ends on the aluminium extruder such in a way that no holes are drilled and by using piggy back connectors on the original switch all original parts are retained so the warranty is not affected. 1. Turn power off and unplug printer 2. Remove the two retaining screws from the 3 pin power inlet, this will give access to the adjacent switch 3. By manoeuvring a small screwdriver through the hole where the power inlet was removed you should be able to compress the retaining clips on the top and bottom of the switch ( I used the hook end of one of the supplied allen keys which was ideal for the purpose) 4. Once removed use piggy back spade terminals (Ebay) for the new connections and run the cable through the square hole (see image) 5. Remove existing end caps on the aluminium extrusions and replace with printed parts 6. Job done Parts on Ebay • Switch - 6A 250V Mini Rocker Switch SPST https://www.ebay.co.uk/itm/153382642240?var=4532994112 • Cable - 0.75mm² Flex 2 core Black https://www.ebay.co.uk/itm/233546989491?var=533200495254
With this file you will be able to print Ender 3 V2 power switch mod with your 3D printer. Click on the button and save the file on your computer to work, edit or customize your design. You can also find more 3D designs for printers on Ender 3 V2 power switch mod.
