Ender 3 V2 PSU relocation kit
prusaprinters
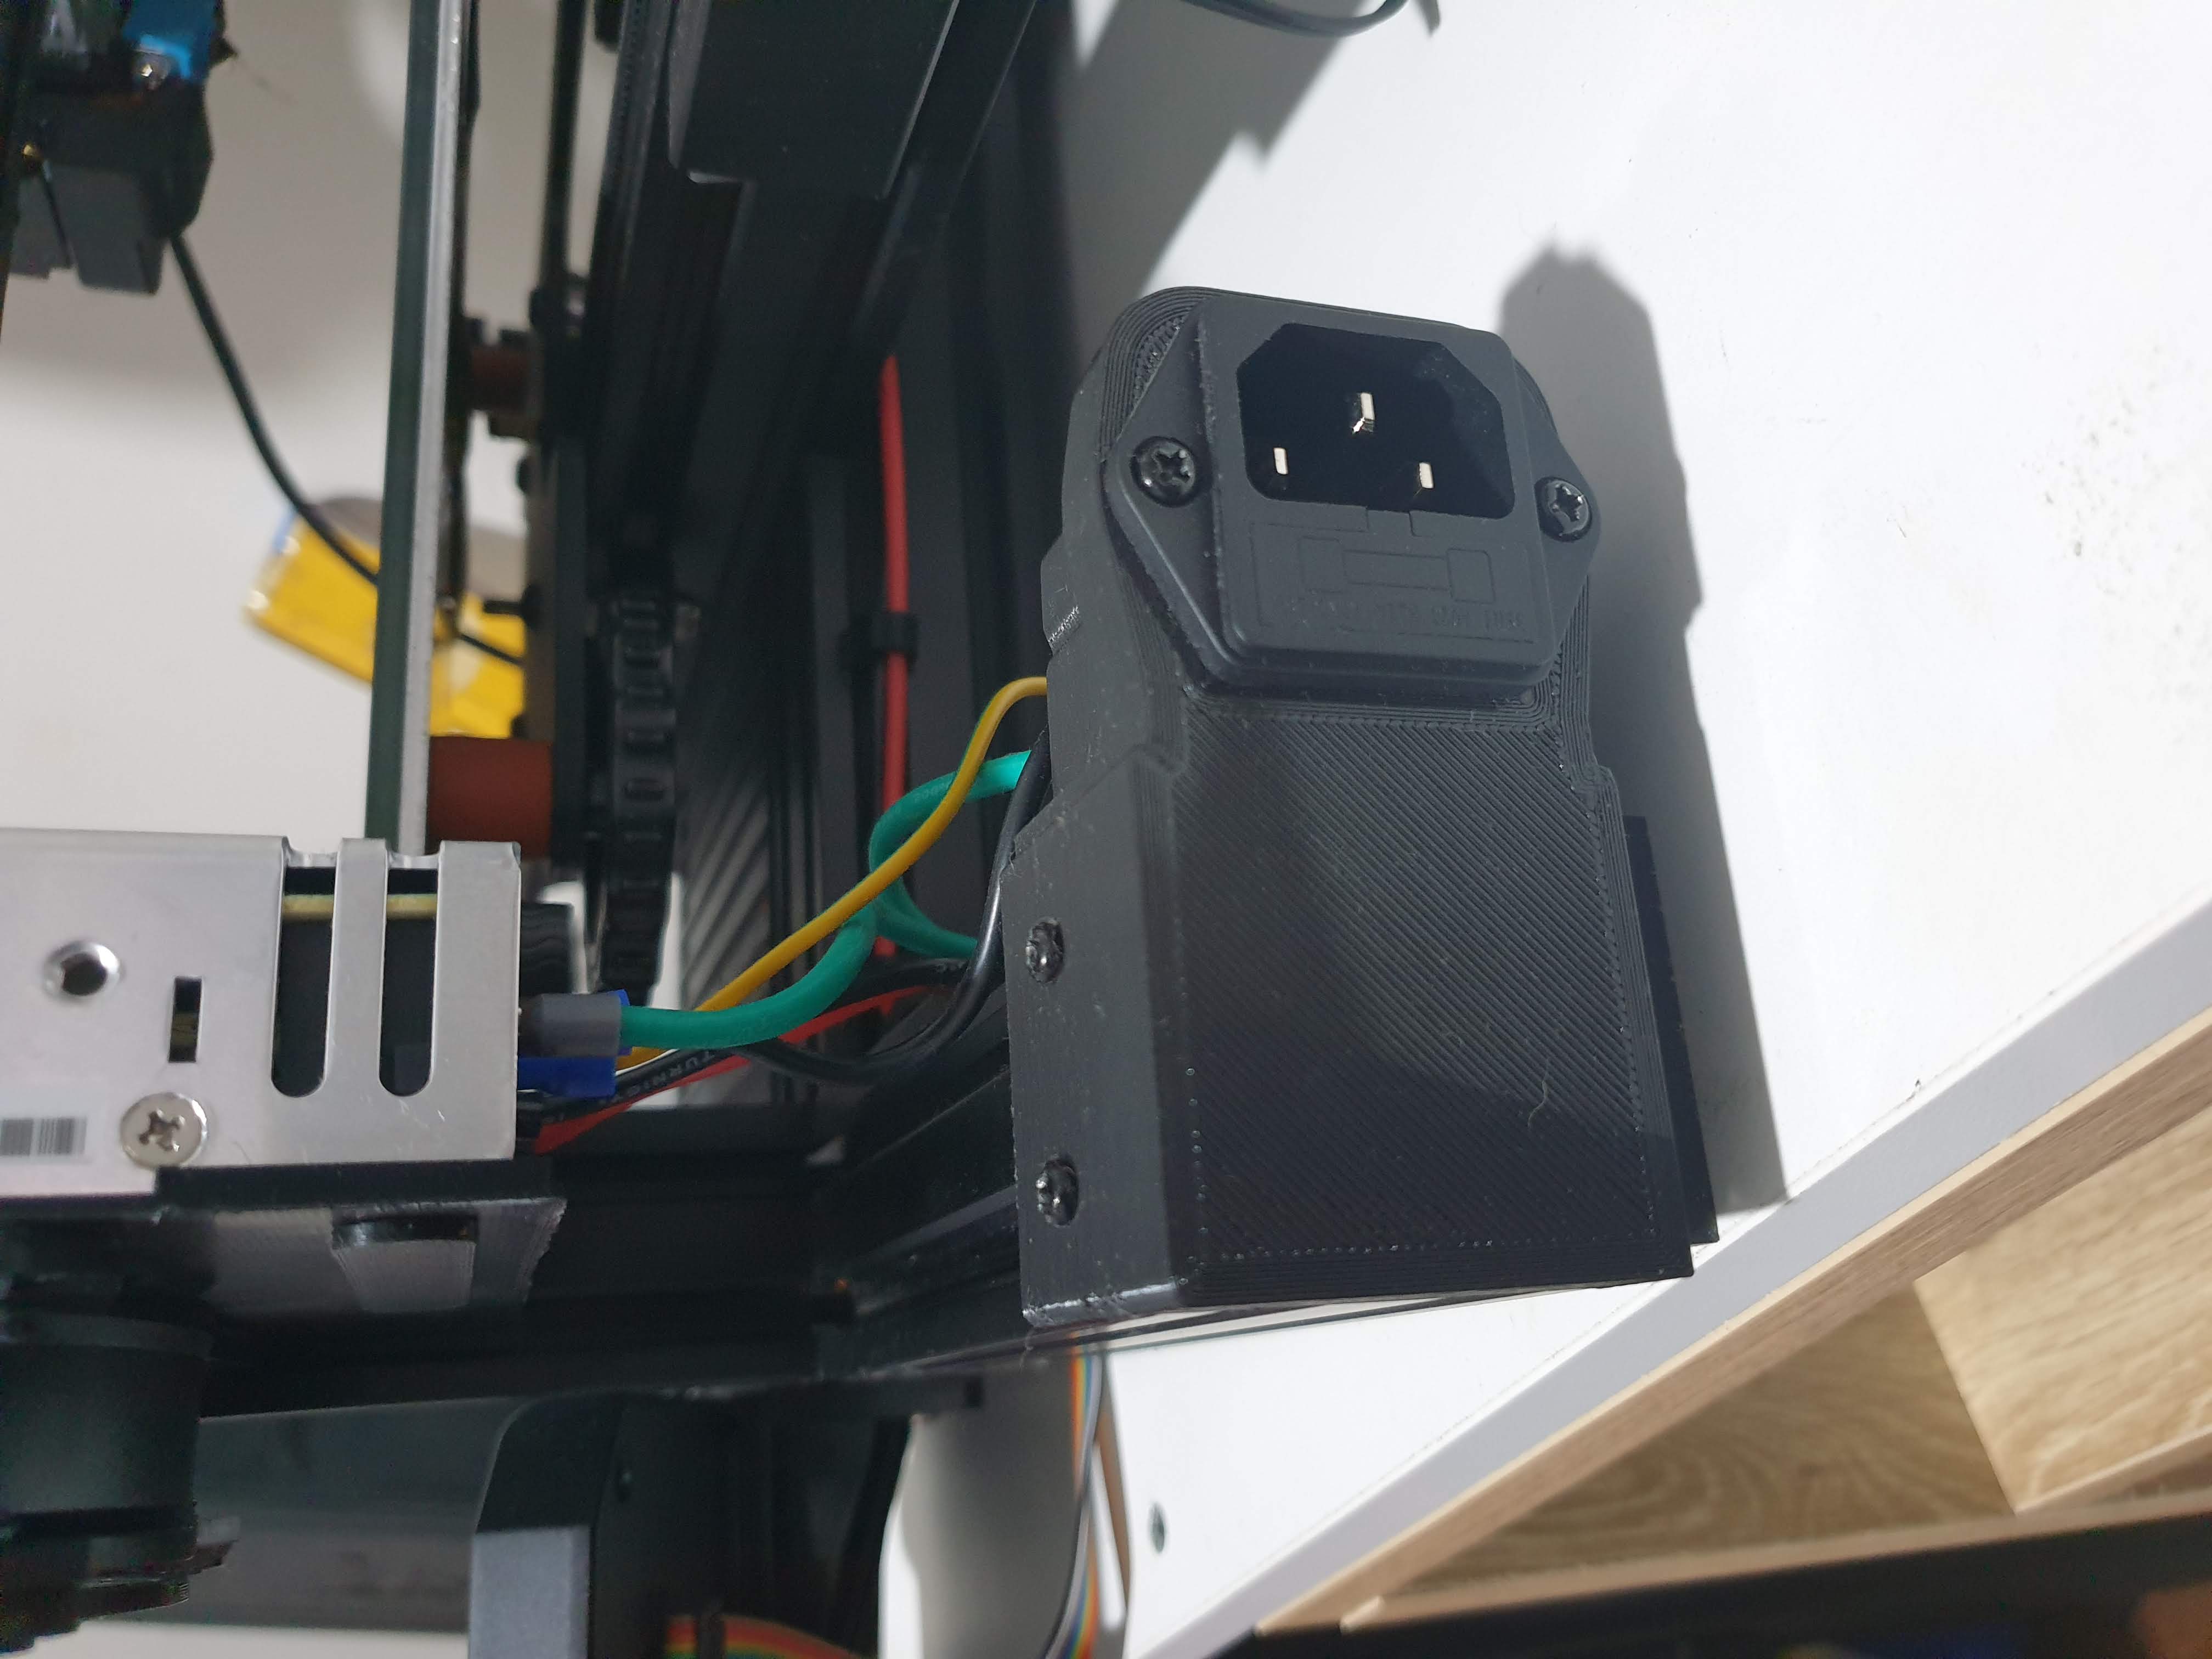
<p>All the bits I used to relocate the psu to the old school position. Now it's super quiet and runs much cooler. The fan comes on for about 15 seconds once every few minutes as opposed to running constantly in the stock position.</p><p>Front switch and mains plug assemblies are clamped to the extrusion with M3 10mm bolts and nuts. Mains plug is screwed onto the holder with the same M3 10mm bolts and nuts. Nuts should fit if your printer is dialled in, mine were good to go. If they're too tight heat the nut with a lighter and press it in. Too loose? Super glue is your friend. </p><p>Mains plug assembly is designed to leave room for wiring from the front switch to exit the extrusion at the rear with plenty of room so as not to pinch the wires onto the extrusion. </p><p>PSU cover is designed to hold a 120mm pc fan. You will probably need to put a new connector on the fan so it works on the board. Fan grill was designed for my particular fan, you may need a different one. The PSU cover also has a safety cover which you can remove to get access to the wire clamp screws. </p><p>I'm not a marine biologist so I'm not going to tell you how to wire everything up. If in doubt, just don't do this mod. It's dangerous playing with mains power.</p>
With this file you will be able to print Ender 3 V2 PSU relocation kit with your 3D printer. Click on the button and save the file on your computer to work, edit or customize your design. You can also find more 3D designs for printers on Ender 3 V2 PSU relocation kit.