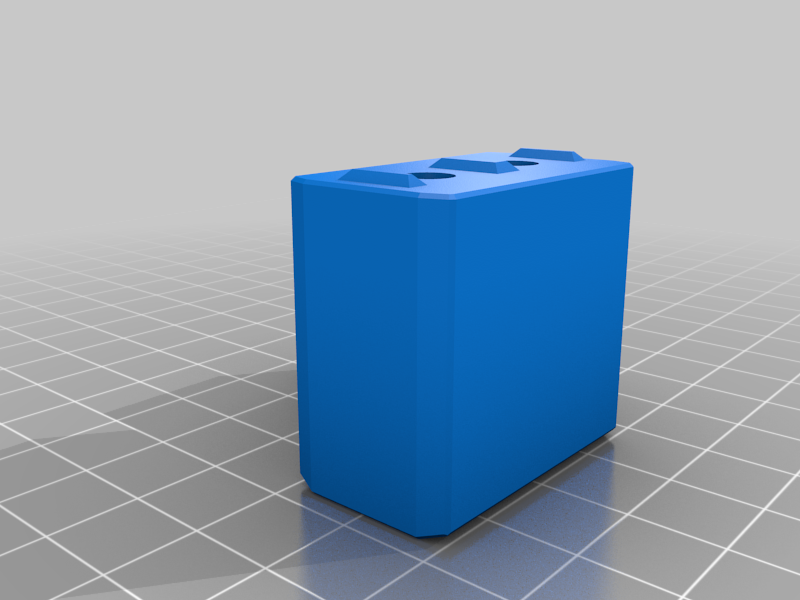
Ender 3 V2 / V2 Neo Linear Rod / Shaft LM8LUU drop in mod - Dewobblenator
thingiverse
Ender 3 V2 / V2 Neo linear shaft / LM8LUU mod. Many of you who owes Ender 3 series printers may know how wobbly printer's bed may be due to wheels wear, wrong wheels adjustment, frame that is not straight, etc. This mod permanently fixes these issues. It takes about 30-45 minutes to install. The only downside - have to cut out like 20x10mm of the drawer front door so it can be opened fully. BOM - 2 x [8mm 350-362mm rods](https://www.amazon.com/gp/product/B07C7PKD6W/ref=ppx_yo_dt_b_search_asin_title?ie=UTF8&psc=1&_encoding=UTF8&tag=thingivers091-20&linkCode=ur2&linkId=ddea989caf9572a6acd2fa439c1dca7b&camp=1789&creative=9325) - 4 x [LM8LUU](https://www.amazon.com/uxcell-Linear-Bearings-Extra-Machine/dp/B01N0C0DF7?th=1&_encoding=UTF8&tag=thingivers091-20&linkCode=ur2&linkId=8be41f51477d54fa45f04df25a907d98&camp=1789&creative=9325) OR 4 x [LM8UU](https://www.amazon.com/uxcell-Bushing-Linear-Motion-Double/dp/B00X9H22SO/ref=sr_1_5?crid=27A5PQ8OATKXA&keywords=lm8uu&qid=1694298723&sprefix=lm8uu%252Caps%252C143&sr=8-5&_encoding=UTF8&tag=thingivers091-20&linkCode=ur2&linkId=e51012c58a6c240d567a1a322a9ae682&camp=1789&creative=9325) - 12 x [M5x20mm screws](https://www.amazon.com/gp/product/B08MXNM23C/ref=ppx_yo_dt_b_search_asin_title?ie=UTF8&th=1&_encoding=UTF8&tag=thingivers091-20&linkCode=ur2&linkId=09c17ad95c8ae5de2c1d728b8a77c13b&camp=1789&creative=9325) - 8 x [M5 T-nuts](https://www.amazon.com/gp/product/B07V1HX9GS/ref=ppx_yo_dt_b_search_asin_title?ie=UTF8&th=1&_encoding=UTF8&tag=thingivers091-20&linkCode=ur2&linkId=f24b074bf2f79daf80a6fc766571ee6c&camp=1789&creative=9325) You can reuse lock nuts from the original y axis but will need shorted 20mm bolts (from BOM) - original ones are too long and will hit new supports. There are 2 different types of carriages - for LM8LUU (long ones) and LM8UU (short ones). You will need to print only one set depending on what bearings you are going to use. If you use low temp plastic like PLA to print parts additional insulation may be needed. Carriages are in direct contact with the bed frame that may get hot. Installation steps: 1. Lubricate LM8LUU - I use "[Super Lube](https://www.amazon.com/Super-Lube-21030-Synthetic-Grease/?&_encoding=UTF8&tag=thingivers091-20&linkCode=ur2&linkId=e0853c1c5fed5e81230fa07e50e1ecdc&camp=1789&creative=9325)" 2. Insert LM8LUU or LM8UU into carriages. 3. Insert 4x M5 nuts into carriages. 4. Attach carriages to a bed frame but do not tighten bolts yet. 5. Insert shafts into back supports - push them as much as you can so they are fully inserted. If you use 362mm shafts there is pretty tight tolerance. 6. Install back supports with shafts already attached. Make leave small gap between motor an left back support - like 0.5mm 7. Install bed frame with carriages on shafts 8. Install front supports. 9. Tighten all supports. 10. Tighten left side bed frame screws. 11. Move bed front and back and make sure that everything moves OK. 12. Tighten right side bed frame bolts. 13. Install bed and level it. 14. Enjoy! UPDATE 1: - Back left support STL updated - one of the bolt holes was tiny bit smaller that it suppose to be. UPDATE 2: - Added carriages for LM8UU bearings (shorter ones)
With this file you will be able to print Ender 3 V2 / V2 Neo Linear Rod / Shaft LM8LUU drop in mod - Dewobblenator with your 3D printer. Click on the button and save the file on your computer to work, edit or customize your design. You can also find more 3D designs for printers on Ender 3 V2 / V2 Neo Linear Rod / Shaft LM8LUU drop in mod - Dewobblenator.
