Ender 3 X & Y Axis Idler
thingiverse
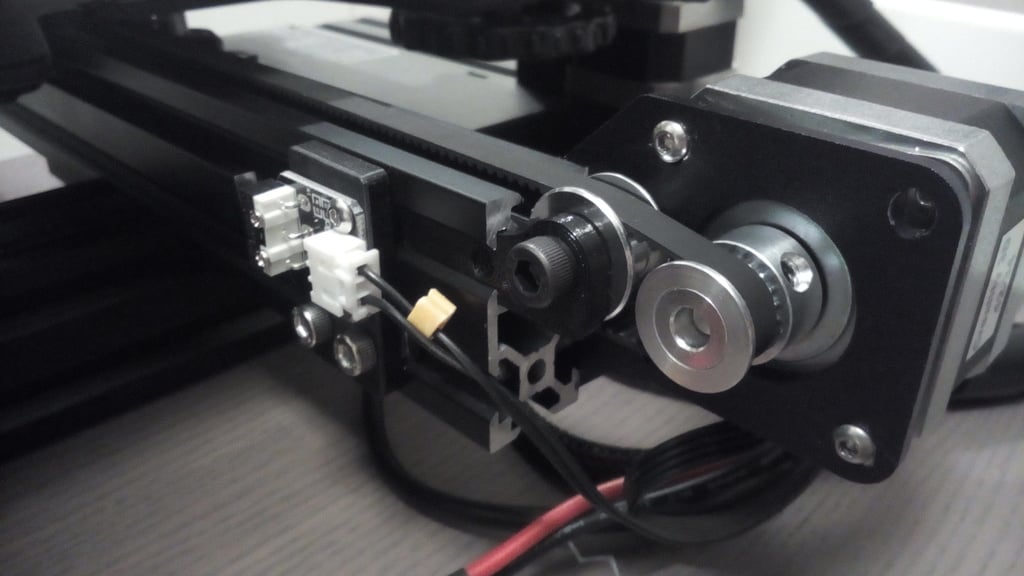
-UPDATE 10/4/2018 - Replaced "X_limit_switch bracket_mod" with "X_limit_switch bracket_mod_wclearance." This version has 3.5mm diameter clearance holes for M3 screws (CAD from Ender3 github uses 3.1mm clearance holes on stock part). -UPDATE 9/29/2018 - Uploaded "E3_X_Y_Axis_Idler_Bracket_2prong.stl" in place of "E3_X_Y_Axis_Idler_Bracket.stl." Same functionality, but reduced number of prongs from 4 to 2. This should alleviate some of the troubles that come with printing very small features on FDM printers. I'm getting good results with 10 second minimum layer time and 10mm/s minimum print speed in the cooling section of Cura. Do NOT check the box for Lift Head. Too much retraction can also cause under extrusion in these areas. -UPDATE 8/16/2018 - Uploaded "E3_X_Y_Axis_Idler_Bracket.stl" and "X_limit_switch bracket_mod" that will clear a 5mm Bore toothless GT2 Idler Pulley next to the X axis stepper motor. X and Y bracket will snap fit with pulley and requires no other hardware. This part works for both the Y and X axis, but you MUST replace the stock X limit switch bracket with the provided "X_limit_switch bracket_mod" part. Using the newest parts you will only need: x2 5mm Bore toothless GT2 Idler Pulley (one for each axis) This is the bracket I'm using to add an idler for the Y belt on the Ender 3. While the bracket is fully inserted into the aluminum extrusion, you can butt the stock Y end-stop up against it using M4 screws and T nuts to have your nozzle home on the print bed AND allow clearance for a Y axis vibration damper using the advertised 220mm x 220mm build volume. This configuration also clears the fan shroud I'm using (https://www.thingiverse.com/thing:2767047) from hitting the now stock Y-axis wire restrain bracket that sticks up at the back left corner of the heated bed. If I remember correctly, the stock Y end-stop may be in a fixed position but my kit had enough spare M4 screws and T nuts. You will need: x1 M5-0.8 x 16mm machine screw x1 M5 nylon locking nut x1 5mm Bore toothless GT2 Idler Pulley Optional: x1 M5-0.8 x 5mm machine screw (can be put through the hole that faces the inside of the aluminum extrusion for extra sturdiness) If belt seems too tight with idler installed be sure to adjust the tension at the front base of printer.
With this file you will be able to print Ender 3 X & Y Axis Idler with your 3D printer. Click on the button and save the file on your computer to work, edit or customize your design. You can also find more 3D designs for printers on Ender 3 X & Y Axis Idler.