Ender 3 Y Axis Linear Rail w/ Belt Tensioner
thingiverse
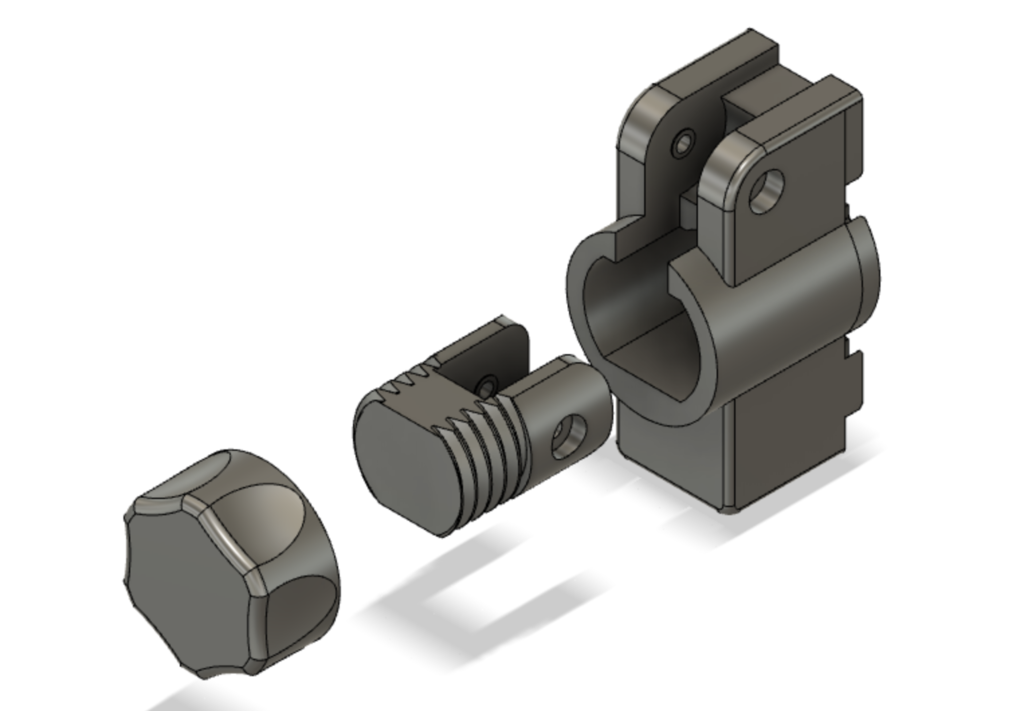
### Overview Y axis linear rail setup with belt tensioner for MGN12 rails on Ender 3 and alike. Ideas taken from bobblejot's [Creality Ender 3 Y Axis Linear Rail Mod V2](https://www.thingiverse.com/thing:3530419) and Cornelly_Cool's [CR-10 Mod - X axis Tensioner](https://www.thingiverse.com/thing:2854971). ### BOM ##### Mandatory 3x 16T GT2 idler pulleys (see installation for more info) 1x M3x16 button head screw for screw pulley 2x M3x16 screws for front and back pulleys ##### Optional 1x M5 for mounting the front to the 4020 profile 1x M4x8 + M4 T-nut for fastening the back part ### Print Settings Resolution: 0.16 - 0.2 Infill: 50% Support Roof Density: 70% Supports: Yes Perimeter: 4 ### Installation The slots for the pulleys are quite narrow. Mine are 8.57mm thick, but I also had one with 8.75mm that did not fit w/o modification. Use a tap and only drill from the screw head side through both holes. Don't fasten the M3 screws too tight! The front and back parts need to sit tight on the profile. Little post-processing could be necessary. Make sure that the back of the front part is even where it touches the profile. I used one of the M5 screws from the v-slot rollers as endstop (see pictures).
With this file you will be able to print Ender 3 Y Axis Linear Rail w/ Belt Tensioner with your 3D printer. Click on the button and save the file on your computer to work, edit or customize your design. You can also find more 3D designs for printers on Ender 3 Y Axis Linear Rail w/ Belt Tensioner.