Ender-3 Z axis calibrator
thingiverse
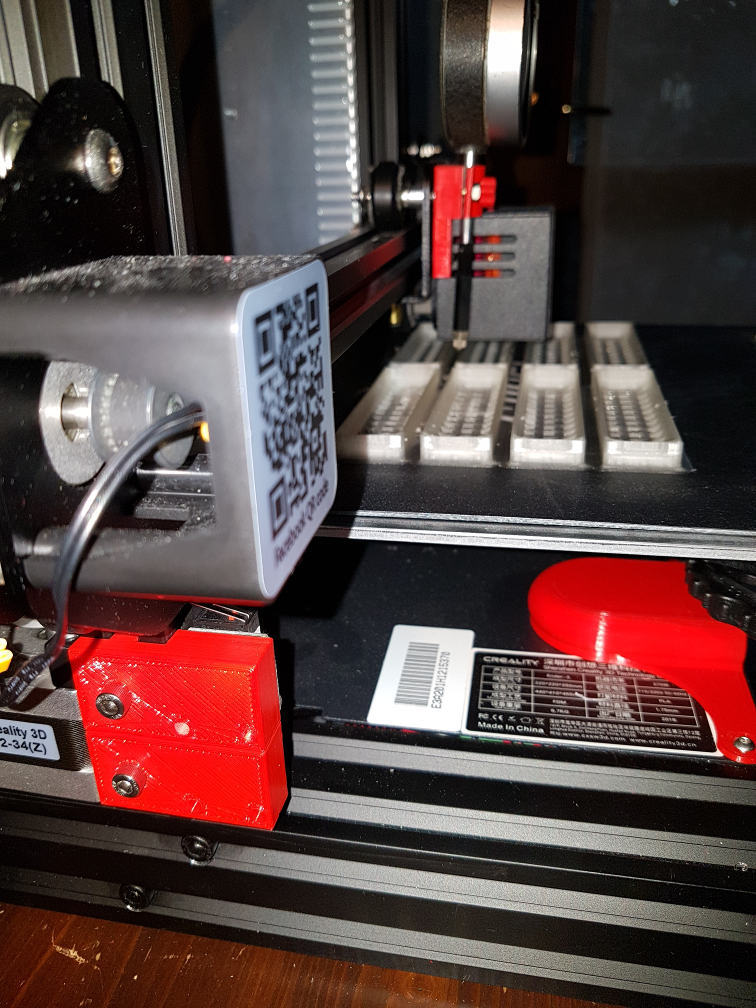
This is a simple tool to calibrate the z-axis. It's made up of two identical objects, which you'll need to print twice. These objects replace the original z-axis micro-switch holder. If your plate is calibrated but too close or far from the nozzle, you can try moving all the plate wheels, but be aware that this might ruin the calibration. A better solution is to move the z-axis switch instead. You can measure the z-error by using the display menu, and when you find the right height, you can adjust the switch precisely to match it. If the error is small (0.1-0.5 mm), you can use a sheet of paper (0.1 mm thick) and place it between the two new blocks. Here's how: If you need to move the nozzle up, start by loosening the screw on top, then move the top piece upwards. Next, insert the folded paper between the pieces and move the top piece down so that the paper is slightly flattened. Tighten the top piece screw, loosen the bottom piece screw, remove the paper, and finally tighten the bottom piece screw. If you need to move the nozzle down, start by loosening the bottom piece screw, then move it downwards. Next, insert the folded paper between the pieces and move the bottom piece up so that the paper is slightly flattened. Tighten the bottom piece screw, loosen the top piece screw, remove the paper, and finally tighten the top piece screw.
With this file you will be able to print Ender-3 Z axis calibrator with your 3D printer. Click on the button and save the file on your computer to work, edit or customize your design. You can also find more 3D designs for printers on Ender-3 Z axis calibrator.