Ender 3 Z-motor clamp
thingiverse
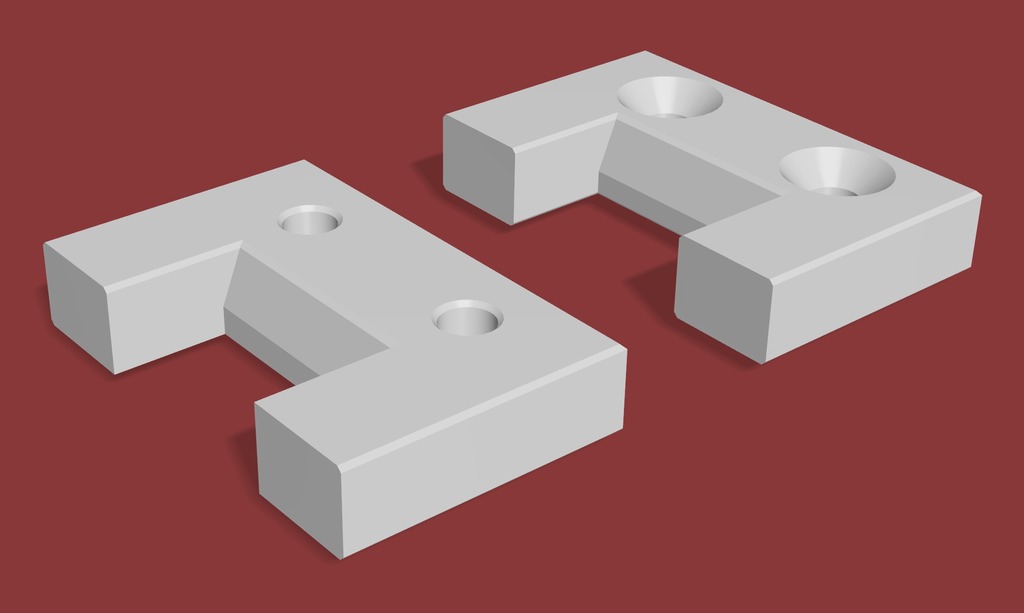
Ender 3 Z-motor clamp === Why I designed this --- The Ender 3 uses a motormount on a single top edge of the Z-motor which can and in many cases will result in the motor being tilted away at the bottom. This effect in turn causes the motor axle and leadscrew on the Z-axis not to be in a straight line affecting the accuracy on the Z axis as the coupler on the Z-axis has to compensate constantly for this misalignment. I designed this motorclamp to go on the extrusion that goes under the Z-motor to ensure the motor will be seated as straight as possible to bring the motoraxle and leadscrew back into a straight line, something that is hard to achieve with just the motormount that is on the stock machine. How to install it --- There are 2 versions of the clamp provided in this make. One version that makes use of a spare set of 2 M4x14 sunk screws and T-nuts (this is a separate bag that comes with some machines and remains unused during assembly). The other version can make use of non-sunk screws M4x14 and 2 T-nuts. Depending on which screws you wish to use for attaching this part, print either the sunk version or the non-sunk version of the part. On my personal make of this part I used 4 perimeter as well as 4 top/bottom layers with 25% infill, which results in a fairly solid piece that will not easily buckle. Once you printed the part loosely put it in place on the 4040 extrusion that goes under the motor and make sure you can slide it freely back and forth, so do not tighten fully yet. In order to be able to properly clamp the motor straight into the frame, you will need to slightly undo the existing mounting screws (all 4 screws, both those that go into the upright extrusion as well as the two that go into the motor. When the existing motormount is loosened you should be able to clamp down the motor as shown in the attached image on this make and tighten the 2 screws of this new clamp, it should fit cleanly around the cable on the motor (you might have to slightly move the little marker clip upward so it sits on top of the clamp). Once this clamp is tightened down you can tighten the two screws on the original mount back into the extrusion. Once these are tight, you can finally tighten the screws on the motor again. At this point your motor should be perfectly flat against the upright of the machine and should have a perfectly aligned motoraxle and leadscrew. The quick installation guide --- 1. Install this clamp on the extrusion 2. Loosen the 4 existing mount screws 3. Clamp down the motor and tighten this clamp 4. Tighten the 4 existing mount screws (first extrusion side, then the motor side) **Do not forget to re-level your bed after completing the installation as it will change your existing bed level!**
With this file you will be able to print Ender 3 Z-motor clamp with your 3D printer. Click on the button and save the file on your computer to work, edit or customize your design. You can also find more 3D designs for printers on Ender 3 Z-motor clamp.