Ender 5 Plus Damper Leveling Feet
thingiverse
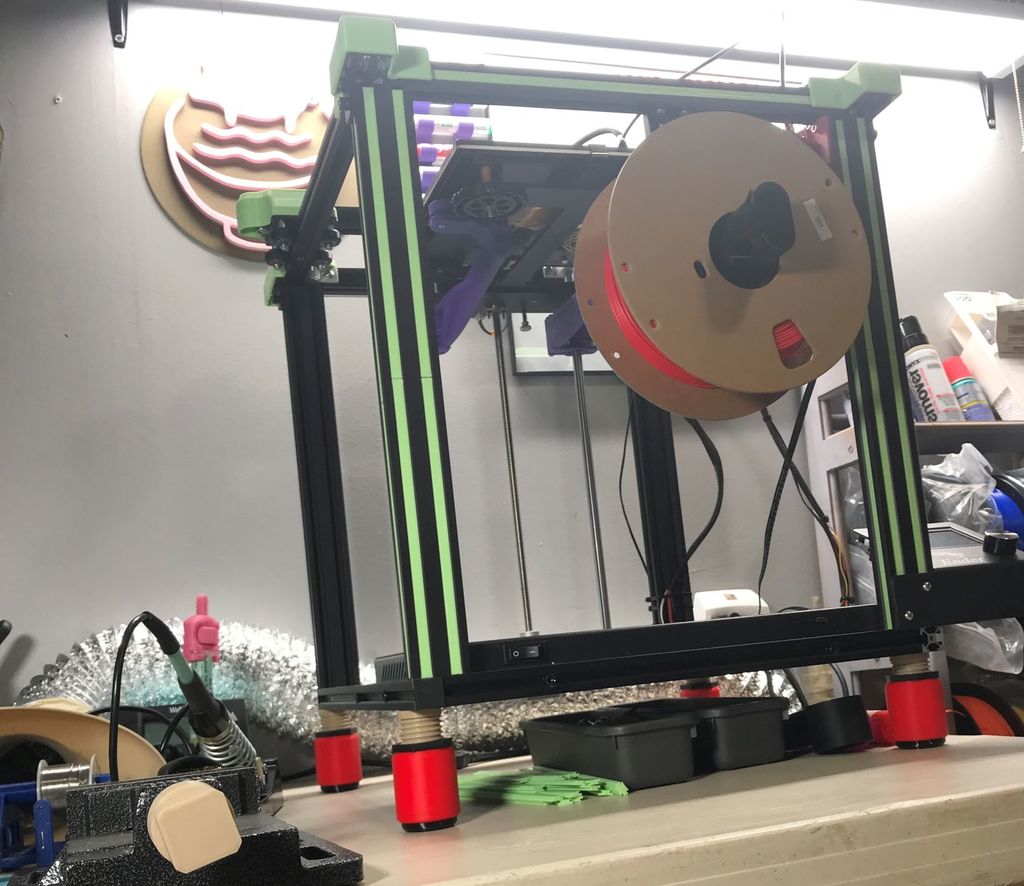
HI all, here i have my feet that i made for my printer to utilize more space on my bench. It raises the printer about 63mm high when fully screwed in for a maximum of 90mm in height. I hope you have fun getting the tolerances right, i provided test files that take about 20 minutes to print depending on your speeds. Notes: .2mm Layer Height used for all prints. Damper - Printed out of TPU for its flexibility. 1 Wall 4 top 4 bottom layers, print on the hot for good layer adhesion, connected infill, 3% gyroid, mines where a bit soft might want to bump up to 4% if its a heavier printer. Standoff - 101% X and Y SCALE, 4 walls 4 top and 4 bottom layers, 40% Cubic Infill, Print orientation with Threads ending away from BUILDPLATE, Otherwise overhangs wont be as good. If you have a good suggestion on how to orient parts natively to the stl, please share. Leveling Screw M30x3.5 - this needs to be the strongest part as its the threads that hold the printer up. PLA+ used for this part. Infill 60%, cubic, 4 walls Locking Nut - used to secure the height, not a necessity but a nice to have, infill 40% 3 walls 3 top 3 bottom, In general, i would suggest increasing the scale of x and y of all parts except the standoff M30x3.5 by 1% or 2% but PLEASE MAKE SURE TO PRINT THE TEST FILES FIRST. I don't want you to go and waste a bunch of plastic. Bye!
With this file you will be able to print Ender 5 Plus Damper Leveling Feet with your 3D printer. Click on the button and save the file on your computer to work, edit or customize your design. You can also find more 3D designs for printers on Ender 5 Plus Damper Leveling Feet.