Ender 5 plus Meanwell RSP-500-24 Fan Replacement
thingiverse
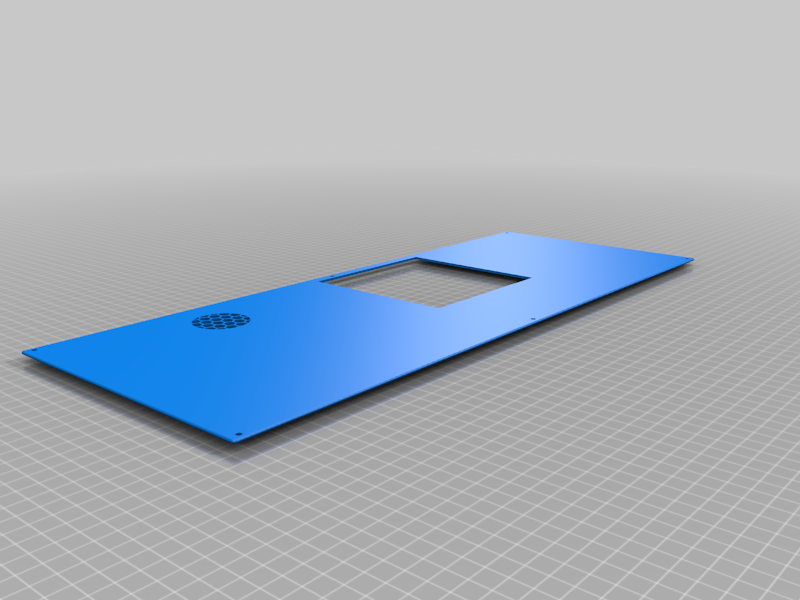
Tired of Hearing your Ender5-Plus sound like a jet engine? do you feel like every day, all you hear is tinnitus ringing in your ear as you sleep? FEAR NOT, for I have blessed you the file and setup you need to do in order to make your PSU and your fan run (mostly) silent. Bless your noise goodbye! ===================================================================== WARNING: This requires removing the fan on the psu which the wire has been glued down. you will have to remove the fan wire concealed in the glue carefully, not risk damaging the components of the psu and MAKE SURE IT IS POWER OFF/DRAINED. You will also need to solder and know some electrical polarity to prevent any circuits frying. I am not an electrical technician and am not qualified to do this except being an idiot (like me). By any means you are now scared to do this operation, I highly suggest you ask someone with expertise to help you on your endeavors. You have been warned. = Step 1: parts First you need Noctua nf-f12 for the psu and Noctua NF-A4x10 FLX 12v Version. you will also need a buck converter as well when wiring up your components. I used the cheapest one I can find on amazon that came with 6 pack. if you get a different buck converter, then you would have to modify the STL/f3d to accommodate mounting your buck converter securely. Step 2: disassemble once you printed the parts out, dissassemble the psu cover and remove the psu fan. I assure you, you will need the connecter to use it to plug between the buck converter and the 120mm fan. try to find another connecter as a sacrifice, if not, well just have to deal with cut fan cables. Step 2.5: soldering If you don't have a soldering iron, pick up one up as well with some solder. you'll need it. at this point, I hope you know your colors, or you know what you are doing. solder the fan connecter to the input buck converter and solder the output to where the fan is gonna connect to. Id recommend getting a wire extender if you need to. you will do the same thing for the 40mm fan as well, repeat the same operation as last one, just with different connecters. If for whatever reason you swapped the wrong polarity and did not do research, need I mind I did put a warning sign about it. Step 3: assembling position the 120mm fan to the front psu cover thats going to suck air from the psu to blow out. and tighten it with screws. that will keep the fan in place. make sure that the buck converter is screwed in and plug the connecter to the fan for the first and second before screwing the covers in place. you made it! congrats on replacing the 2 loudest fans (beside the heat break fan). now, I will envoy my cup of coffee... https://www.amazon.com/s?k=noctua+nf-f12&sprefix=noctua+nf%2Caps%2C120&ref=nb_sb_ss_ts-doa-p_3_9 https://www.amazon.com/s?k=noctua+40mm&crid=JLWG5ZT1HVDT&sprefix=noctua+40mm%2Caps%2C128&ref=nb_sb_noss_1 https://www.amazon.com/gp/product/B076H3XHXP/ref=ppx_yo_dt_b_asin_title_o00_s00?ie=UTF8&psc=1 https://www.printables.com/social/280649-setsunano/prints
With this file you will be able to print Ender 5 plus Meanwell RSP-500-24 Fan Replacement with your 3D printer. Click on the button and save the file on your computer to work, edit or customize your design. You can also find more 3D designs for printers on Ender 5 plus Meanwell RSP-500-24 Fan Replacement.