Ender 5 Rear Foot Extension
thingiverse
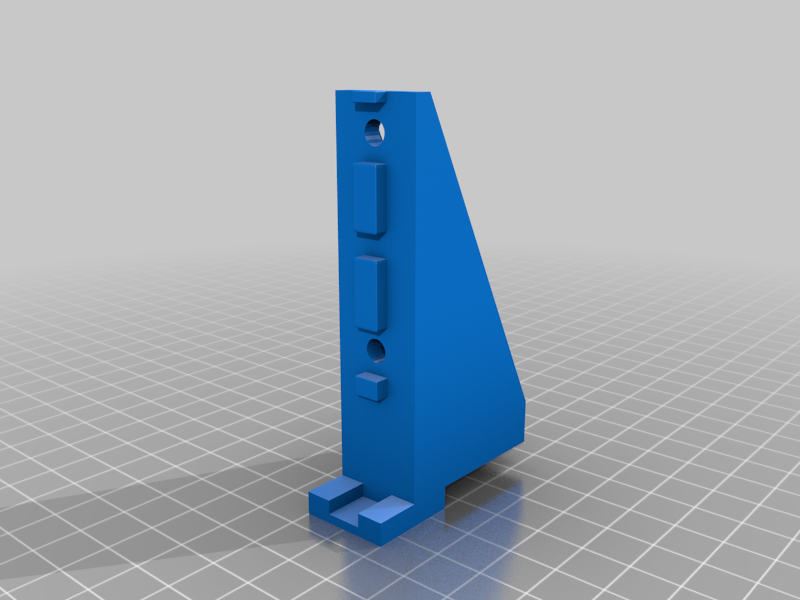
When performing the Ender 5 Rear Mount Electronics conversion https://www.thingiverse.com/thing:3830464, the weight of the power supply, metal electronics box, etc is moved to the extreme rear of the printer frame, to a point well behind the rear factory mounted rubber feet. This weight shift drastically affects the balance of the printers frame, and causes the front of the printer to feel almost weightless, which is a little unnerving. It causes the printer to feel like it's going to tip over backwards and may actually affect the printers stability and therefore print quality. These brackets allow you to reposition the rear factory rubber feet to a point 65mm farther back, to redistribute the weight closer to the original setup without protruding farther out than the electronics box. I also designed another pair of foot extensions that are only half as deep, with the plan to add them to the front of the frame to give the printer a larger, more stable foot print. I also added the rigid corner brackets https://www.thingiverse.com/thing:2917551 to my frame. Attach the brackets to the outer rear of the frame with M5 t-nuts (hammerhead nuts) and M5 x 8mm bolts. A pair of 4mm nuts can then be pressed into the brackets and two M4 x 16mm inserted through the original rubber feet and up into the nuts. I printed these in PET-G, although PLA should be fine, just be careful when tightening to cracking. Hardware required: M5 x 8mm bolts (x2), M5 t-nuts (x2), M4 x 16mm bolts (x2), M4 nuts (x2)
With this file you will be able to print Ender 5 Rear Foot Extension with your 3D printer. Click on the button and save the file on your computer to work, edit or customize your design. You can also find more 3D designs for printers on Ender 5 Rear Foot Extension.