ender 5 S-1 dual z ancillaries only
thingiverse
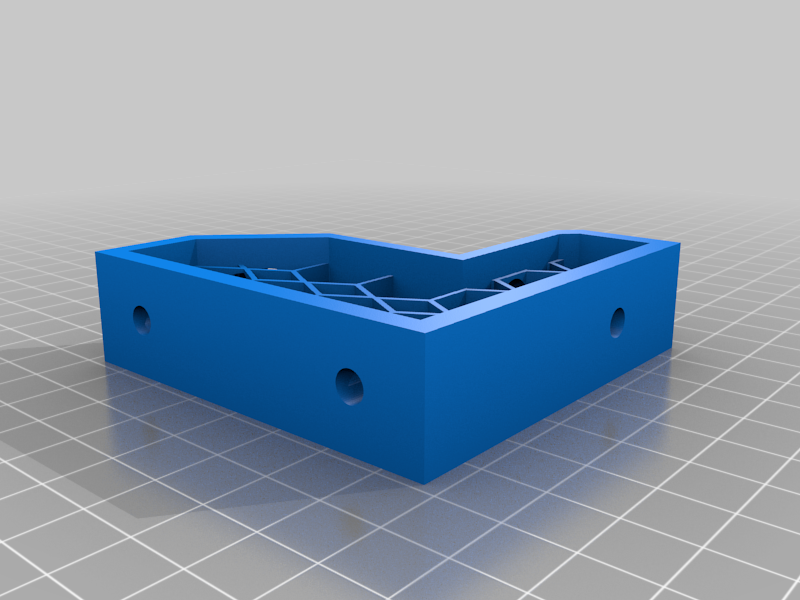
Updated: front honeycomb braces, Allen wrench pass though added for easier mounting. also added a cooling fan mod in another file to allow the removal of the stock cooling fan and utilize 2x 4010 fans and you gain all your y axis back. All the extra 3d printed parts to go dual z on an ender 5 s1, requires the ender extender 5/pro/plus dual z kit and a decent amount of modifications. Luckily, I've done most of the work for you. You will have to notch or mill a 20x20 extrusion to clear the z motor. sonic pad is honestly almost a must due to the stock screen being obscured/blocked. I'm not going to write out a detailed process because if you're going to do this you should honestly already have decent knowledge on how a printer is assembled and how to prevent binds and keep everything square. e5 s-1 rod guides have to be rotated with 3 holes utilized (early decision may get changed) g code does have to be modified y axis changed to 210-215 depending. Also, the assembly process is a puzzle, it truly will only go together one way and just plan ahead placing your t-slot bolts before final assembly. Rear upper rod supports held with heated knurled inserts and bolts (amazon has a tool for 50$)
With this file you will be able to print ender 5 S-1 dual z ancillaries only with your 3D printer. Click on the button and save the file on your computer to work, edit or customize your design. You can also find more 3D designs for printers on ender 5 S-1 dual z ancillaries only .