Ender 6 linear rail in cabinet mount -- by windischb
thingiverse
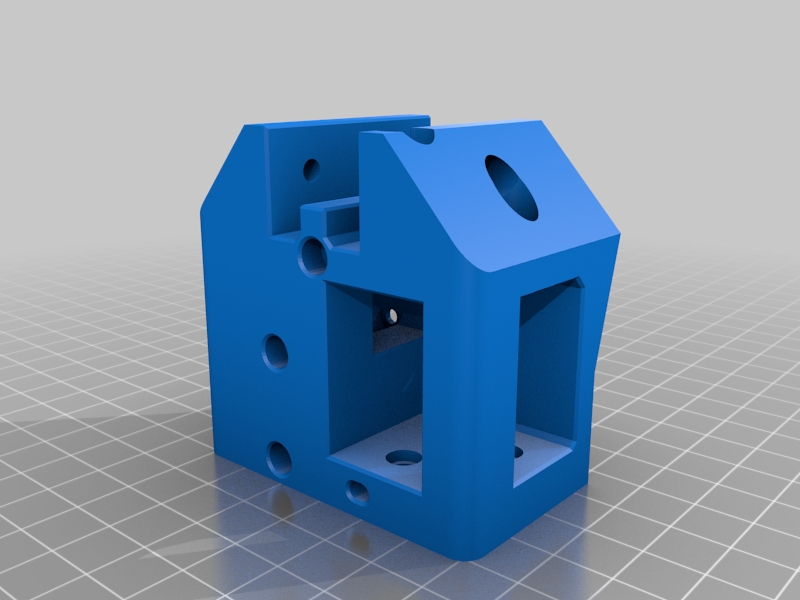
This design was by windischb, but by time i got around to making it he has disappeared from this site so i couldn't post a make on his. So here it is, an Ender 6 linear rail mod for the Y axis that mounts on the inside of the frame. The mounts allow you to use the original factory cover from creality. I had to sand a little and clean up the holes with a drill but not much to do after printing. NOTE : You can use the original spacers and file them down or cut some correctly sized alloy tube down to required size. (you can see in one of the photos i did this with an old alloy landing gear set from rc heli) The original are alloy so very easy to size with a file. Dismantle your linear rail blocks and mount the block to the mount before installing rollers or you won't be able to get one of the screws in there (i learned this the hard way) Mount rollers, you don't use any of the old metal brackets but you will need to transfer the rollers and bolts over (original bolts work fine), slide rails into rail blocks and then using the appropriate bolts (see below) and t-nuts mount the rails to the inner side of the 2040 extrusion at the bottom v-slot, but do not tighten up yet (you can nip one up if it helps to get everything assembled) BELTS : Have a GOOD LOOK at your belts before you start and take note of there directions. Maybe even take some photos so you can reference them. I found it easier to thread belts through rollers by removing the little brass clamp at end of belts, thread them through and replace the brass clamps. Or if your belts are worn this could be a good time to replace them with some quality ones. You will need to remove one bolt (the one toward z axis rod) from the steppers to make belt removal and replacement easier. Once belts are done, bolt steppers back up, leave tensioner at its loosest for now, and by hand move your y axis forward and back. I found the best way to get the rails even is to slightly tighten a middle bolt and run the axis back and forth until it finds the natural positions for the rails, then push to one end and tighten that bolt, slide to other end and tighten that end. Sometimes after tightening one end you might need to loosen middle one and then slide to other end. Take your time getting this right as it is VERY IMPORTANT. You don't want any binding or roughness in travel. After travel is smooth, adjust your belt tension and away you go. MATERIALS : 4x m3x35 button head bolts - for mount block to printed part 4x m3x6 countersunk head - for mount block to printed part 6x m4x6 button head bolts - for bracket to x axis rail (3 each side) You will need to use supports due to the design of the bracket. The X axis linear rail mount i used can be found here Thingiverse: https://www.thingiverse.com/thing:4800961 The E3DHemera mount i used can be found here Thingiverse: https://www.thingiverse.com/thing:4745529 The firmware i am running to keep all this going correctly (sure as sh%$ isn't the original Creality Looseware) is Marlin 2.0 bugfix, and its the CrealityDwin branch and the bondtech tinymachines mod.
With this file you will be able to print Ender 6 linear rail in cabinet mount -- by windischb with your 3D printer. Click on the button and save the file on your computer to work, edit or customize your design. You can also find more 3D designs for printers on Ender 6 linear rail in cabinet mount -- by windischb .