Ender 7 Top Cover
myminifactory
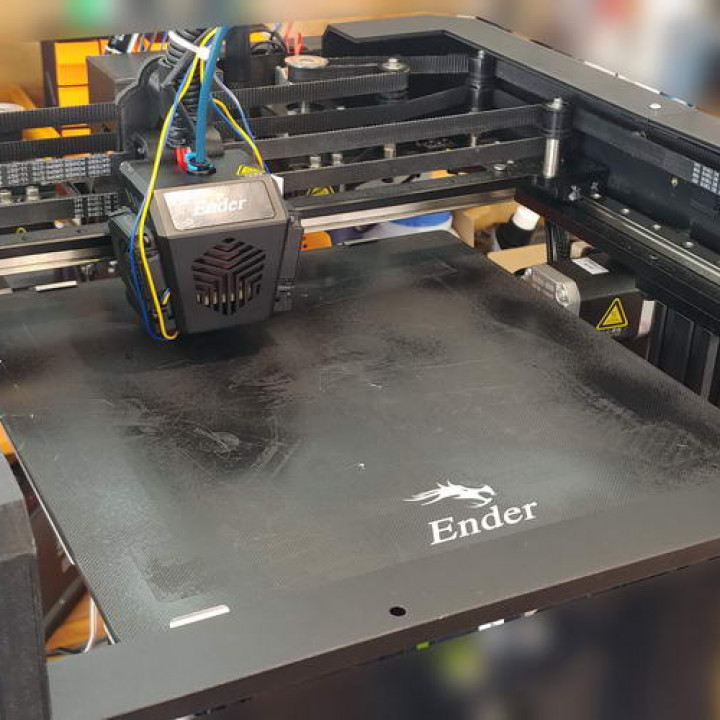
So I didn't feel like taking to my Ender 7 with an angle grinder!So I designed these covers to replace the existing one - and man, does it make a difference. You can actually see your job. Ok, so the metal frame is still there but it's tiny compared to the big, ugly original cover.The new cover comes in 4 pieces, two on the left and an identical two on the right. The STL's I've provided here are for the left only. To print those for the RHS, simply load into your slicer and mirror.Print each file on it's end (ie vertically) - the front one on the front edge and the rear one on it's rear edge.Print with tree supports. This makes it really clean.After fitting, make really sure that the two sliding trucks clear the covers. They must not touch, and will not if printed cleanly and fitted properly.I have made provision to attach the two parts of each side with M3 screws. I used Knurled Brass Embedment Nuts instead of normal nuts to minimise protrusion on the inside..I will be uploading a cable relief stand for the rear shortly as there will now be nothing to hold the conduit up.Enjoy
With this file you will be able to print Ender 7 Top Cover with your 3D printer. Click on the button and save the file on your computer to work, edit or customize your design. You can also find more 3D designs for printers on Ender 7 Top Cover.