Ender left Side Rail Mount bracket
thingiverse
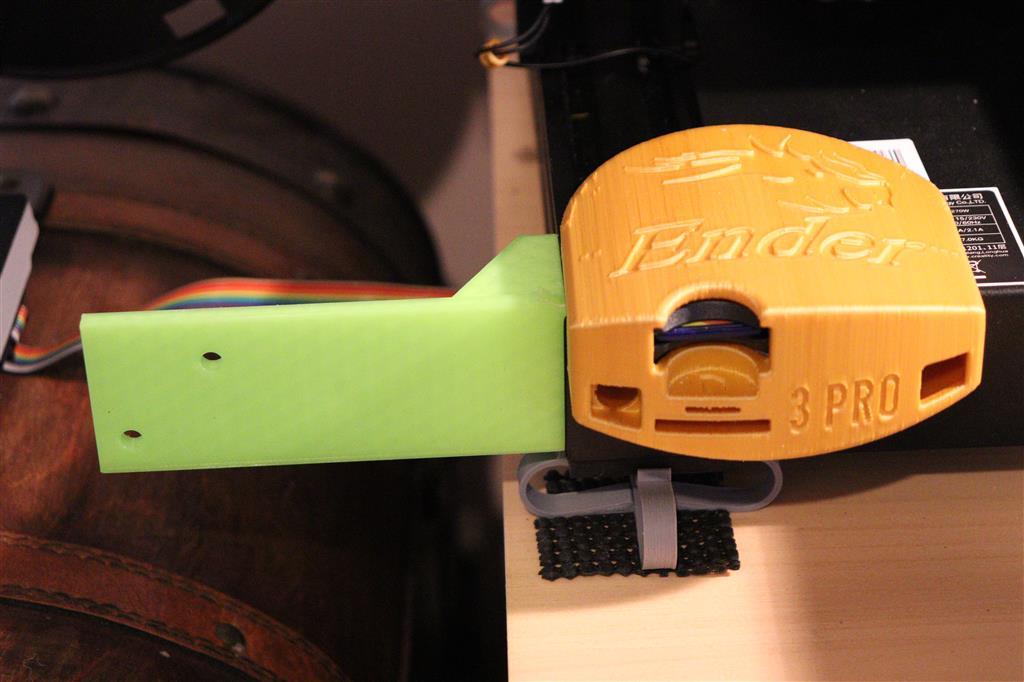
Well my webcam died and I put in a new IP camera, this camera was a lot bigger but moves so it allowed me to view the control panel progress along with the print, but it got in the way on my desk, threw this together to mount in the rail on the left side (As I have an SD card extender on the front), turns out that is more of a pain in the a$$ than a flush mount (which I may add next) This bracket mounts the control panel using the existing mount holes, you will need to get longer bolts and nuts for a properly secure fit, and I recommend drilling in 2 more holes into the control panel f front if you want it to be super stable (I currently have mine zip tied to the mounting holes until I get longer bolts) and I find that is okay but could be better. This is thick to keep it strong due to the extension. I also have it spaced just out to the left to keep clear of the stop switch and other gear, you can run the ribbon cable under the bottom Now the real hassle, to mount this you need to remove the CPU plates because for some god awful reason they cover the mounting rail access with the cpu plate. it's a hassle, but its still the simplest way to get it installed. note: the long screw at the back on the top of the cpu housing, don't completely remove it if you can help it, I never got mine back in, I could if I removed the bed, but I am lazy :P Depending on what mods you have on your control panel this may not work for your application, I have the slim back cover and it works fine with lots of room. hopefully someone finds this useful. :) 1.5 hour print at .3 and 80mm/s no supports, print as orientated
With this file you will be able to print Ender left Side Rail Mount bracket with your 3D printer. Click on the button and save the file on your computer to work, edit or customize your design. You can also find more 3D designs for printers on Ender left Side Rail Mount bracket.