Ender S1 Plus LED Light Bar
thingiverse
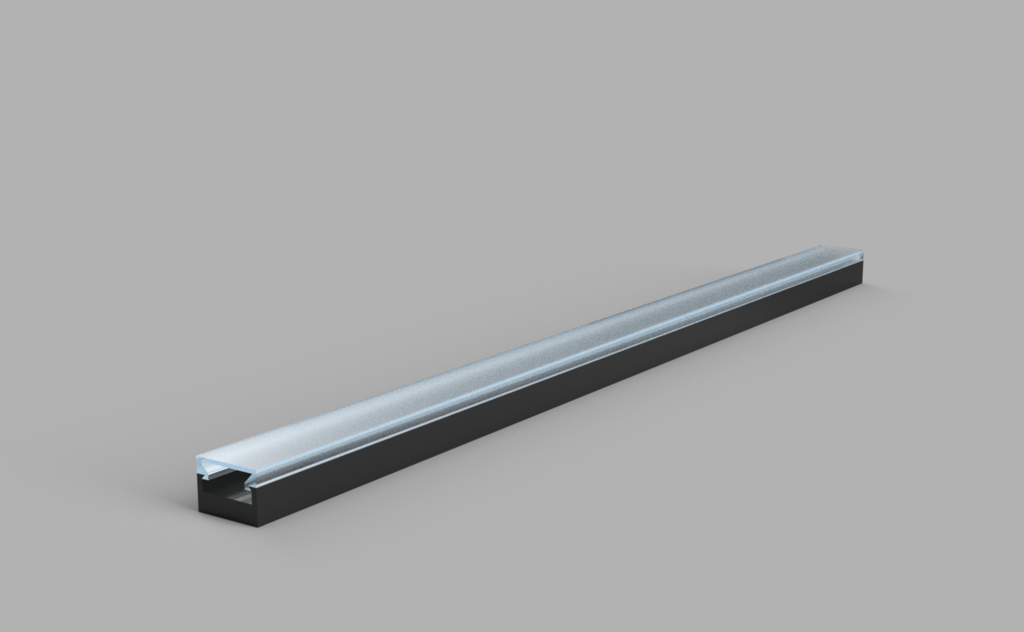
<h1>LED Light Bar for Ender 3 S1 Plus</h1> <p>There are/were very few options for light bars for the Ender 3 S1 Plus. Creality doesn't even offer one. Why? Not sure. I got used to having a light on my other printers so I decided to create one for the Plus.</p> Note: The Screw Holes are OFFSET just ever so slightly because of the z screw supports. So this can only be installed in one direction in order the flush fitting at the front. <p>You WILL need a soldering iron, solder, flux, heat shrink tubing, and some basic soldering skills. </p> <b>Parts List:</b> <ol> <li>Light Bar Base and Cover <li>M4x8mm Button Head Screws <li>M4 T Slot Nuts <li>18 or 20awg wire (3-3.5ft) <li>Some Type of Toggle Switch (Recommended, but not required Link - https://a.co/d/eQ7FF2N) <li>24v compatible LED Strip. (Link - https://a.co/d/94fHNzq) </ol> <b>Procedure:</b> <ol> <li>Print Parts. Install the Base first with 3 M4x8mm Screws and T-Slot Nuts. <li>Measure the length of wire you need. I ran mine straight to the unused power supply terminals. <li>Solder the LED Strip, Toggle Switch, and wire length together as an assembly and feed through button mount (if you used my button mount file). Apply heat shrink tubing as needed to keep any exposed wiring from touching or shorting to printer frame. <li>Using the adhesive on the back side of LED strip, stick the strip to the base you mounted, and mount your button so the weight of it is not hanging from adhesive. <li>Remove the z screw top cap, and remove the fasteners holding top Frame Support to the right side z frame support. You can either remove the top frame support all the way or just the one side, and bend it over to install the light bar cover. <li>It's a tight fit, but slide the light bar cover onto the light bar mount. I highly recommend sliding the cover on the base a few times before you install everything, so it's not as difficult as the first time you slide it on. <li>Route your wires and secure them where you need to. I routed my wires through the same tunnel where the filament sensor is routed behind the slot covers. <li><b>REMOVE POWER CABLE!</b> Connect wires to your power supply. One positive/One negative. (You can either use fork connectors on the ends of your wires, or you can just tin the wires with solder, and shape them into a hook that you can install on the power supply terminals.) </ol> <b>You're all done!</b> <p>This is my first upload. It's not the smartest design, but when fully assembled it is pretty stealthy. You can barely tell it's there. I will eventually update the design to allow for the wiring to be routed out the back side of the light bar, instead of the going through the t-slot on the right vertical frame support. </p>
With this file you will be able to print Ender S1 Plus LED Light Bar with your 3D printer. Click on the button and save the file on your computer to work, edit or customize your design. You can also find more 3D designs for printers on Ender S1 Plus LED Light Bar.