Ender3 Max X Gantry Leveling Jig (Size Adjusted)
thingiverse
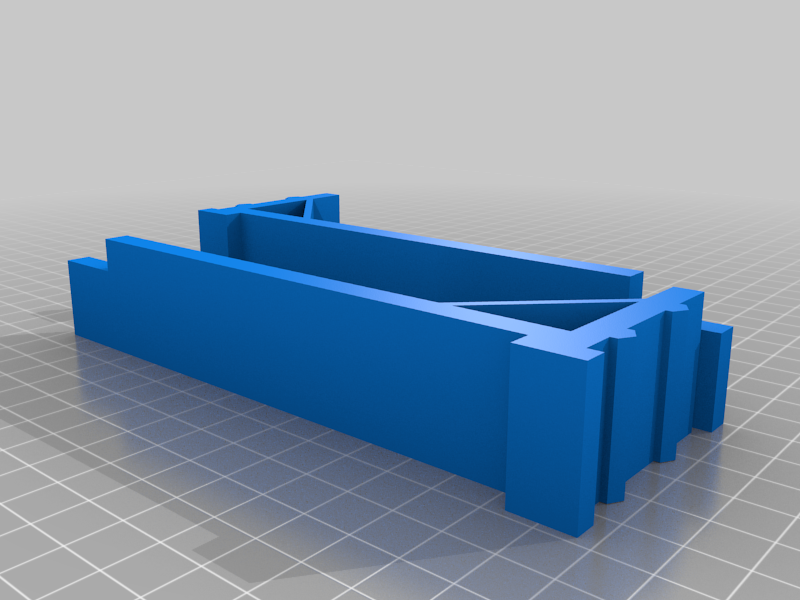
Original had the V-rail prongs at 22mm centres instead of the required 20MM, it still worked fine but did not sit fully flat on the profile. Also cut a wee bit off the width of them as it was a tight fit where the control box is sat over the extrusion. Cannot thank Wes_3_Prints enough for his superbly useful creation which makes levelling the gantry so simple. To use, raise the gantry and position the hotend toward the middle, place one tower each sid sitting in the frame extrusions against the vertical extrusion. Now lower the x gantry down until it just touches the top, then lower further, the low end stepper will skip steps as it can no longer move, when both ends are perfectly level, rise the gantry and take the towers out.. job done in seconds. The gcode file can be put on the printers sd card and used to automate the process, it will move the bed out of the way, raise the gantry, ask you to put in the towers, lower the gantry and level, move it up and ask you to remove the towers then auto level and job done. You might want to try it without the towers first just to make sure its going to the correct height before using the towers with it, but its should be fine given the machines are all pretty much identical.
With this file you will be able to print Ender3 Max X Gantry Leveling Jig (Size Adjusted) with your 3D printer. Click on the button and save the file on your computer to work, edit or customize your design. You can also find more 3D designs for printers on Ender3 Max X Gantry Leveling Jig (Size Adjusted).