ENDER3 Y linear rails carrier + calibration tools
thingiverse
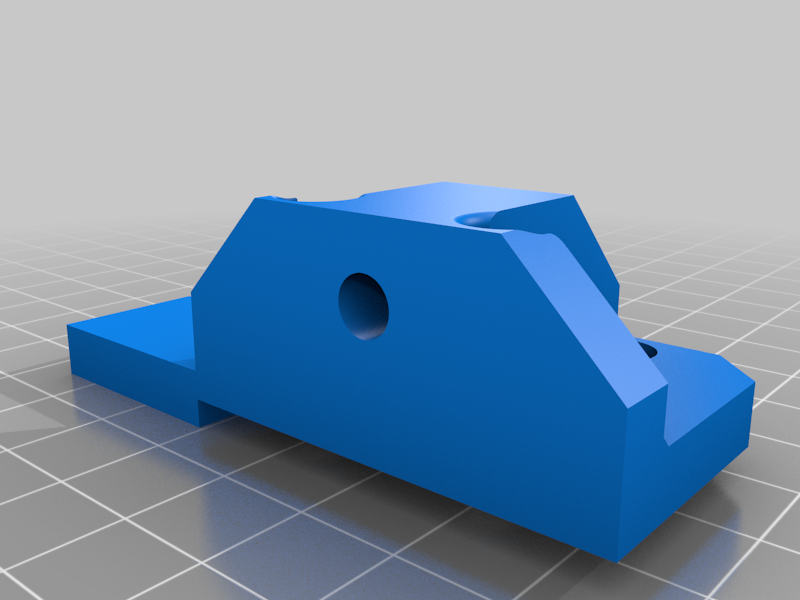
These pieces have been designed for enhancing the Ender3 Y axis with 250mm linear rails. I have used 250mm linear rails because I have belt tensionners that don't allow me to use 300mm linear rails. ANyway, I never use the extreme part of the printing surface. inconvenient: With this enhancement you loose 20/25mm of Y axis. advantages: - get ride of wobbling situation with the rollers - get ride of misalignement situation due to rollers - get ride of rollers wearing,periodic error (roller shape) - smoother displacments (less friction = less vibrations = better looking prints) you will need : mechanic: - 2X 250mm linear rails, good quality (reliabot on amazon) - a bunch of M3x10 chc screws (around 20) - a bunch of M3 T-nuts (around 10) - 3X M5x30 screws ( use the one of your actual roller carriage) - 1X M5x10 screw (optional) - colon drill (if you don't have one, use a drill but drill has perpendicular to surface as possible ^^) lubrification part following Alex Kenis guide on youtube Best way : - naptha (zippo lighter fluid) - WD40 - Triflow lubricant (teflon) - super lube lazy way: - WD40 - triflow lubricant - 3 in one oil Follow the Alex Kenis "cheap linear rails review" on youtube where he explains the lubrification process for both methods. - Use the "gabarit perçage" piece to drill the holes in your bed carrier, DON'T MESS UP WITH FRONT / BACK LEFT/ RIGHT ! - Use a 5.5mm bit to drill the holes You have 2 carriers . the one for the left rails ( when you watch your printer from front) has 2 holes for M5x30 screws: this prevent a Rz rotation of the carriers (if one carrier is going forward while the other one is staying in place, you will make a rotation of your bed) Carriers has been designed with mechanical play in the M3 holes (link between carrier and linear rail carrier) to allow a good positionning of the system Left carrier has been designed to be compatible with motherboard fan cover of the ender3. Right carrier has been designed to be compatible with Y endstop without unmounting it First: clean and lubricate your rails (and carriers) second: place the calibrations tools. front and back for Z setting, front (cf picture) for depth. We want to have the rails as paralell as possible and with the same depth. Put the rails in place and keep them toward the gauges (Z and depth) while screwing them in place. I use 2 M3+T-nut on both end of the rail and one in the center ( so it's 5 screws+Tnut per rail) Install the left and right carrier ( "support rail gauche" et "support rail droit") on the rail carrier but don't Screw it tight now ! It must be loose ! - Install your bed carrier on these pieces - Pull the rail carriers toward the depth gauge - Screw the bed carrier on the carrier tight (not too much but keep in mind that it's should be "defnitive"), use Nylock nuts. during this process: carriers much be pushed versus the depth gauge and the bed carrier must be as perpendicular as possible to the Y transaltion - control that you don't have hard spot along your Y axis when you move the system - tighten the carriers to the rail carriers - control that the motion is fluid. (no hard point along translation) If you have hard spots, it's probably : - rails aren't paralell - rail carriers have bad lubrification - dust on rails [Will post picture and video later]
With this file you will be able to print ENDER3 Y linear rails carrier + calibration tools with your 3D printer. Click on the button and save the file on your computer to work, edit or customize your design. You can also find more 3D designs for printers on ENDER3 Y linear rails carrier + calibration tools.