Ender3 Z-axis Webcam and LED mount
thingiverse
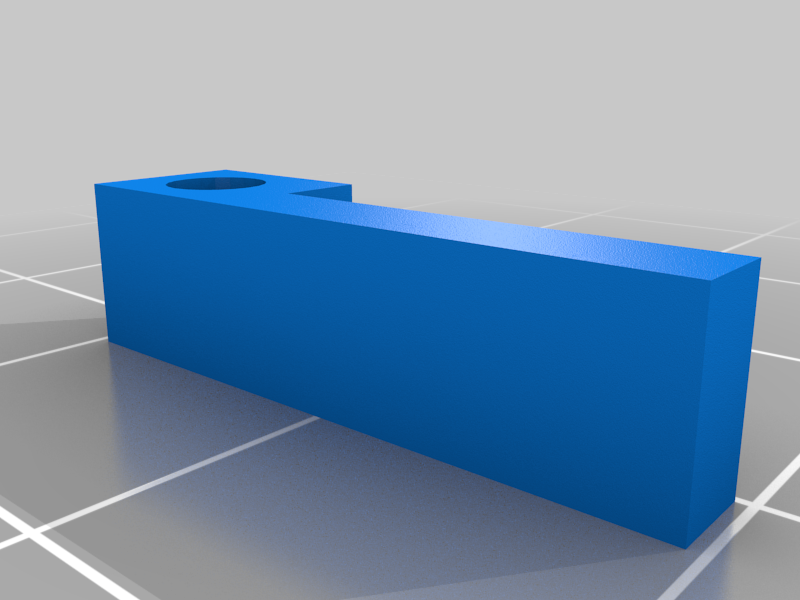
This is a bracket that attaches a webcam and LED to the Z-axis cover of an Ender 3 so that you can view the progress of the print with Octoprint on a Raspberry Pi. I have a Microsoft HD3000 webcam plugged into my Octoprint/Rasperry Pi. I needed a mount for it and I wanted to light the area with an LED. I considered a couple of ways to mount the webcam but decided that I wanted it to ride the Z axis so that it would show the printhead as it arose with the print job. I also wanted the LED to follow the camera so I needed to attach the LED to the same mount as the webcam. I had a couple of false starts, did you know that the two sides of the z-axis cover are different measures? I tinkered with the bracket for an IKEA Jansjo LED "Thing" and found that I needed more support for the LED. I also found that the bracket arm had to be long or I woud see the LED in the Webcam field of view. So I settled on a bracket 8cm in front of the z-axis cover and two supports for the LED. I used M2 16 bolts and nuts to hold the Jansjo LED brackets to the arm so that they are adjustable. The USB end of the Jansjo just droops beside the printer. It hasn't caused any problem so I'm not that motivated to provide some attachment for it, yet. For attaching the Jansjo clamps you need two 2mm x 16 screws and for attaching the webcam you need one 2mm x 20. For the adjustable version you will also need two 2mm nuts. If you don't have small metric screws you can do what I originally did and find some small screws holding some old broken clock radio together and re-use them. The original "Thing" that I saw as an inspiration was to be used for a Raspberry Pi camera, so if that is what you have, great. I have a Microsoft HD3000 and I found an additional "Thing" for that mount. I have set all of the holes to 2mm. You can drill them bigger if you can't source the 2mm screws. I drilled out the holes in the Jansjo mounts and one of the Webcam mount holes , the one farthest away from the z-axis to 3/32, so that the screws would just slide through. Because the holes are sideways when printing they are almost never the correct size and a drill bit to clean them up is required. This non-round hole works great when putting a 2mm screw in as it cuts its own threads easily. There is a screw hole to put a screw to clamp the bracket to the z-axis cover but the bracket fits so tight, after lots of retries to get it that way, that it doesn't need the screw. I have included a 'blank' that you can add to your favorite webcam holder to attach to the bracket, you will have to Tinker this yourself. For my HD3000 I used one of the brackets from thing 4102479. I found that I really didn't need the adjustable mounts, once I had used the adjustments to find the proper settings I just created version 2 with fixed mount points. It only takes about an hour to print so I used 100% fill so that I could drill new holes anywhere without weakness. And the Jansjo clamps should be 100% fill to be strong enough to have the led flexible wire pressed into it. The Jansjo clamps only take about 8 minutes to print and the bracket about 52 minutes. Layer height .2mm Shell tickness 1.2mm Bottom thickness 1.2mm Fill density 100% PETG 255 degree print head 76 degree bed .4mm nozzle size 1.75mm filament no support When I tried PLA, I broke the tiny wire clamp for the LED when I was pressing it in. Perhaps you will need to widen the tiny clamps jaws if you use PLA. Other than that, PLA would be fine. I just happened to have PETG loaded half way thru the beta testing. I was inspired by the camera mounts designed by; Creality Ender 3 Pi Cam Mount Bracket Arm (HDMI) by JDubs55303 on Thingiverse: https://www.thingiverse.com/thing:4298892 Also by a similar Camera Mount; Creality Ender 3 Pi Cam Mount by Modmike on Thingiverse: https://www.thingiverse.com/thing:2886101 I have Tinkered a few "things" to work for my Ender 3 pro. The clamp for the Jansjo LED from Ikea; ( I hacked the LED holder to attach to the bracket for the z-axis and a smaller version for the LED flexible wire part). JANSJÖ Hack by decoder on Thingiverse: https://www.thingiverse.com/thing:3489036 The bracket for the microsoft hd camera; ( As it is, it worked fine! ) Microsoft HD3000 webcam bracket connector thing by wrongpart on Thingiverse: https://www.thingiverse.com/thing:4102479
With this file you will be able to print Ender3 Z-axis Webcam and LED mount with your 3D printer. Click on the button and save the file on your computer to work, edit or customize your design. You can also find more 3D designs for printers on Ender3 Z-axis Webcam and LED mount.