Endstop Triggers Too
thingiverse
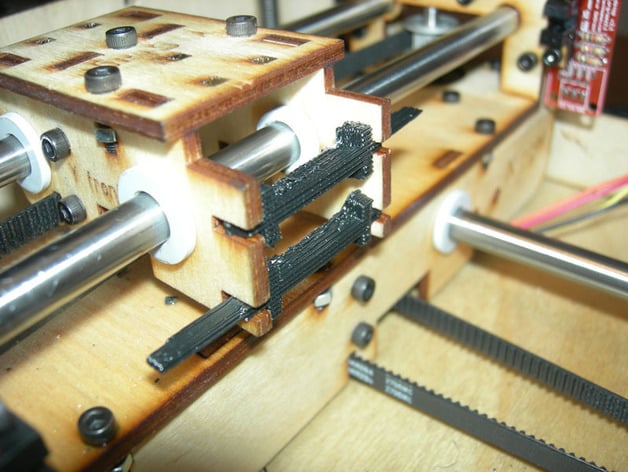
Revised design 0006 will no longer put pressure on the X stage. End stop triggers are important! They should be fastened securely, no jam the optos, and allow for precise positioning at every new built. These stops are designed so that the Z stage can travel below the build platform, calibrating the Makerbot for a repeatable distance between extruder and platform. This is done by setting X to center and Y all the way to the left. The extruder now misses the build platform, finding its calibration. A calibrated Z stage will bring perfect results at every build without manually positioning. Software will follow. This is a complete set of six end stops. All six end stops are designed to fit right into their respective places. They are wedged for easy fitting into the existing slots on your MakerBot. All end stops should be a tight fit. They are designed for minimum interference with the system and should not jam the optocouplers once the are bent right. Instructions Just push the end stops into the right slots and shorten them as you wish to get maximum travel. There are six different end stops. The double "plus" ones go on the x stage. The shorter tab (15mm) goes on the top facing the back wall. The longer one (17mm) goes in the bottom facing the front. The ones with the small gap go on the Y stage, the longer 50mm tab points to the left, the shorter 43mm tab points to the right. The ones with the 5mm gap go on the Z stage, the short one in the rear slot pointing up, the long one in the front slot pointing down. All tabs can be shortnend to get the maximum build space.
With this file you will be able to print Endstop Triggers Too with your 3D printer. Click on the button and save the file on your computer to work, edit or customize your design. You can also find more 3D designs for printers on Endstop Triggers Too.