Energica EsseEsse9 footpeg lowering templates
thingiverse
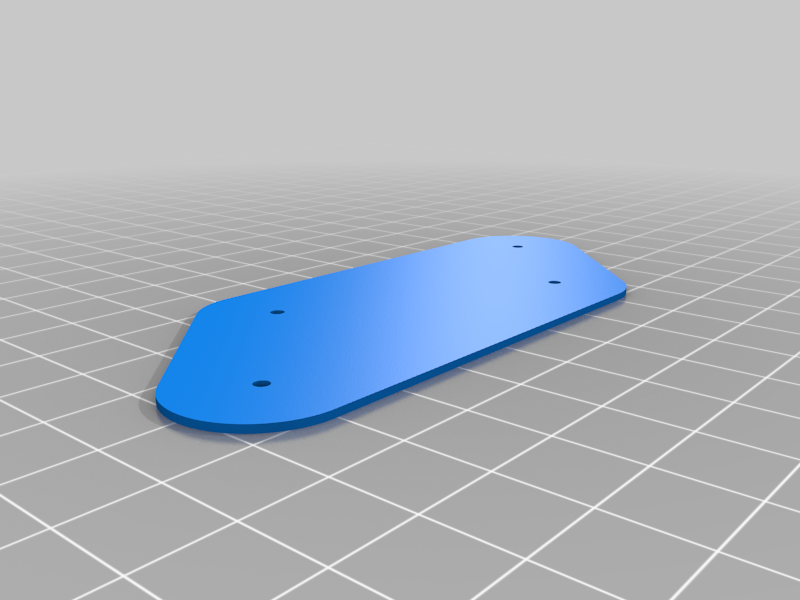
These are templates for making footpeg lowering brackets for an Energica EsseEsse9 electric motorcycle. They make it easier to design and test-fit before making the actual brackets out of metal. You can customize the OpenSCAD file for the distance you want. 60mm is probably a good limit, but it's your decision for your bike and your safety. Set the "centerpunch" variable to print a center-punch template (thinner with smaller holes) - also set "infill before perimeters" in PrusaSlicer because these tiny circles won't stick by themselves. 1). Lay center-punch templates on your metal sheet as preferred for best use of the metal. (I used 1/4" aluminum sheet from McMaster-Carr) 2). Center-punch hole centers and scribe or Sharpie an outline. 3). Drill small pilot holes with drill press. 4). Drill final holes with 8.5mm or "Q" size bit. 5). Cut this outline with chop saw. 6). Finish curves and break sharp edges with a power sander. 7). Paint black. 8). Bolt the plates to the bike with the original bolts. 9). Bolt the footpeg brackets to the plates with M8x1.25-25mm socket head bolts (McMaster-Carr 92290A426) and M8 nylon-insert flange nuts (McMaster-Carr 94710A104) I filmed the pegs with a camera, and the 40mm ones don't come close to grounding out. I'm 6'2" and I didn't need the 60mm ones.
With this file you will be able to print Energica EsseEsse9 footpeg lowering templates with your 3D printer. Click on the button and save the file on your computer to work, edit or customize your design. You can also find more 3D designs for printers on Energica EsseEsse9 footpeg lowering templates.