EPAX-X1 lcd cooler.
thingiverse
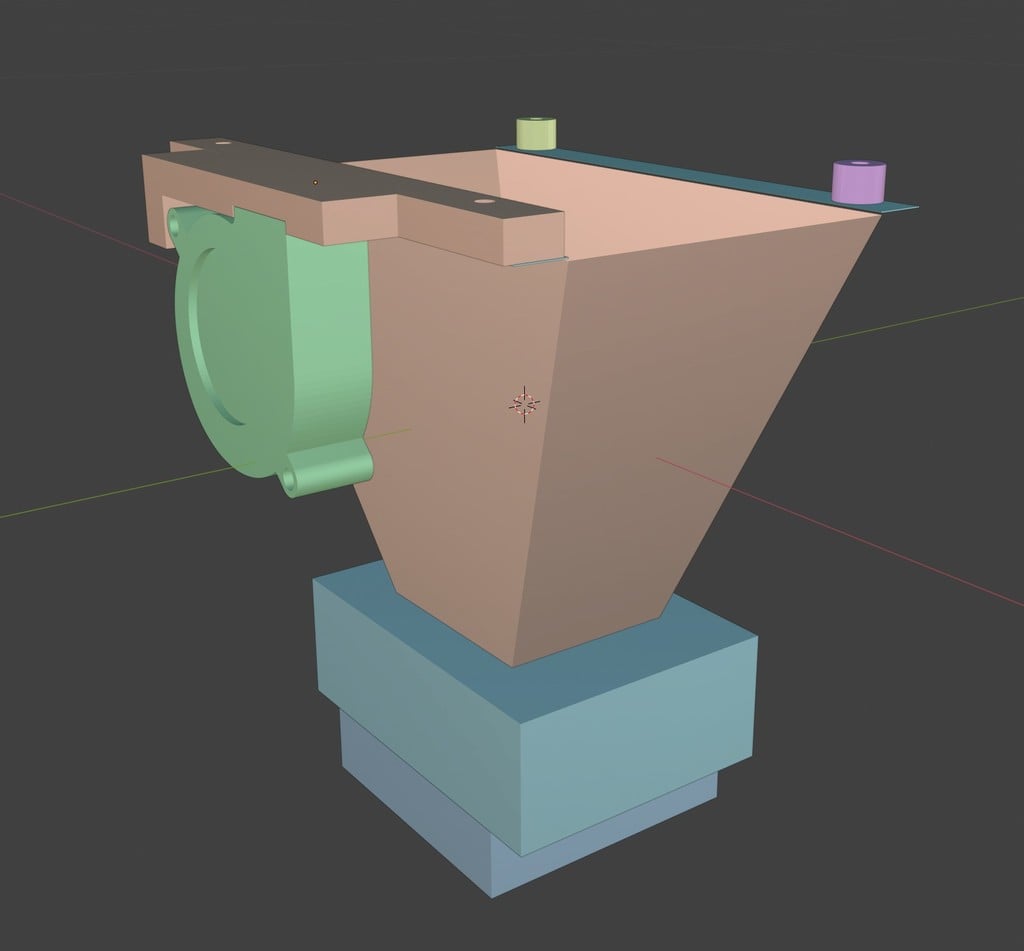
Human: EPAX-X1 LCD cooler. LED and resin heat generated by printing degrades the life of the LCD rapidly due to LCD printers. Cooling is therefore required. So it's a personal-made thing. Cooling the LCD has an effect, but the distance between the LED and the LCD increases and the curing time extends by about 1 second. To solve this problem, you need to create a new reflection cone or raise the output of the LED. However, this didn't work on this project because it requires overhauling. What you need is: Fan frame x1 Spacer x2 M3 screw (15mm or more) x1 M3 screw (10mm or more) x4 50x50x15mm blower fan x1 Assembly sequence 1. Remove the bottom plate of EPAX-X1. 2. Separate the reflective cone. 3. Attach the blower fan to the fan frame using M3 screws (15mm or more). 4. Couple two spacers and the fan frame to the reflective cone. 5. Rejoin the body. Since the screw that fixes the reflection cone is short, use M3 screws (10mm) or more. If the screws are too long, use a washer. 6. The blower fan location is behind the touch screen. The other side has a Z motor, which is not possible. 7. Power off the side cooling fan of EPAX-X1. 8. Combine the power of the blower fan. 9. Engage the bottom plate. 10. Finish!
With this file you will be able to print EPAX-X1 lcd cooler. with your 3D printer. Click on the button and save the file on your computer to work, edit or customize your design. You can also find more 3D designs for printers on EPAX-X1 lcd cooler..