Erecting Flap Clock for small printers
thingiverse
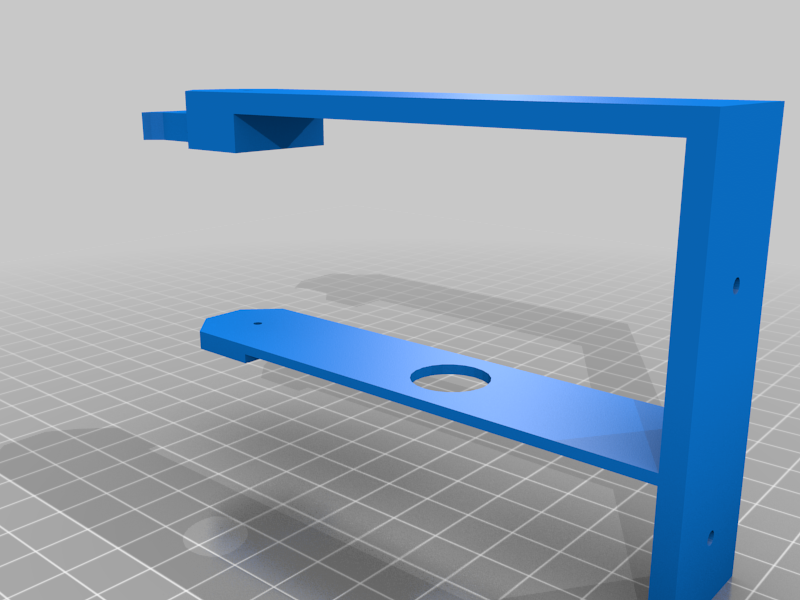
Some minor modifications to the Erecting Flap Clock by shiura. The frame is modified to fit in a 18x18 cm print space (Prusa Mini). The base plate was cut off at the motor base and the upright frame was split in 3 to allow for a diagonal print. The larger base part (bodem-1.stl) needs to be printed with support to allow for a good assembly of the small part. I used 2.5x12 mm screws to assemble the frame. I also modified gear-2 to allow for a screw to fix it to Geneva-1. The split frame allows for it to be assembled before the struts block the access. Instead of filament, a 2 mm TIG welding rod was used as central axis. This gives more stability. The original holes were drilled with a 2.5 mm bore. In order to be able to do so, use 4 vertical shells for the prints if using the original STL-files. I used a 7 mm extension of the rod at both sides of the frame for ease of assembly and included an stl-file for 2 stoppers at each end. To assemble the numbers to the hubs, brass nails of 1.8 mm diameter were used. In my case the original printed holes in the base frame of the numbers is just fine to fix the nails. The holes in the hubs were widened to 2 mm. Finally I noticed that Geneva-2, gear-4 and the rachet-spring need to be printed mirrored. With the original stl files the rachet-spring is forced each time the 10-minute and hour hubs are actuated. Printing the mirrored blocks the movement.
With this file you will be able to print Erecting Flap Clock for small printers with your 3D printer. Click on the button and save the file on your computer to work, edit or customize your design. You can also find more 3D designs for printers on Erecting Flap Clock for small printers.