Eric's Improved Z Axis Coupler Rev3
thingiverse
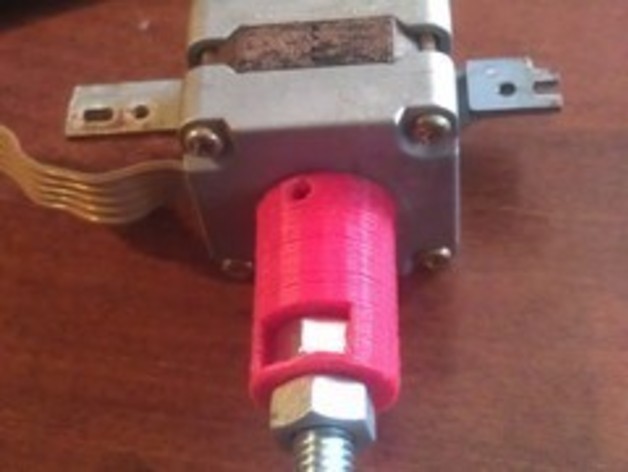
Originally designed for a 5mm motor and threaded rod, this Z-axis coupler has been updated with an improved STL file for a 5x5mm version. User feedback led to these modifications, including estimates for M5 nut dimensions that should work well with i3 machines and other fine 5mm rods. The creator requests users to inform them if any nut adjustments are necessary. In September 2013, Version 4.1 was released as a 6mm version to enhance the fit of a 6mm nut and widen the grub for a Nylock nut. Additionally, an opposing grub was removed, and the body was widened to 22mm. Previously, on August 26th, 2013, Version 4 added both 6mm and 8mm options, bridging with a second opposite grub on the 5mm motor shaft. This is the third iteration of the designer's Z-axis coupler, with enhancements made for improved robustness. Changes include moving the nut trap for the 5mm shaft down and back to increase strength, adjusting support in the large nut trap, and widening the bottom opening for easier shaft insertion. The upper diameter remains the same for threading the rod into the coupler. To use these couplers, print two units and place a nut in the top nut trap before pushing it down to align with an M3 screw. Tighten this onto your 5mm stepper shaft. Next, remove supports from the large nut trap and insert a nut. Thread a nut and washer onto your Z rod and then screw it up through the trapped nut into the coupler until it stops. Tighten the nut on the rod against the washer and bottom of the coupler to center it on the stepper motor shaft. The creator requests feedback for any required changes, such as 4mm additions or alternative nut options. These designs were made using free PTC Creo Elements software, with both .STL and .PK2 files included.
With this file you will be able to print Eric's Improved Z Axis Coupler Rev3 with your 3D printer. Click on the button and save the file on your computer to work, edit or customize your design. You can also find more 3D designs for printers on Eric's Improved Z Axis Coupler Rev3.