ESP-01 IoT WiFi WLAN Push Button
thingiverse
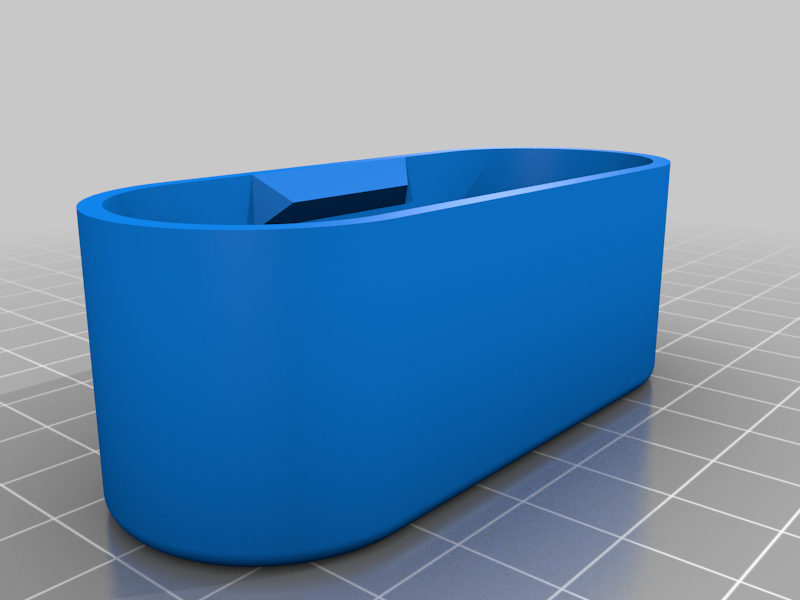
Dies ist ein Remix des IoT Buttons von TekkieBros & Tommy_Tc und auch des CR2 Batteryholders von enif. <a href="https://youtu.be/sfXc5JnmFks">Bauplan und Anleitung hier</a> Ich wollte einen billige und einfache Lösung inklusive Deep Sleep zum Betreiben mit einer CR 2 Batterie, so dass meine Wahl auf den ESP01 S gefallen ist. Dieser ist billig - ich glaube im 10er Pack für 15 Euronen. Irgendwie habe ich das mit dem OTA Flashen nicht hinbekommen - schätze mal, dass es am geringen Speicher liegt. Das ESP01 S Modul sollte also aufgesteckt werden, so dass ich es zum umflashen wieder rausmachen kann. Als Stecker habe ich als erstes mit dem ESP01 Breakout Board gearbeitet, was bei Netzteiltests auch wunderbar funktioniert hat, jedoch beim Batteriebetrieb lediglich ein Dauerleuchten der blauen LED erzeugte. Glücklicherweise hatte ich noch diese Achter-Buchsen. Mit denen hat es dann wunderbar funktioniert. Die Batterie sollte eine stabile Position ohne Akku-Federn haben, so dass ich den Batteriehalter von enif integriert habe. Jetzt fehlte mir nur noch ein Gehäuse, dass ich ohne Kleben, Gummi oder Co verschließen kann. Ich habe dann ein Click-System à la Nut und Feder konstruiert. Da ich die Steuerungsfunktion des Schalters möglichst flexibel halten wollte, wird in meinem Code via Http Post Befehl eine Url ach einem gewissen Schema an mein node red System gesendet. Diese Url habe ich aus Übersichtlichkeitsgründen wie folgt aufgegliedert: /Art_des_Remote(zB. SWITCH)/Laufende_Nummer. So kann ich die Art und Weise der zutriggernden Funktion schnell und flexibel in node red lösen. Bei Fragen und oder Unklarheiten fühlt Euch frei in den Kommentaren zu Fragen. ###################### This is a remix of the IoT button from TekkieBros & Tommy_Tc and also the CR2 battery holder from enif. I wanted a cheap and simple solution including deep sleep to operate with a CR 2 battery, so the ESP01 S was my choice. This is cheap - I think in a pack of 10 for 15 euros. Somehow I couldn't do it with the OTA flashing - I guess it's because of the low memory. The ESP01 S module should therefore be plugged in so that I can take it out again to flash it around. As a connector, I first worked with the ESP01 Breakout Board, which also worked wonderfully in power supply tests, but only produced a continuous glow of the blue LED when powered by batteries. Fortunately, I still had these figure eight sockets. It worked wonderfully with them. The battery should have a stable position without battery springs, so that I integrated the enif battery holder. Now all I was missing was a housing that I can close without gluing, rubber, etc. I then constructed a tongue and groove click system. Since I wanted to keep the control function of the switch as flexible as possible, an URL is sent to my node red system in my code via Http Post command according to a certain scheme. For the sake of clarity, I have broken down this URL as follows: / Type_des_Remote (e.g. SWITCH) / Running_Number. So I can quickly and flexibly solve the triggering function in node red. If you have any questions just feel free to ask in the comments.
With this file you will be able to print ESP-01 IoT WiFi WLAN Push Button with your 3D printer. Click on the button and save the file on your computer to work, edit or customize your design. You can also find more 3D designs for printers on ESP-01 IoT WiFi WLAN Push Button.
