ESP32 DevKit V1 +Battery Case
prusaprinters
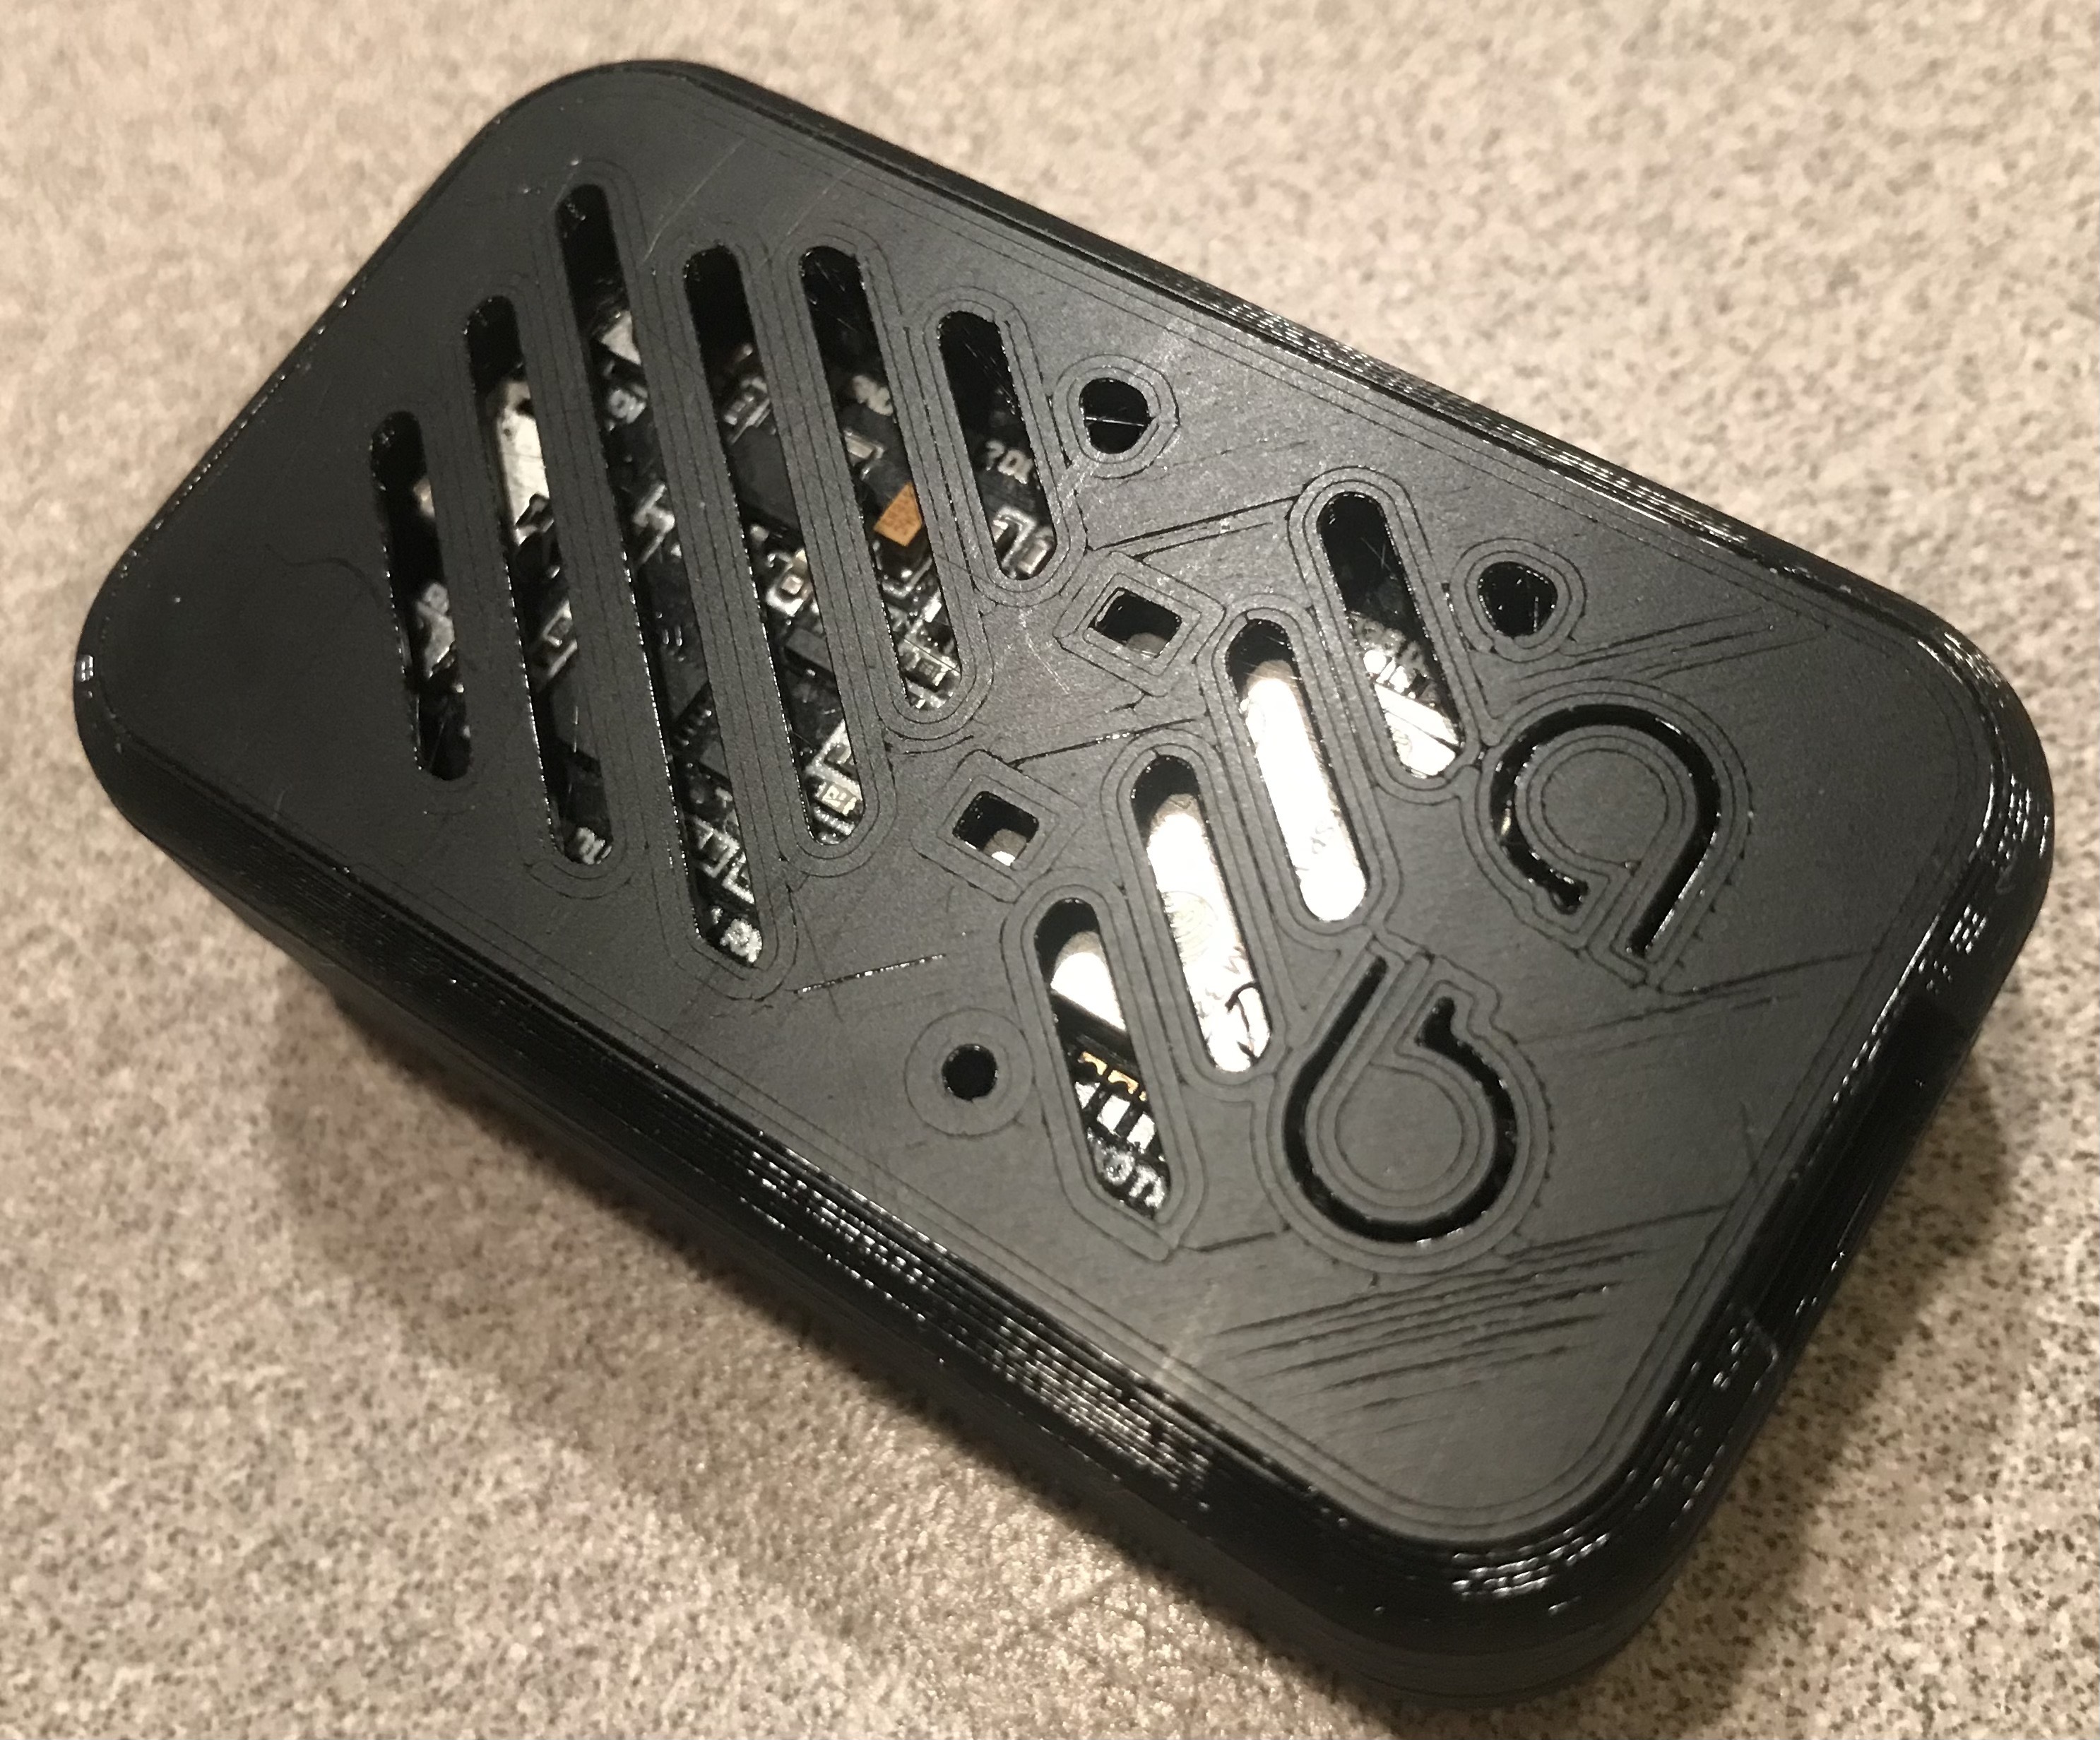
<p>This is case is used to take an ESP32 DevKit-V1 which can run off <i>battery power</i> - i.e. no wires. <br/><br/>So - I wanted a cheap and easy way to battery power my ESP32. But - A normal AA battery is rated to about 50mA, and only runs maximally at 1.5v. So even <i>two </i>of them (which can get down to about 1.2v through out it's useful life) would run about 2.4v, and only at 50mA. The ESP32 needs at least 2.5v, but can draw up to 350mA at boot-time or under a lot of load.</p><p>After much research - I have concluded that the easiest/cheapest way to do this is with a since LiFePo4 battery. Thus, one of these batteries (in an AA form-factor) can be connected with a simple cheap AA battery holder. Needless to say - these batteries run <i>twice</i> the voltage (and up to 20x the current) of a normal AA - so even though they are the same <i>form factor</i> - <strong>don't </strong>interchange them!</p><p>Simple solution: Cheap commonly available AA battery holder with a single LiFePo4 AA battery. Also, these batteries are very safe/stable (unlike many lithium batteries). However, please note:<br/><br/>1. The ESP32 does not work as a charger for these batteries. i.e. you can't just plug in via USB and charge them - you have to charge them externally. The regulator on the board will hold the power rail to 3.3v - which is a bit below the 3.65v which it optimally charges at, but will not regulate the current as required. So - I told you not to do it…</p><p>2. Do not over-discharge (below 2V) the battery or it will not recharge. The ESP won't run this low - so I don't know if that would actually be an issue.</p><p>3. Pay careful attention to the orientation of everything as you put it together, or it won't fit - or the battery wires will not have any clearance to run them. Assemble it upside-down - i.e. the ESP goes into the lid first, on the standoffs, face down. Pay careful to the orientation of the buttons and USB connect WRT those on the lid. Then the AA battery holder goes in above resting against the bottom of the DevKit. The battery wires will route <i>around</i> the pegs on the lid, back around to the DevKit pins. The Battery/Holder are retained by both the top and bottom pieces of the case when snapped together - but watch that the standoffs on the base don't pinch/crush the battery wires.</p><p>As for my case - it's a nice snap-together design that which exposes the two on-board LEDs and allows operation of the two top buttons while enclosed. It also has knockouts for the USB cable (should not use USB power and battery power at same time). The case is designed to hold the ESP, battery, and battery-case all firmly together, with some clearance for cables. (Plug the cables from battery into the standard +3.3v and GND pin on DevKit board - or solder/mount them someplace different).</p><p><br/>Shopping Recommendations:<br/><a href="https://www.amazon.com/gp/product/B08CVL1TYX">LiFePo4 AA Battery</a></p><p><a href="https://www.amazon.com/LAMPVPATH-Single-Battery-Holder-Leads/dp/B07BXX62JF">Single AA Battery Holder</a></p><p>Print flat sides down - no supports. Enjoy!<br/> </p><p>Pro tips - For long battery life:</p><ul><li>Unsolder the red “power” LED so it isn't always on and draining the battery.</li><li>Use “deep sleep” mode as much as you possibly can. This will basically make the chip draw almost no power, but require a restart to come out of deep-sleep. But wakeup can still be triggered by:<ul><li>Button presses (or external GPIO levels) (i.e. Stay in deep sleep - wake up and send message to cloud when a button gets pushed)</li><li>Timer (i.e. Stay in deep sleep - wake up once an hour, get a reading - connect to Wifi and report cloud - go back to sleep)</li><li>It's “Ultra Low Power” (ULP) coprocessor - which can even do things like I2C transactions, and make wake-up decisions from that. (i.e. Read a temperature probe, wake-up depending on temperature criteria).</li></ul></li></ul>
With this file you will be able to print ESP32 DevKit V1 +Battery Case with your 3D printer. Click on the button and save the file on your computer to work, edit or customize your design. You can also find more 3D designs for printers on ESP32 DevKit V1 +Battery Case.